Melted Crayon Background
by Beate Johns
Create landscape or abstract backgrounds by melting crayons on glossy cardstock.
Supplies
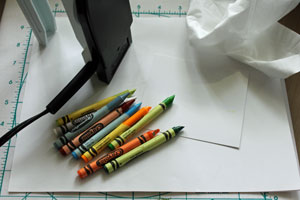
- Crayons
- Craft Iron, or travel iron without steam holes
- Cardstock, glossy used here
- Scrap Paper
- Tissue Paper
Step-by-Step
-
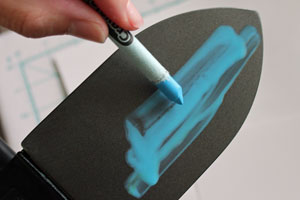
Step 1
Set your iron on medium heat. Once it is warm, start scribbling crayon over iron surface. The crayon will melt.
-
Add several colors for an interesting look.
-
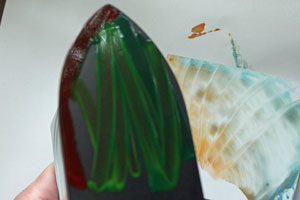
Step 2
Place your cardstock on top of your scrap paper on a heat resistant surface. Pull your iron over your entire piece of cardstock for a smooth finish.
Hint:
To achieve the ridged look shown here, move your iron in zigzag motion over your cardstock.
-
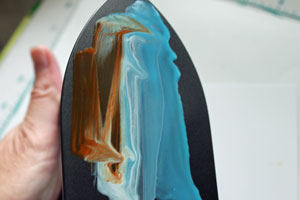
Step 3
Add more crayons to your iron. Several greens were added to the center of the iron and a brown crayon line was drawn on the left outer edge.
-
Apply crayon to the lower half of your cardstock. Here a figure eight was drawn with the iron to achieve the wavy look.
Hint:
To get edge to edge coverage, make sure you start on your scrap piece of paper and go over the entire cardstock, to the other side of your scrap paper, with your iron.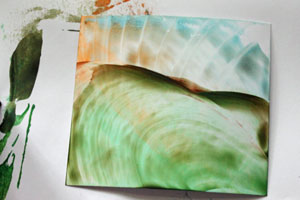
-
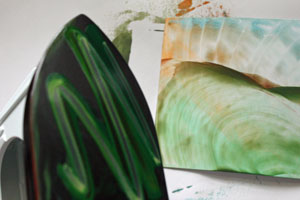
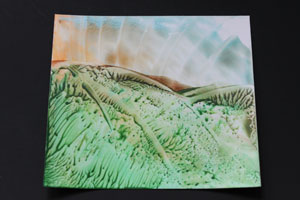
Step 4
For more texture add addtional green crayon colors to your iron.
-
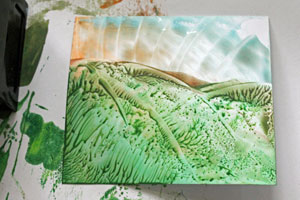
Tap the bottom part of your cardstock with the iron. You will create a textured look.
-
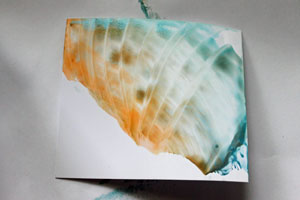
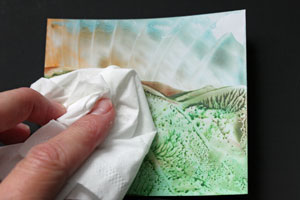
Step 5
Take a tissue paper and gently buff the cardstock to make it shine.
-
-
Step 6
Use crayon background as it is, or stamp on it.
Hint:
Jet Black Archival Ink and Black Stazon™ will both work. The ink will take a few minutes to dry.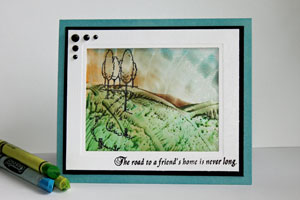
Video!
Variations
Make it really sparkle!
Glitter or Metallic crayons create a different background.
Wax paper method
Cover your ironing board with wax paper. Put the cardstock down and add crayon shavings on top. Cover this with another piece of wax paper. Iron over the wax paper until the crayon is melted.
Different surfaces
Be adventurous. Try different surfaces for different looks. Matte cardstock will give you a matte look.
Your Turn
You've seen the tutorial, now you try it! We've got a section of the gallery set aside for Melted Crayon Background. Try this technique, then upload your artwork to the gallery. Show us your creations!
***Please note - Internet Explorer/Edge is not a supported browser, and will not allow you to see the videos. Please use Chrome, Firefox or Safari to view our tutorial videos.
Questions and Comments
We'd love to get your feedback or questions. Leave your comment below.
I never seal my encaustic art. I use good quality card and then give a good rub with aused tumble drier sheet to polish it and unless deliberately scratched it lasts well.
Page 3 of 3 pages < 1 2 3