Meander Book
by Beate Johns
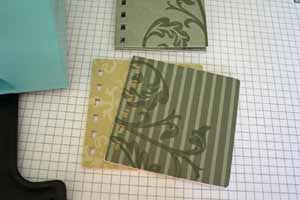
The meander (or maze) book gets its name from the way the paper is cut and folded to make the pages. This size book is great for a single event!
Supplies
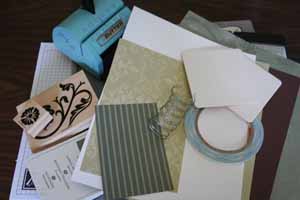
- One 12" x 12" sheet of patterned paper
- Four 3 1/2" squares of patterned paper
- Two 3 1/2" coaster squares or matboard
- Cardstock to decorate and make tags
- Circle punch
- Paper cutter
- Paper scoring tool (Scor-Pal™ used here.)
- Adhesive
- Binding tool and wire (Bind-It-All™ and 1" wire was used here)
- Sanding block
- Stamps, Ink and Embellishments
Step-by-Step
-
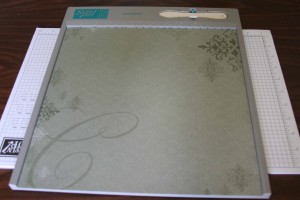
Step 1
Score 12" x 12" paper at 3", 6" and 9".
-
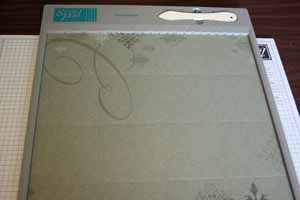
Step 2
Turn paper 90 degrees and score again at 3", 6" and 9".
-
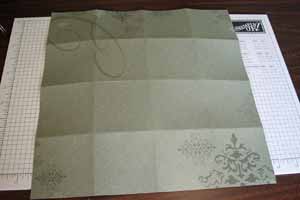
Step 3
Fold and unfold all score lines.
-
Step 4
Use paper cutter to cut paper as follows:
On the first vertical score at 3", cut from 3" all the way to 12".
One the second vertical score at 6", cut from the bottom to 9".
One the third score at 9", cut from 3" all the way to 12".
Cut the first and last square off as shown.
-
Step 5
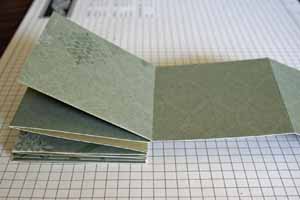
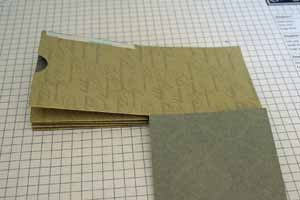
Start folding paper up from one of the sides with a missing square.
Fold it up accordion style, stopping at the end of row.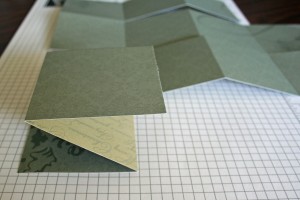
-
Step 6
Tug the accordian pages of the first row under the second row.

-
Step 7
Fold the second row accordion style like the first one.
-
Step 8
Tuck your accordion pages under the next row.
-
Step 9
Fold the third row accordion style.
-
Step 10
Fold pages under the last row.
-
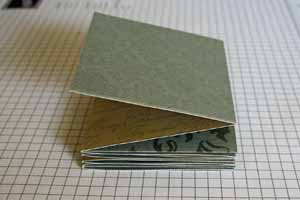
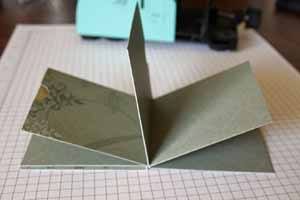
Step 11
Now fold up the last row accordian style.
-
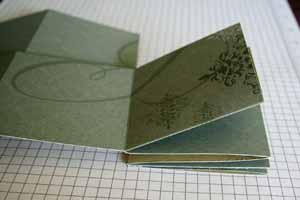
Step 12
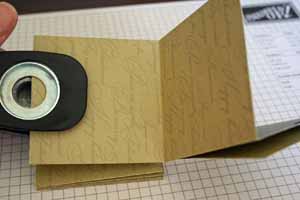
For pocket pages, punch a half circle on the top of one page.
To determine the top, unfold the accordion pages a little. The top will be the side that has two neighbor pages opening on top, one on the bottom.
For no pockets, just adhere two adjoining pages together.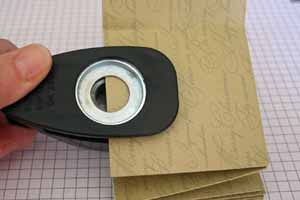
-
Step 13
Add adhesive to the bottom of the page.
Tape pages together.
You won't need tape on the side. It will be held together with the binding later.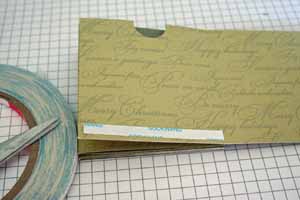
-
Step 14
Punch a half circle out of the second page.
-
Step 15
Add adhesive to the side this time for a pocket.
-
Step 16
Continue to turn pages into pockets.
-
Step 17
Stamp pages if needed.

-
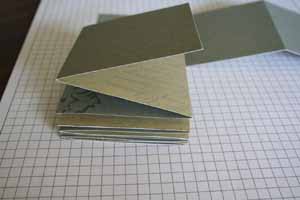
Step 18
Punch holes in the side of the book pages for optional binding.
A Bind-it-All™ was used here, but a different kind of binding machine or a Crop-a-dile™ could be used, too.
-
Step 19
Tape 3 1/2" pieces of patterned paper to coaster pieces. Stamp those if needed.
I used a Carl Rotary cutter to cut the coasters to size.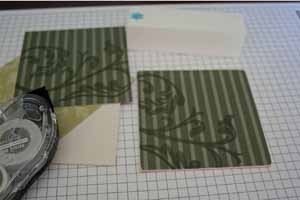
-
Step 20
Punch holes in covered coasters.
-
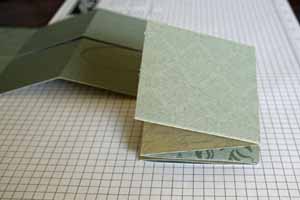
Step 21
Stack front, back and pages the following way:
Pages, front cover face up, back cover face down.
Insert wire through the holes and then close them with Bind-it-All™ or other binding machine.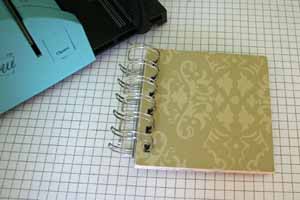
-
Step 22
Cut tags for pockets. These were cut to 2 1/4" x 2 7/8" before rounding the corners.
Decorate the inside pages and pocket tags.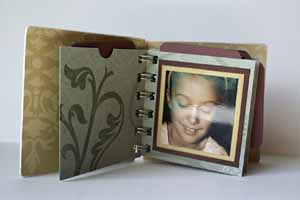
-
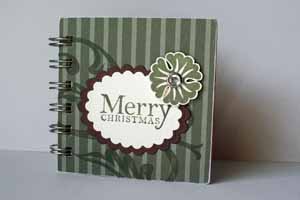
Step 23
Decorate front cover.
Video!
Variations
Alternate binding
Use Crop-a-dile and ribbon for the book binding.
No binding
Just adhere top and back cover to the pages directly without binding the book.
More pages
Don't tape pages together for more pages.
Your Turn
You've seen the tutorial, now you try it! We've got a section of the gallery set aside for Meander Book. Try this technique, then upload your artwork to the gallery. Show us your creations!
***Please note - Internet Explorer/Edge is not a supported browser, and will not allow you to see the videos. Please use Chrome, Firefox or Safari to view our tutorial videos.
 *
*
Questions and Comments
We'd love to get your feedback or questions. Leave your comment below.
Being a NEWBIE to card making, I can see I'll be an avid fan of SC.
Thanks again...
annie thompson
I am very open to anyone's suggestion, and styles, I feel I'm on my way to making cards following the tutorial's
I already choose my paper, Cosmo Cricket, I love the old style prints.
Thanks again
annie
Thanks again
wondeing if anyone could help me
much thanks i got the paper cut but not folded right
thanks
hugs
Patricia
Did you watch the video? Did that help you with the folding of the paper?
thanks for sharing this wonderful idea! I will definitely make one for myself or my sisters, if not, i be sure to tell my sisters about your wonderful idea =)
thanks again!
If you want to bind your pages with a Bind it all like in the photo tutorial, cut the outer squares apart.
If you adhere pages to a chipboard piece like in the video, you keep the outer squares as your glue tabs. Does that make sense?
thanks again
Page 2 of 2 pages < 1 2