Matchbook Post-It™ Note Holder
by Cindy Coutts
Create a matchbook holder for your Post-It™ notes.
Supplies
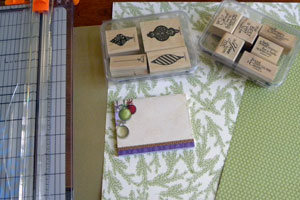
- 4" x 3" Post-It™ Note Pad
- 4 1/8" x 9" piece of cardstock
- Scoring Tool
- Stamps
- Ink
- Punches
- Patterned Paper
- Ribbon
- Strong Adhesive
- Foam Adhesive
Step-by-Step
-
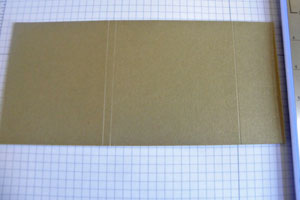
Step 1
Score the cardstock at 3 3/8", 3 9/16", and 7 9/16".
-
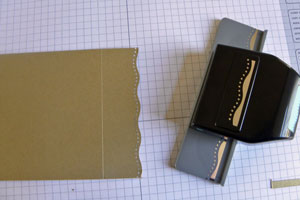
Step 2 (Optional)
Punch the edge of your cardstock closest to the 7 9/16" score line with a border punch.
-
Step 3
Add strong adhesive under the score line closest to the punched edge.
Carefully fold the flap of the cardstock up so that the sides are even.
Place two more pieces of strong adhesive on the back of the Post-It™ note pad.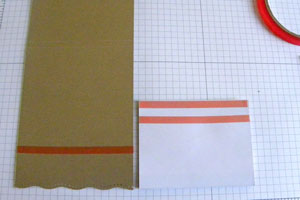
-
Adhere your note page securely right before the 3-3/8 score line so that the flap can be folded over.
-
Step 4
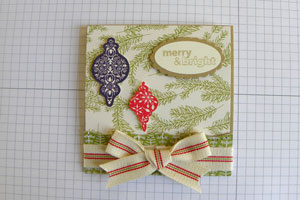
Decorate the front of your note pad holder with patterned paper.
Hint:
Here the patterned paper measures 4" x 3 1/4".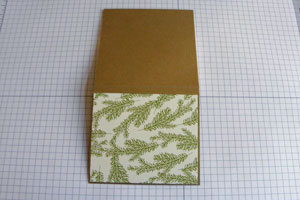
-
Step 5
Stamp images and sentiment.
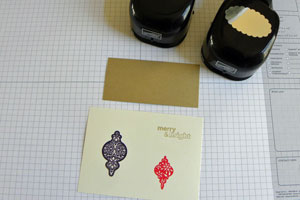
-
Punch or cut out stamped images and adhere to the front with foam dots.
-
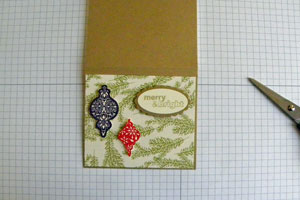
Step 6
Cut a piece of ribbon long enough to go around the bottom of the holder.
Make sure to line up the ribbon edges on the front of the lip. Tie a bow with another piece of ribbon and adhere over your first piece.
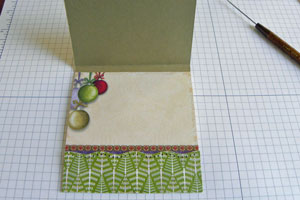
-
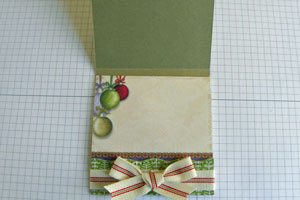
Decorate the inside of the flap of your holder.
Video!
Variations
-
Regular Size Post-it™ Note Holder
For a 3" x 3" Post-It™ Note pad, start out with a 3 1/8" x 9 1/4" piece of cardstock. Score at 3 3/8", 3 3/4" and 7 3/4".
Your Turn
You've seen the tutorial, now you try it! We've got a section of the gallery set aside for Matchbook Post-It™ Note Holder. Try this technique, then upload your artwork to the gallery. Show us your creations!
***Please note - Internet Explorer/Edge is not a supported browser, and will not allow you to see the videos. Please use Chrome, Firefox or Safari to view our tutorial videos.

Questions and Comments
We'd love to get your feedback or questions. Leave your comment below.
Page 2 of 2 pages < 1 2