Masking Fluid Resist
by Heather Telford
Create a layered resist look with masking fluid.
Supplies
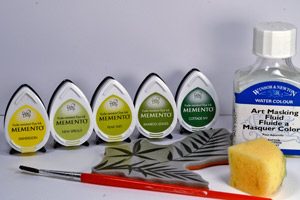
- Masking fluid
- Paintbrush
- Toothbrush
- Ink (Dandelion, New Sprout, Pear Tart, Bamboo Leaves and Cottage Ivy Memento Inks used here)
- Cardstock
- Stamps (Penny Black Slapstick Cling stamp Breezy used here)
- Sponges or blending tools
Step-by-Step
-
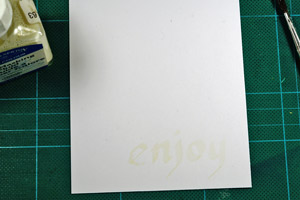
Step 1
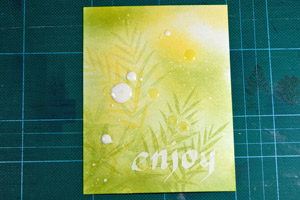
Using a paintbrush and masking fluid, paint word on white cardstock.
-
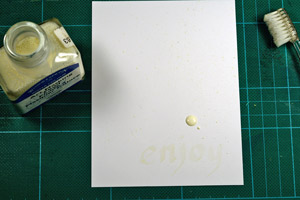
Step 2
Using a toothbrush and masking fluid, spray randomly over cardstock. Let it dry completely.
-
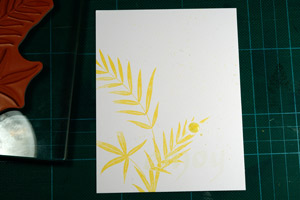
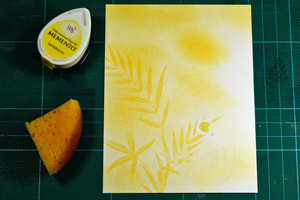
Step 3
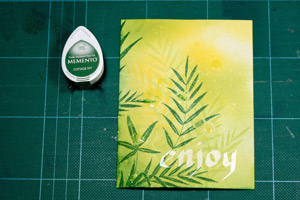
Stamp first image in lightest color dye ink.
-
Step 4
Sponge randomly in lightest color dye ink.
-
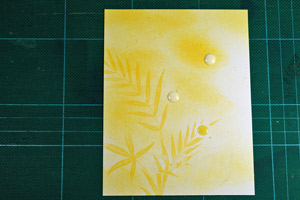
Step 5
Flick more masking fluid on cardstock. Let it dry completely.
-
Step 6
Stamp image in the slightly darker colour dye ink, sponge randomly in the same color. Flick more masking fluid on cardstock. Let dry completely.
-
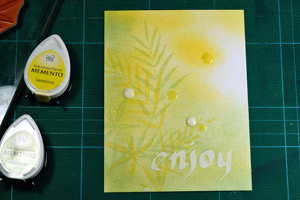
Step 7
Stamp image in the next darker ink, sponge randomly in same color.
-
Step 8
Flick more masking fluid on cardstock. Let dry completely.
-
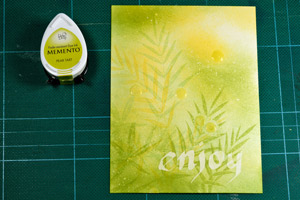
Step 9
Stamp image in darkest ink, sponge edges in same color.
-
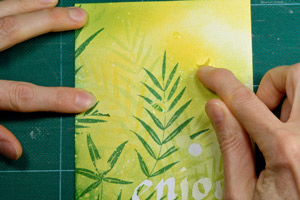
Step 10
When ink is completely dry remove masking fluid by gently rubbing it off.
-
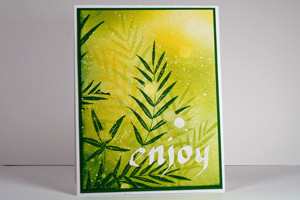
Step 11
Finish your project.
Video!
Your Turn
You've seen the tutorial, now you try it! We've got a section of the gallery set aside for Masking Fluid Resist. Try this technique, then upload your artwork to the gallery. Show us your creations!
***Please note - Internet Explorer/Edge is not a supported browser, and will not allow you to see the videos. Please use Chrome, Firefox or Safari to view our tutorial videos.

Questions and Comments
We'd love to get your feedback or questions. Leave your comment below.
Thank you, Patty.
Thank you for your tutorial! Very inspiring.
How did you get to be a designer for Penny Black!?
I am incredibly envious!!! WoW!!!! Do you do your
designs in rubber ...or do you create
something wonderful on paper and someone
else fashions that onto the rubber?
I just bought some rubber and a tool to TRY to
create my own rubber stamp. I am putting it off
for a while though:)
thank you again!
-Heather LaBudde
Page 2 of 2 pages < 1 2