Layering Digital Stamps
by Lindsay Adreon
Overlap digital stamps to create a scene or background.
Supplies
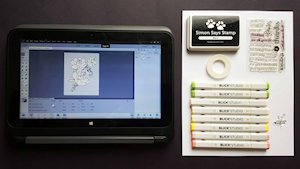
- Photo editing software (Adobe Photoshop Elements Version 14 used here)
- Digital stamp (Digistamps4Joy Rose Trio Digital Stamp used here)
- Printer (Brother Laser HL L2320D used here)
- White cardstock
- Compatible coloring medium (Dick Blick Studio Brush Markers used here)
- Other supplies as needed to complete the project (Simon Says Stamp "Alot of Thanks" stamp set, Black dye ink, Moonshine Sequins, adhesive, Stampin' Up!® Daffodil Delight Cardstock used here)
Step-by-Step
-
Step 1
NOTE: Instructions are written for Photoshop Elements. The same general functions should exist in other programs.
Open Photoshop Elements on your computer and make sure you are in the Photo Editor in Expert Mode. Click the File tab, hover over New, and then click Blank File. (You can also use the keyboard shortcut CTRL + N.)
Using the Custom Setting make your project 4.25" x 5.5", the size of an A2 card front, with a white background.
TIP:
You can also name your project at this point, for an easier time saving later on.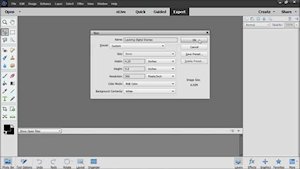
-
Step 2
Find the digital stamp you want to use in your computer files on the left hand side.
For layering digital images, a transparent background is needed. If you are using a PNG file that already has a transparent background, select it and move to Step 6. (Transparency may show in your files as a blue or checkered background.)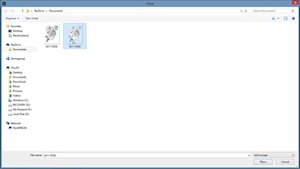
-
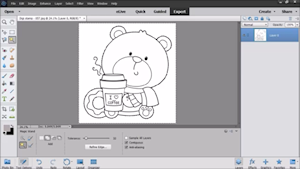
To prepare a JPG file for layering, open the file in Photoshop Elements. On the right side of the screen, in the layers tab, click on the lock on the right hand side of the background layer to release the lock.
-
Step 3
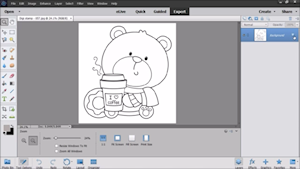
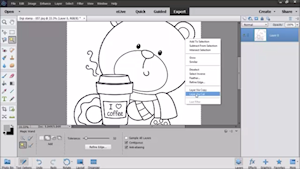
Using the Magic Wand tool select the white background by clicking anywhere on the background. If you need to add to your selection, keep clicking until the entire background has been selected. Be sure to include any areas of open space, such as the donut's hole here.
-
Right click anywhere on your selection and choose Layer Via Cut.
-
Step 4
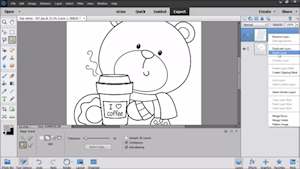
Right click the new layer in the layer's tab on the right and select Delete Layer.
-
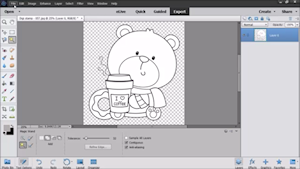
You should be left with the image only and a clear or transparent background.
-
Step 5
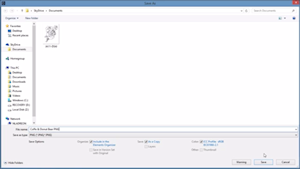
To save the edited file as a PNG image, click the File tab, then Save As. Name your file so it is easily recognizable. Below the name is the Save As Type drop down menu. Select PNG.
-
A new PNG options dialogue box will appear, click OK. You now have a PNG image that you can use for the Layering Digital Stamps technique.

-
Step 6
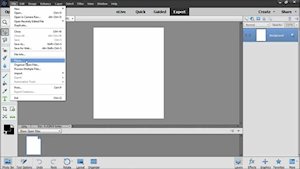
Click the File tab again, this time choosing Place to bring up a new dialogue box of your computer files.
-
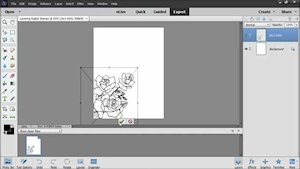
Drag and drop the image into a corner. You can resize your image by dragging the corners in and out. Rotate the image so it’s a bit smaller, allowing for more layers. Make sure any portion of the image you want hidden (in this case the rose's stems) is hanging off the panel. When you're happy with the placement, click the green arrow. Remember, you can play around with the placement, size, and order of your layers throughout the entire process of layering, so no need to make it perfect at this point.
-
Step 7
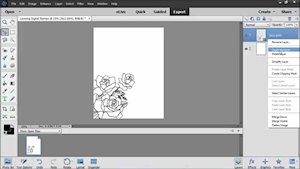
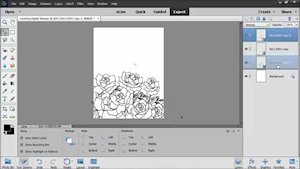
On the right hand side of your screen is the Layers panel. Right click on the digital stamp layer and click the Duplicate Layer option.
-
Again, drag and drop this layer into position making sure to resize and rotate so it doesn't appear as the same exact stamp being used.
TIP:
Fill the corners first and then move to fill in the white space. When you're happy with the placement, size, etc. click the green arrow.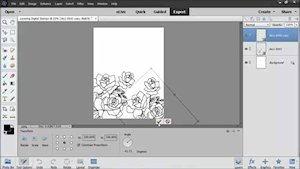
-
Step 8
Continue to duplicate layers, trying to make the digital stamp appear a bit different, whether in size or orientation, each time. You can also change the order of your layers by dragging and dropping in the Layers panel. (Move a layer down in the list to move it back on the image, or up to pull it forward.)
-
Step 9
When you're happy with your panel, right click the background layer and select Flatten Image. At this point you can save your panel by clicking the File tab and then Save As.
Print your panel onto white cardstock.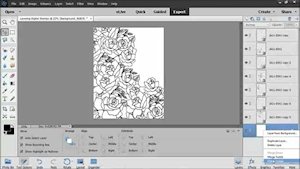
-
Step 10
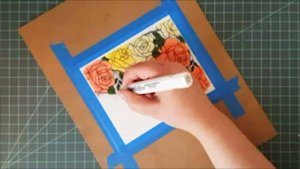
Trim the panel to your desired size. Choose a coloring medium and color the panel. The sample was taped to a hardboard for easier coloring and colored with alcohol markers.
-
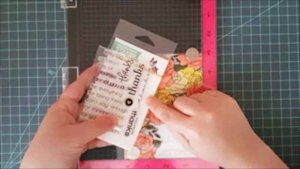
Step 11
Add a sentiment and embellish as desired.
-
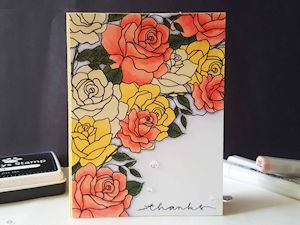
Step 12
Complete the project.
Video!
Your Turn
You've seen the tutorial, now you try it! We've got a section of the gallery set aside for Layering Digital Stamps. Try this technique, then upload your artwork to the gallery. Show us your creations!
***Please note - Internet Explorer/Edge is not a supported browser, and will not allow you to see the videos. Please use Chrome, Firefox or Safari to view our tutorial videos.

Questions and Comments
We'd love to get your feedback or questions. Leave your comment below.
Beautiful card!
Page 1 of 1 pages