Layered Gesso Background
by Jackie Pedro
Learn how to use gesso to create texture and depth in a layered mixed media background.
Supplies
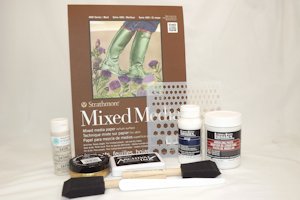
- Mixed media paper
- Liquid gesso
- Archival ink (Ranger Archival Ink™ Jet Black used here)
- Acrylic craft paint
- Sponge brushes
- Stencil (My Favorite Things Graduated Hexagons used here)
- Modeling paste
- Craft spatula or other straight-edged tool
- Metallic finish (Viva Decor Inka Gold used here)
- Soft cloth or paper towel
- Stamps and embellishments (My Favorite Things Timeless stamps and dies used here)
Step-by-Step
-
Step 1
Cut a piece of mixed media paper to fit your card front. Cover the surface of the paper with liquid gesso using a sponge brush. Let dry.
Hint:
Heavy cardstock (110# or more) and watercolor paper will also work well.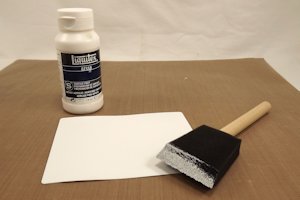
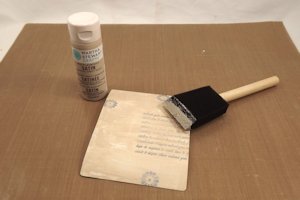
-
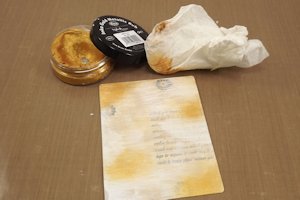
Step 2
Randomly stamp the paper with archival ink. Allow the ink to dry completely before the next step to avoid streaking.
Note:
Other water-resistant inks will also work, such as Versafine, Colorbox Fluid Chalk Ink, or Memento Luxe.
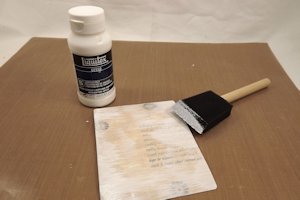
-
Step 3
Paint the paper with a light colored acrylic paint. The paint will soften the harshness of the ink while still allowing the images to show through. Let dry.
-
Step 4
Paint over random portions of the acrylic paint with liquid gesso using a sponge brush. Let dry.
-
Step 5
Randomly apply a metallic finish to the paper with a soft cloth or paper towel, using a circular motion.
-
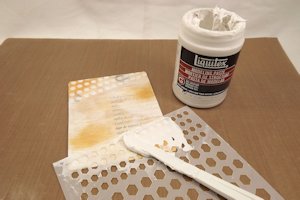
Step 6
Lay a stencil over the paper and apply modeling paste with a craft spatula. Scrape off any excess modeling paste before you remove the stencil. Let dry.
-
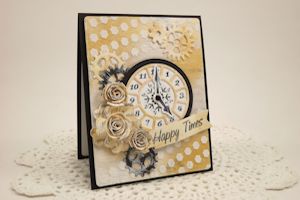
Step 7
Embellish the card front as desired.
Video!
Your Turn
You've seen the tutorial, now you try it! We've got a section of the gallery set aside for Layered Gesso Background. Try this technique, then upload your artwork to the gallery. Show us your creations!
***Please note - Internet Explorer/Edge is not a supported browser, and will not allow you to see the videos. Please use Chrome, Firefox or Safari to view our tutorial videos.

Questions and Comments
We'd love to get your feedback or questions. Leave your comment below.
This has been my next "step" in my stamping progression, and have looked at books and other websites, but have not been able to find it broken down from the very beginning like this-they always seem to pick it up from the embellishment point, not the blank paper point. Thank you!
However, I do have one criticism - A2 paper is way too big for a card it is 16.54 inches by 23.39 inches or 42cm x 59.4, now I don't know about you but that is one hell of a card.
Can scrappers, carders whoever, please get your measurements correct. I will be posting the list of paper sizes on my blog later - the url is provided with this message.
This is not the first place I have seen people use A2 when you rally mean A6 or even A5. A5 is half of A4 and is just the right size for a card.
Page 2 of 2 pages < 1 2