Inktense Pencil Basics
by Dina Kowal
Learn how to use these unique, inky pencils from Derwent.
Supplies

- Derwent Inktense Pencils
- Paintbrush
- Water
- Compatible ink (Versafine Clair used here)
- Paper towel
- Stamped image (Stamps Happen 60042 Blubird used here)
- Other supplies as needed to complete the project (cardstock, Posca white acrylic pen, sentiment stamp (Strawberry Jude Stamps), copper thread, foam tape)
Step-by-Step
-
Step 1
Inktense Pencils feature a specially formulated pigment core. Once blended with water, the Inktense pigment transforms into bright and transparent, ink-like color that will be permanent after it dries. (Most watercolor pencils are more opaque; many can also be reworked or lifted after they dry.) Inktense pencils can also be used with wax or oil based colored pencils and can be blended with a solvent. They're very versatile! The Inktense line also includes pans and blocks of the same core material.
-
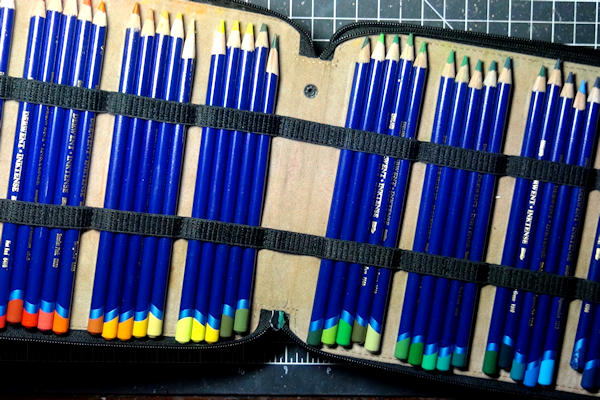
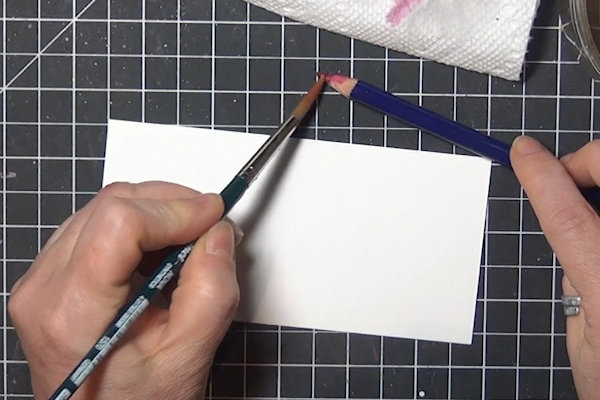
Step 2
Get to know your pencil set. There are a variety of ways these pencils can be used.
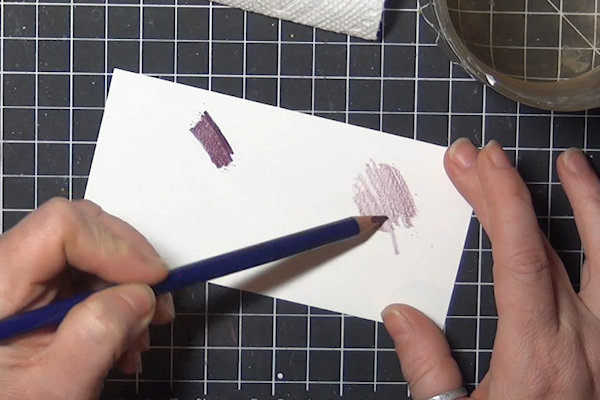
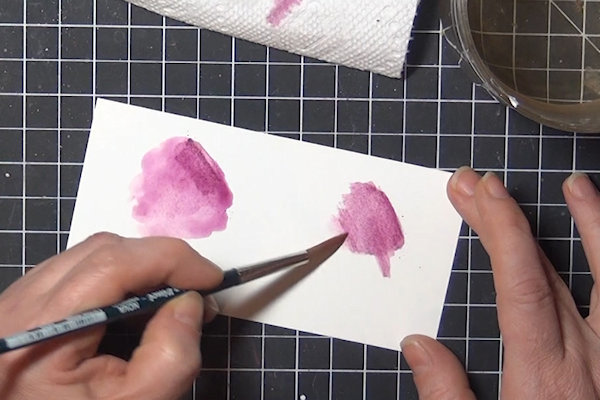
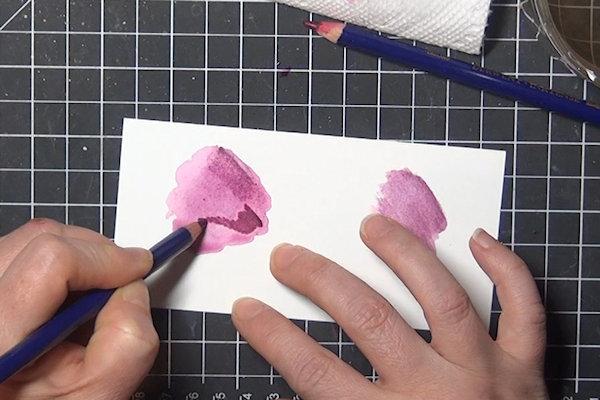
Color directly onto watercolor paper and blend out with a wet brush. Your initial laydown of color on a stamped image can be imprecise, since the pigment will be moved with a brush. Scribble! -
Experiment with the pencil pressure as well as amount of water to find what works best for you.
-
Step 3
You can also color directly with the pencil on a wet area. The water will activate the pencil at the tip. The application of color will be very intense, and more difficult to blend out.
-
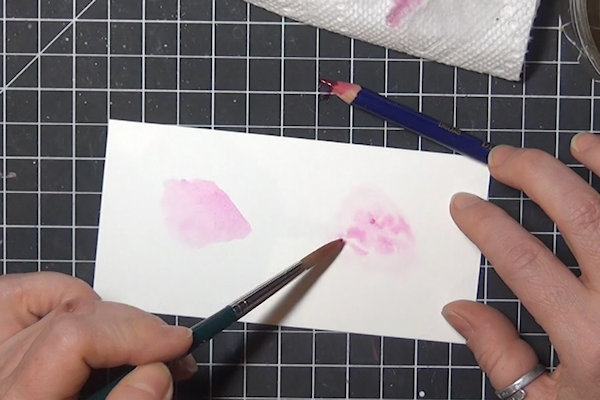
Step 4
Lift pigment directly from the tip of the pencil with a wet brush, like a small palette. This technique is great for small areas, less intense color, or wet-into-wet blending (a water wash, or painted area that is still wet).
-
NOTE:
You can also color directly with the pencil on a wet area. The water will activate the pencil at the tip. The application of color will be very intense, and more difficult to blend out. -
Step 5
Inktense pencils can also be blended with a solvent, such as odorless mineral spirits (Gamsol is a popular artist’s brand), Copic blender (will stain the tip) or rubbing alcohol. The color is not as vibrant as water blending, but it’s an effective method and also results in a permanent application of color.
-
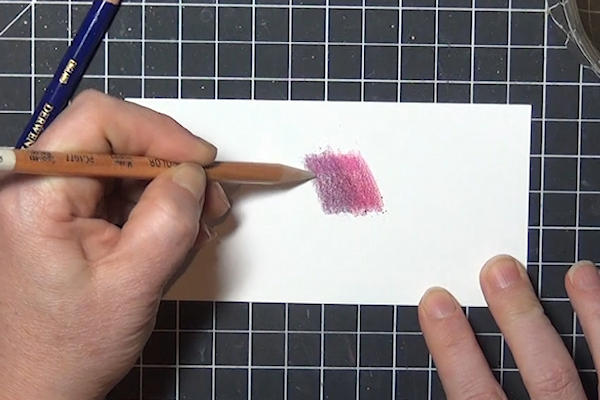
Step 6
Finally, try using your pencils dry, blending colors by building up layers. Begin with light pressure, increasing pressure slowly as you add layers.
-
Burnishing with a blender pencil or another Inktense pencil can also help to press the layers together for more saturated color.
-
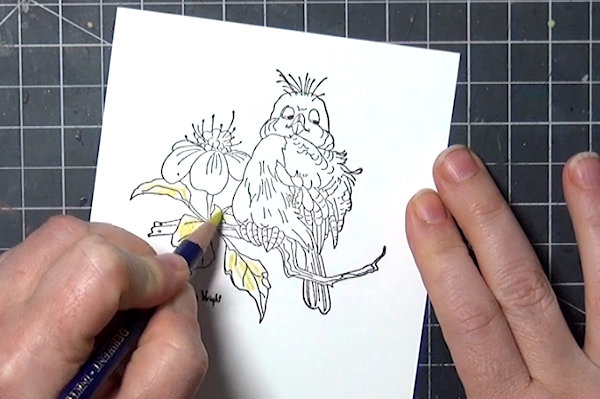
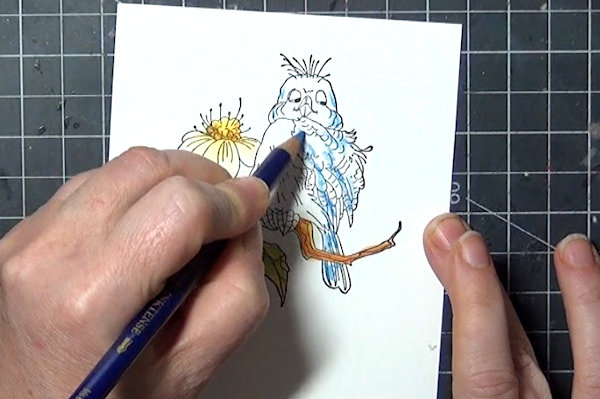
Step 7
Apply what you’ve learned by coloring a stamped image. Begin with a base layer of color, scribbling lightly into each area.
-
Blend out the pigment with a wet brush.
-
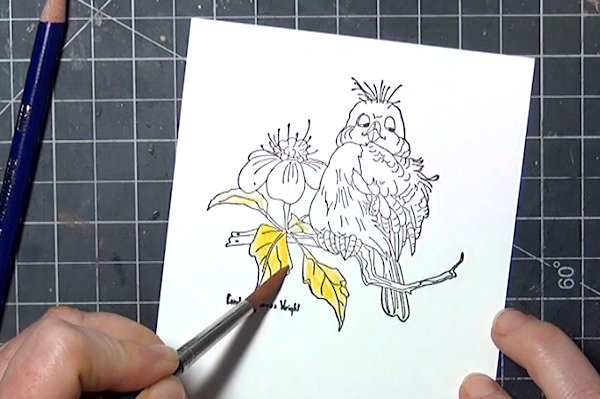
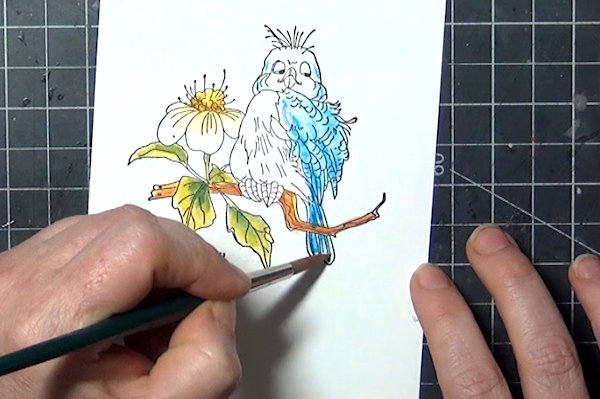
Step 8
For a blended look, pick up pigment with a wet brush directly from the pencil tip.
TIP:
Do not hold the pencil directly over your work when picking up color as ink may flick onto your paper. -
Dot or brush into a painted area that is still wet. Blend as needed.
-
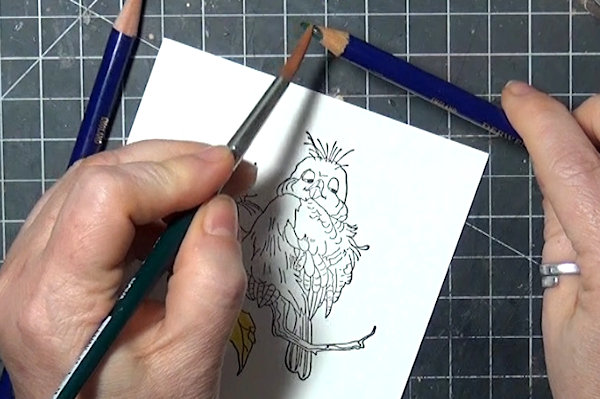
Step 9
Continue in the same way with other sections of the image.
-
-
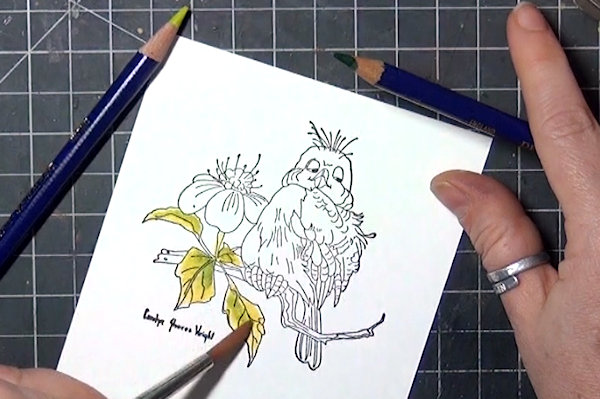
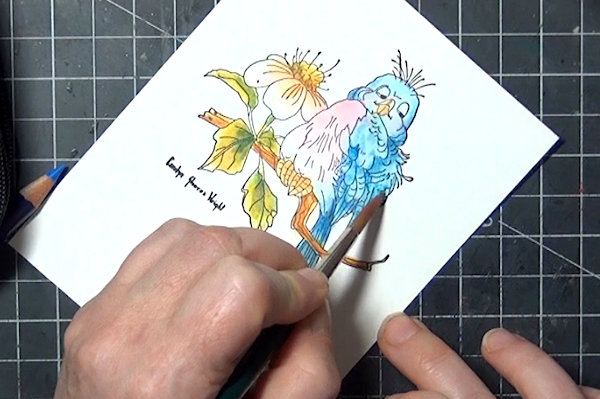
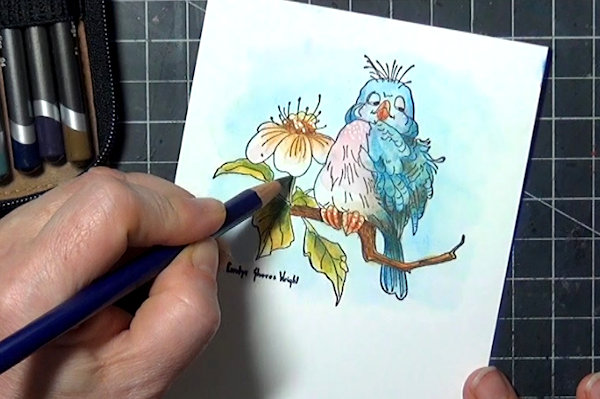
Step 10
When the image is dry, add deeper or more precise shading and details with a dry pencil.
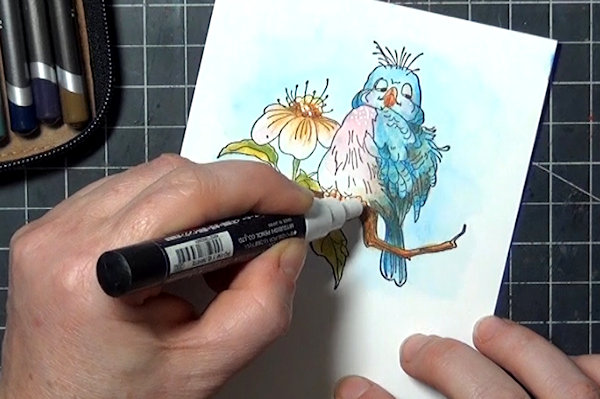
-
Brush lightly with a very small amount of water to set the ink.
-
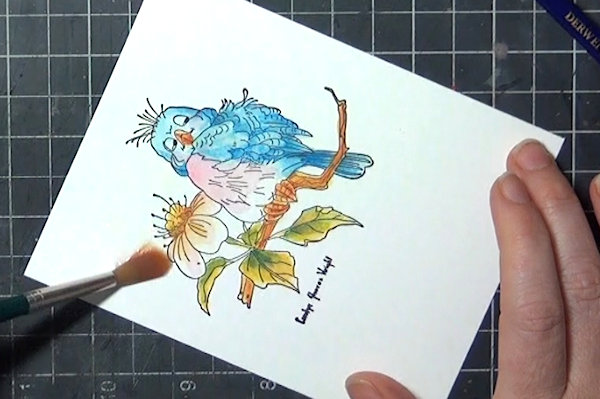
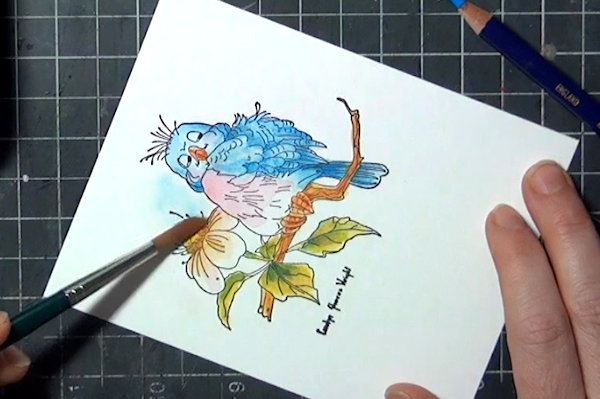
Step 11
Since the Inktense coloring is now permanent, you can add a background around the area without disturbing your painting. For a light wash, apply water to the background first.
-
-
Step 12
Lift pigment from the pencil tip and blend it over the wet area.
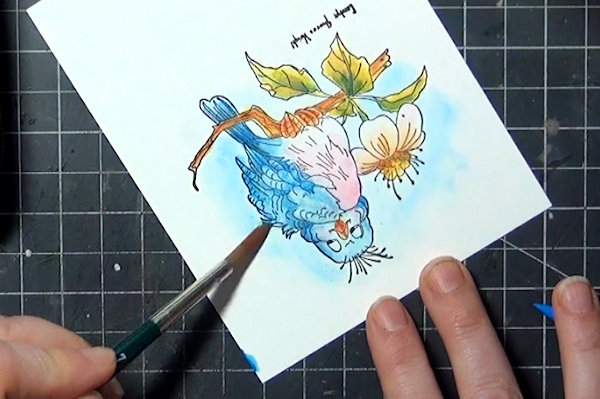
-
Work around the image in the same way, keeping the leading edge of your painting wet to avoid hard lines.
-
Step 13
More details can be added as needed, using pencils…
-
…or other mediums.
-
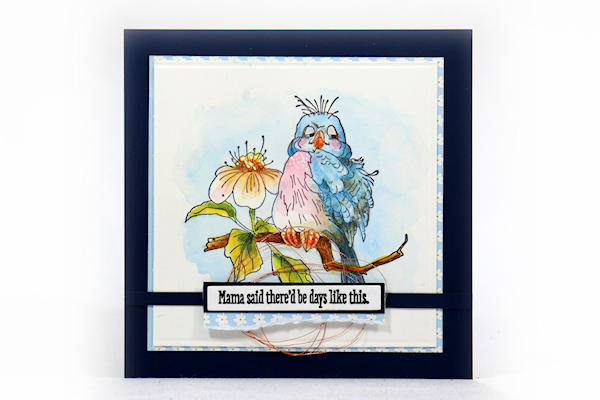
Step 14
Use the completed panel on a card or other project.


Video!
Your Turn
You've seen the tutorial, now you try it! We've got a section of the gallery set aside for Inktense Pencil Basics. Try this technique, then upload your artwork to the gallery. Show us your creations!
***Please note - Internet Explorer/Edge is not a supported browser, and will not allow you to see the videos. Please use Chrome, Firefox or Safari to view our tutorial videos.

Questions and Comments
We'd love to get your feedback or questions. Leave your comment below.
Page 2 of 2 pages < 1 2