Herringbone
by Beate Johns
Create a unique background with thin patterned paper pieces.
Supplies
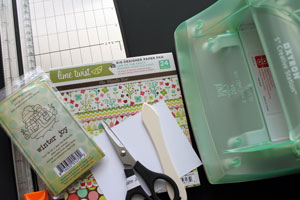
- Patterned paper
- Paper cutter
- Xyron®, or other strong double-sided adhesive
- Cardstock
- Bone folder
Step-by-Step
-
Step 1
Trim a piece of cardstock to the desired size of your background. Run through Xyron® with a permanent adhesive cartridge.
Alternative:
If you don't have a Xyron, cover the cardstock with any strong double-sided adhesive.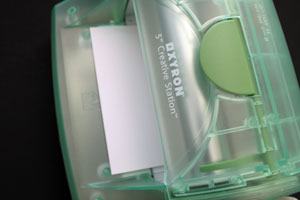
-
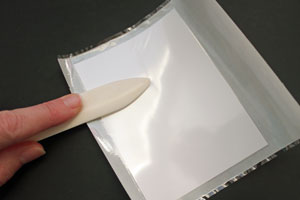
Burnish the cardstock with a bone folder to make sure the adhesive sticks everywhere. Peel off backing and set aside.
-
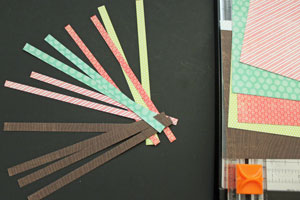
Step 2
Cut three or more different patterned paper pieces into thin strips of equal widths - the pattern looks best with widths between 1/8" and 3/8".
-
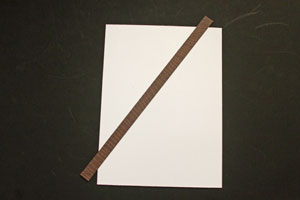
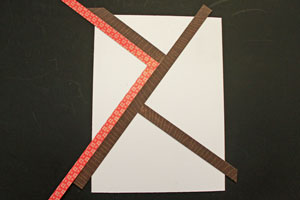
Step 3
Pick one of the darker paper strips and adhere it to the cardstock base diagonally. It will divide the cardstock piece into two triangular sections.
-
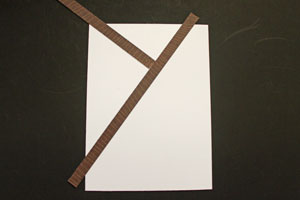
Step 4
Adhere another strip from the same patterned paper across one of the two sections, forming a T.
-
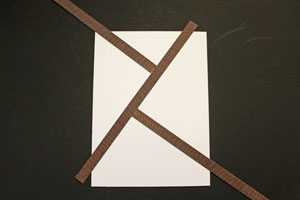
Take a third strip from that paper and adhere it diagonally across the other section. You now have four triangular spaces on the card base.
-
Step 5
Roughly trim the paper strips. It will make the next steps a bit easier.

-
Step 6
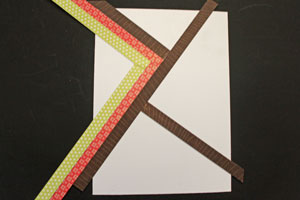
Pick one section of the cardstock and start filling it in.
Take a different patterned paper strip and adhere it next to one of the main strips.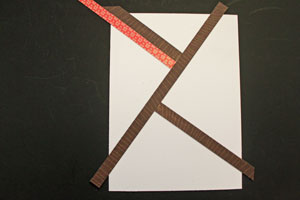
-
Take another strip from the same pattern and adhere to the opposite side of the triangle.
-
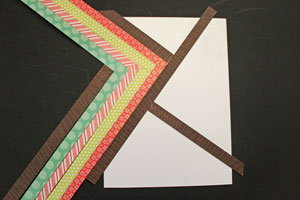
Step 7
Repeat Step 6 with strips of a different paper pattern.
-
Continue to add paper strip pairs until the first section is filled.
-
Step 8
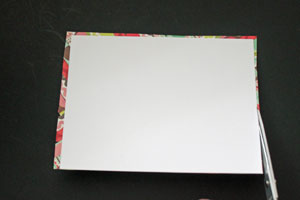
Flip cardstock and trim paper strips. Don't trim all the way to the cardstock just yet.

-
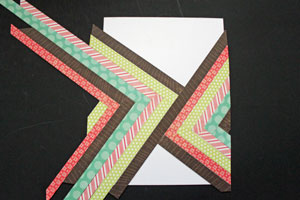
Step 9
Fill in the second triangle with paper strips.
-
Fill in the the third section.
Trim the strips between each section. You can use the longer leftovers to fill in the next triangle.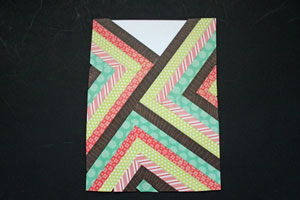
-
Step 10
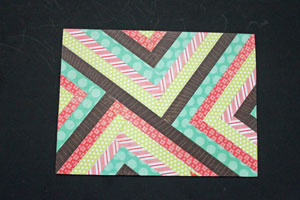
Fill in the last section.
-
Step 11
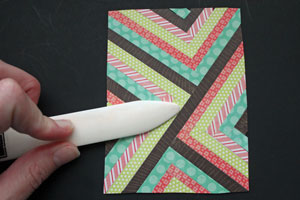
Burnish the background before cutting it to the size of your cardstock. This will prevent smaller strips from falling off.
-
-
Step 12
Use the finished background on project.
(Roly Poly Winter Joy from Unity used here)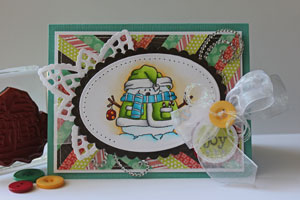
Video!
Your Turn
You've seen the tutorial, now you try it! We've got a section of the gallery set aside for Herringbone. Try this technique, then upload your artwork to the gallery. Show us your creations!
***Please note - Internet Explorer/Edge is not a supported browser, and will not allow you to see the videos. Please use Chrome, Firefox or Safari to view our tutorial videos.
Questions and Comments
We'd love to get your feedback or questions. Leave your comment below.
you can use glue stick on each paper strip or double sided adhesive over the entire card sheet, even if it's a hassle. You can also try spray adhesive. I can't tell you how good that works, I have never tried that.
Just beautiful!
Great way to use scraps, great idea. I use some of mine by putting boards on strips with my punches and covering the card. uses up thoses scraps.
marlene
Thanks for the inspiraton...
Thanks for sharing.
gallery on this type of card????
Page 2 of 3 pages < 1 2 3 >