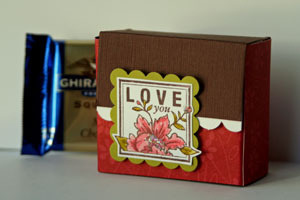
Ghirardelli® Box
by Beate Johns
Make a box to hold four Ghirardelli® chocolates.
Supplies
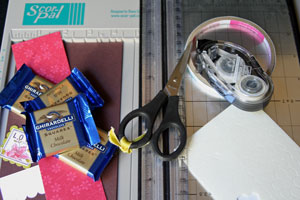
- One 4 1/4" x 8" piece of cardstock
- One 2" x 8 1/4" piece of patterned paper, optional
- Paper Cutter
- Scoring Tool, Scor-Pal™ used here
- Scor-Tape™ or other strong adhesive
- Scissors
- Foam Tape or pop dots
- Stamps
- Ink
- Additional Cardstock
Step-by-Step
-
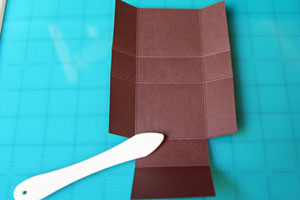
Step 1
Score the short side of your cardstock strip at 1" and 3 1/4".
Hint:
When using the Scor-Pal™ score at 1", then turn paper 180 degrees and score the other side at 1" again.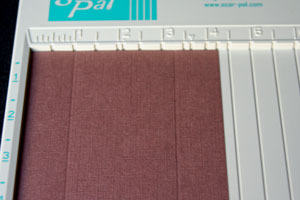
-
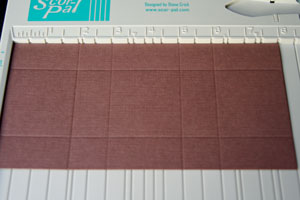
Step 2
Score your long side at 2", 3", 5" and 6".
-
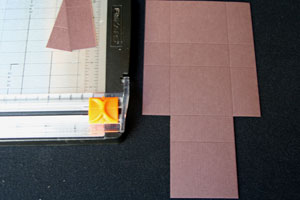
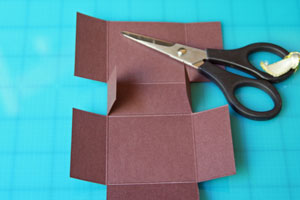
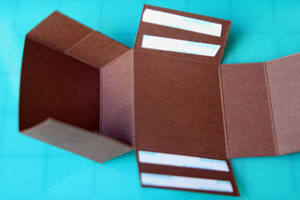
Step 3
Cut off the outer strips 3" up on one end. This will create your box flap.
-
Step 4
Use a bone folder to crease score lines.
-
Step 5
Cut the 1" score lines on both sides.
-
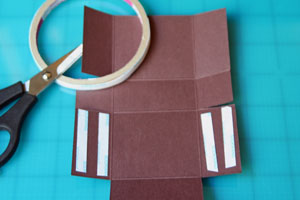
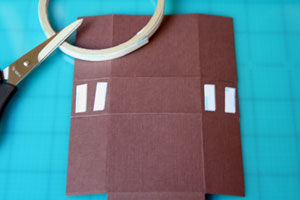
Step 6
Add Scor-Tape™ both 1" x 2" strips next to the box flap.
-
Step 7
Flip your cardstock over and add tape to the 1" tabs.
-
Step 8
Remove the tape liner from the 1" tabs and fold inward.
-
Remove the liner from the 2" strips and bring sides together to form box.

-
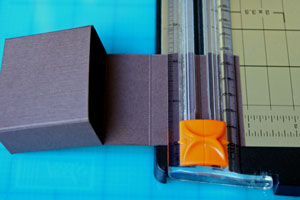
Step 9
Trim box flap. Here, it was cut down 7/8".
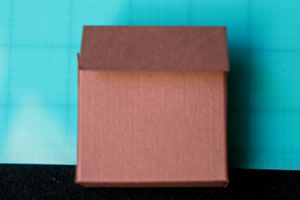
-
Your box is done. It's time to decorate it.
-
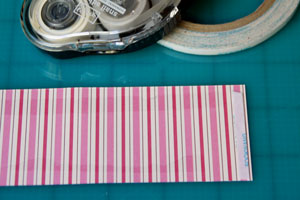
Step 10
Apply adhesive to the back of the patterned paper.
-
Step 11
Adhere patterned paper around your box.
Note:
The ends of the paper will overlap a bit.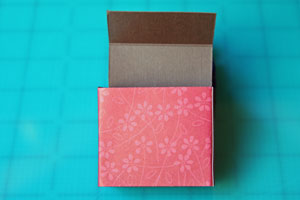
-
Step 12
Create a closure for the box by stamping or punching a small image.
Add foam tape on the lower part of the back of that image.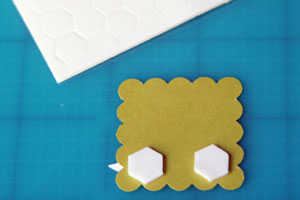
-
Step 13
Remove liner and adhere the punched piece to the lower part of your box so that the lid can slipped underneath.
Fill with chocolate.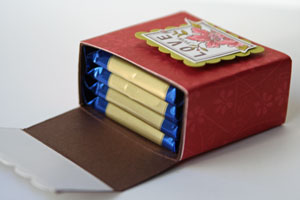
-
Your box is finished. You can find it here in the gallery (with a listing of all supplies).
Video!
Your Turn
You've seen the tutorial, now you try it! We've got a section of the gallery set aside for Ghirardelli® Box. Try this technique, then upload your artwork to the gallery. Show us your creations!
***Please note - Internet Explorer/Edge is not a supported browser, and will not allow you to see the videos. Please use Chrome, Firefox or Safari to view our tutorial videos.
 *
*
Questions and Comments
We'd love to get your feedback or questions. Leave your comment below.
Today (February 4), I posted an entry on my blog with a link to this tutorial.
Would you let me know if that's OK?
Thanks,
Nancy Ward
http://paperfriendly.blogspot.com
Thanks so much!!
After reading through the directions once, I made 16 of them in about 2 hours, and gave them to my co-workers. They loved them! Thanks!
Just wanted to add that nine Hershey's Kisses will also fit nicely in this size box.
I stink at math and am struggling to get the measurements right. Can you help?
Dawn
I gifted my box so I don't have it anymore :-( Should have kept a sample.
I stink at math too, he he... I'll ask my math wizz husband, but hopefully someone will respond before that...
Good luck and please post your sample when you're done.
5 x 10.5 piece of paper
score at 1" and 4" on the 5" side.
Score at 2.5; 3.5; 6.5; and 7.5 along the 10.5" side. Cut and tape as above.
There is definately a "top" of the box. The side with the 2.5 score mark will be your top. Then cut it like Beate describes above. Hope that makes sense.
Enjoy!
The box measurements are
height: 2"
width: 2 1/4"
depth: 1"
Hope that helps. Hugs and smiles
10X,
Liat Varsano
Page 4 of 5 pages « First < 2 3 4 5 >