Foam Tag Ornament
by Michele Kovack
Use adhesive foam shapes to create a sparkly ornament.

Supplies

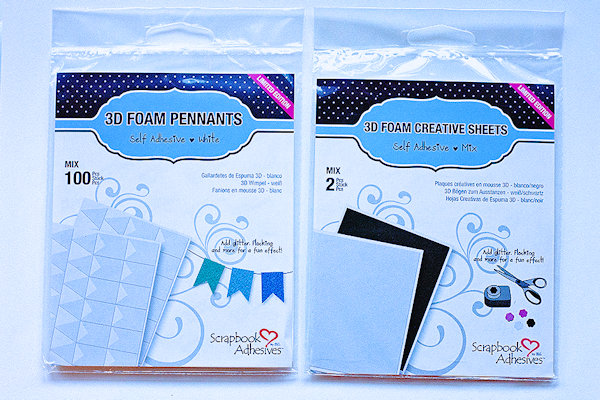
- Adhesive foam sheet (3D Foam Sheet by Scrapbook Adhesives by 3L used here)
- Adhesive foam shapes (can be die cut from foam sheets – Foam Pennants by Scrapbook Adhesives by 3L used here)
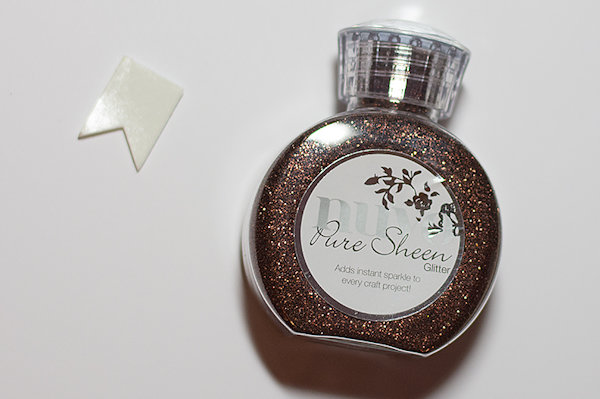
- Fine glitter in various colors
- Glossy Accents
- Adhesive
- Bling – rhinestones, pearls, and other embellishments
- Stickles
- Scissors
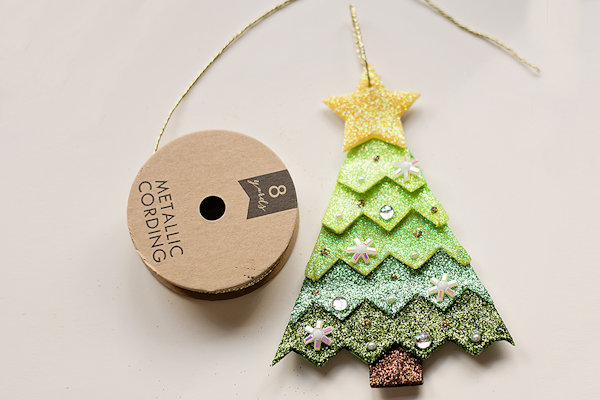
- Gold cording
Step-by-Step
-
Step 1
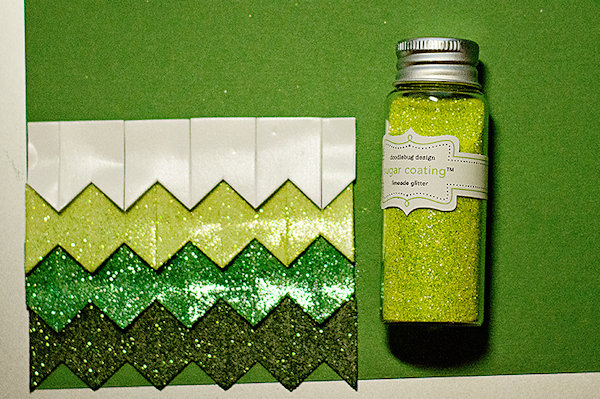
Purchase or prepare a sheet of adhesive foam and a number of adhesive-backed foam shapes. (The shapes used here are pre-cut and sticky on both sides. Craft foam sheets can also be easily die cut.)
-
Step 2
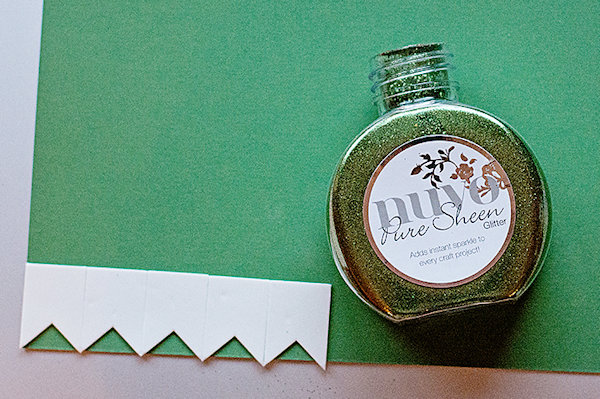
For a tree shape, determine your desired width, and adhere the foam pieces in a row across a cardstock panel, starting at the bottom. Peel off the top adhesive backing and sprinkle with your darkest green glitter.
For the bottom row of the tree here, 5 pennants were used (about 3 3/4" wide). Make the ornament as big or small as you want. -
Step 3
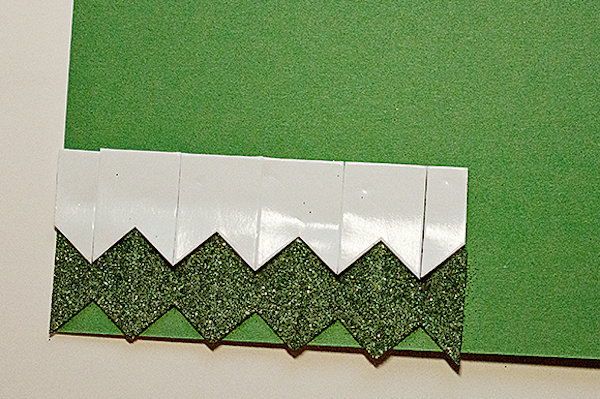
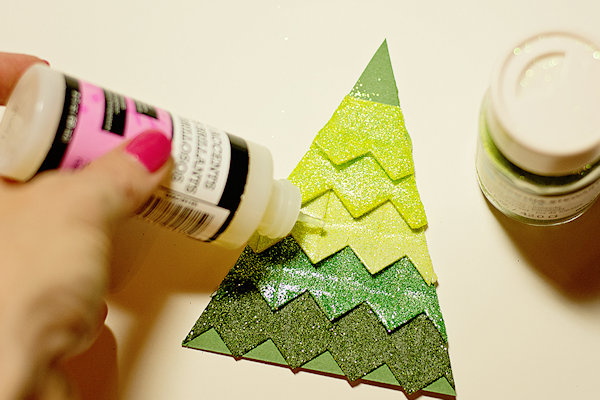
For the next row, adhere the foam shapes onto paper, but have them overhang the bottom layer. Peel the top layer and sprinkle with another shade of green glitter.
-
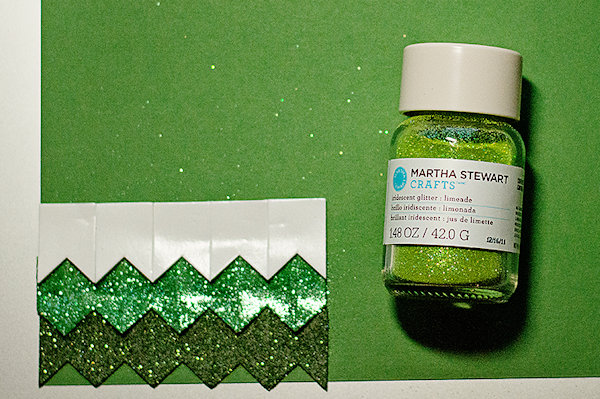
Step 4
Continue this process until you have covered enough area for your shape.
-
For the sample, a lighter green glitter was used for each layer.
-
Step 5
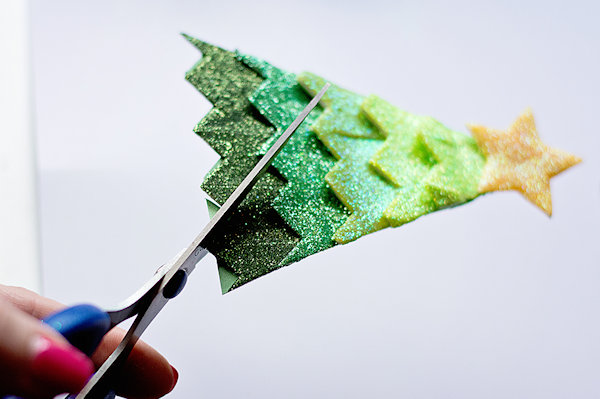
Cut a template to the size and shape you want your ornament, and place it over your glittery foam panel. Cut the excess off.
-
Step 6 (Optional)
For a more dimensional look, add Glossy Accents to each layer and sprinkle glitter one row at a time, letting it dry in between layers.
-
Step 7
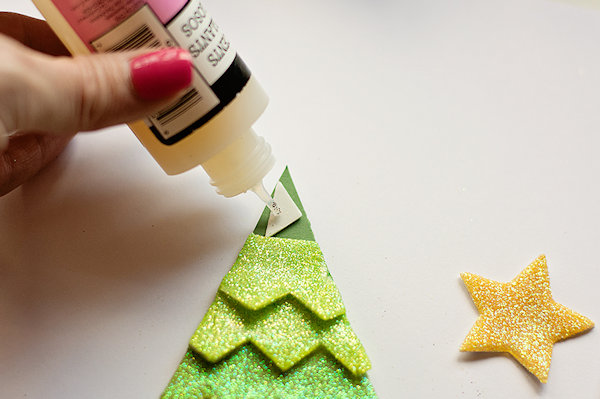
Die cut a star from a foam sheet. Peel off the backing of star and sprinkle with yellow or gold glitter. Here again, more dimension was added with Glossy Accents and additional glitter.
-
Use a scrap piece of foam from the pennants and adhere it to the top of the tree. Add a bit more glue to the foam piece to be sure the star is nice and secure.
-
Step 8
Cut the excess paper off at the bottom of the ornament.
-
Step 9
Give the tree a trunk – here a pennant was turned over to create the trunk of the tree. Peel the top layer off, sprinkle with brown glitter, then add Glossy Accents and additional brown glitter. Let everything dry.
-
Glue the tree trunk to the bottom of the tree.
-
Step 10
Glue rhinestones, pearls, etc. to the tree. Add Gold Stickles too!
-
Step 11
Punch a small hole in the star and thread gold cording through.
-
Step 12
Complete the project.


Video!
Your Turn
You've seen the tutorial, now you try it! We've got a section of the gallery set aside for Foam Tag Ornament. Try this technique, then upload your artwork to the gallery. Show us your creations!
***Please note - Internet Explorer/Edge is not a supported browser, and will not allow you to see the videos. Please use Chrome, Firefox or Safari to view our tutorial videos.

Questions and Comments
We'd love to get your feedback or questions. Leave your comment below.
Page 1 of 1 pages