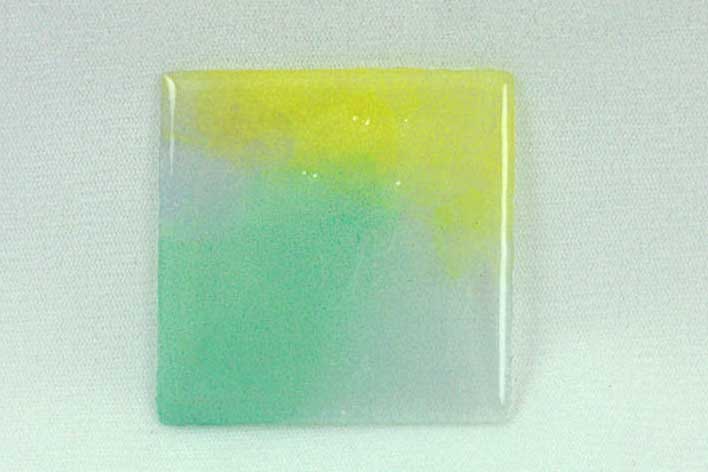
Faux Sea Glass
by Sherry Cheever
Alter frosted glass to make it feel and look pitted as if it were rolling around in sand and salt as true sea glass.
Supplies
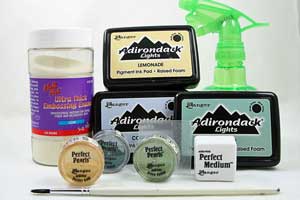
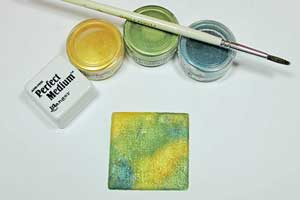
- Ranger Frosted Memory Glass
- Light Colored Pigment Inks
- Ultra Thick Embossing Enamel (UTEE)
- Ranger Perfect Medium
- Ranger Perfect Pearls
- Spray Water Bottle
- Heat Gun
- Paper Towel
Step-by-Step
-
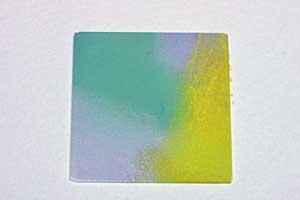
Step 1
Apply light colored pigment inks randomly on Frosted Memory Glass, making sure to cover the entire surface
-
Step 2
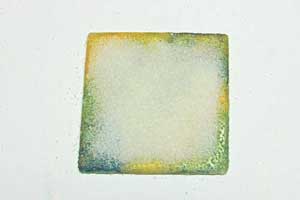
Pour UTEE over the pigment inks
-
and heat until the UTEE is melted.
-
Step 3
While the UTEE is still hot pour on a second layer of UTEE and melt. Repeat this process 2 to 3 times to build up a thick layer of UTEE.
-
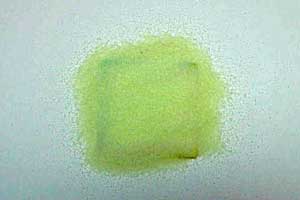
Step 4
Apply Perfect Medium to the glass and brush on a heavy layer of Perfect Pearls.
-
Sprinkle on a layer of UTEE
-
Step 5
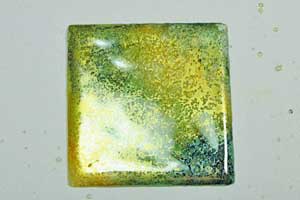
Starting 12 inches away to keep UTEE from blowing, heat UTEE and Perfect Pearls until melted. Continue working with the heat gun, sprinkle on a pinch of UTEE and melt. This will open up the UTEE to form holes in the surface.
-
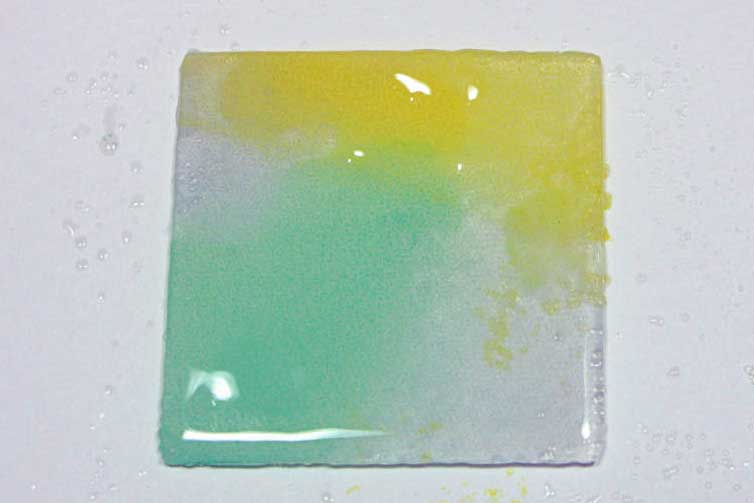
Step 6
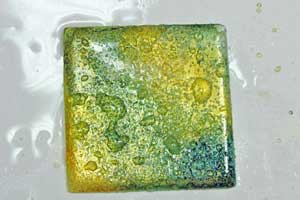
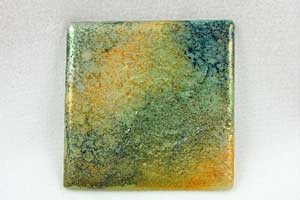
While the UTEE is still hot, spray the surface with a hard stream of water, which will cause the surface to pit. Clean up the water and dry the glass with paper towel.
-
Step 7
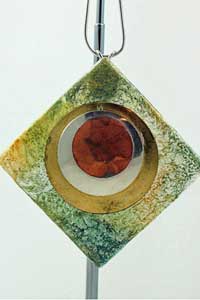
You now have a piece of sea glass that you can use as an embellishment, make a sun catcher or a piece of wearable jewelry.
A special thank you to Suze Weinberg and Julia Andrus who shared their Ranger Video which inspired this written tutorial.
-
Your Turn
You've seen the tutorial, now you try it! We've got a section of the gallery set aside for Faux Sea Glass. Try this technique, then upload your artwork to the gallery. Show us your creations!
***Please note - Internet Explorer/Edge is not a supported browser, and will not allow you to see the videos. Please use Chrome, Firefox or Safari to view our tutorial videos.

Questions and Comments
We'd love to get your feedback or questions. Leave your comment below.
Do you know if these prodcucts are available in Canada? I would love to try this!
Hi, I'm from Alberta, Canada and I found the the materials for this project at our Michael's store. Hope this helps some of you. I'm wanting to try this project.
Page 2 of 3 pages < 1 2 3 >