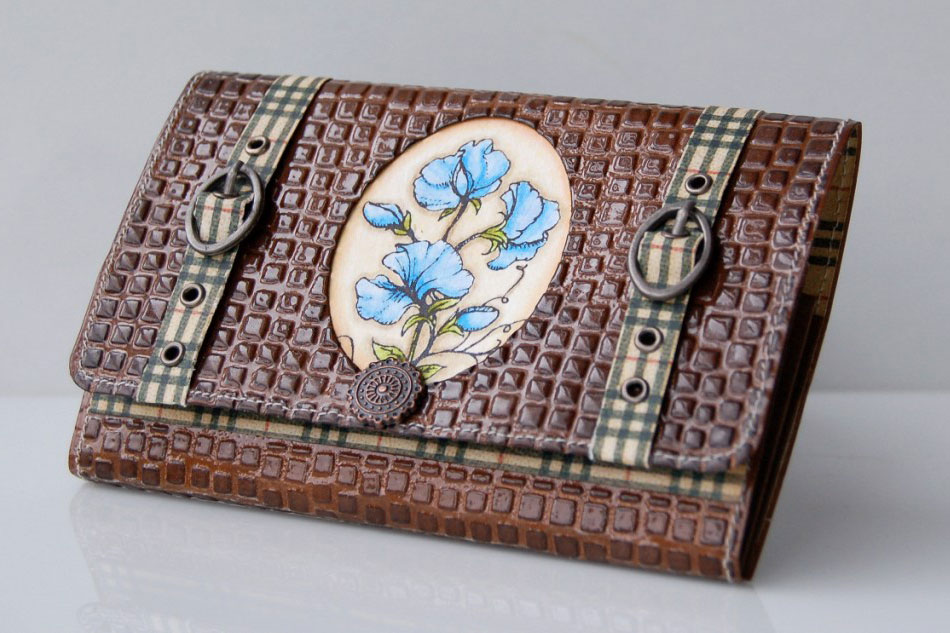
Faux Leather Wallet
by Yvonne Hagane
Create a beautiful faux leather wallet out of cardstock.
Supplies
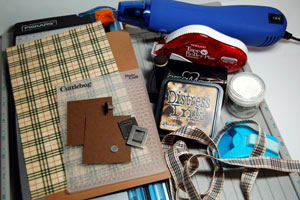
- Paper Trimmer
- Scor-Pal, or other scoring tool
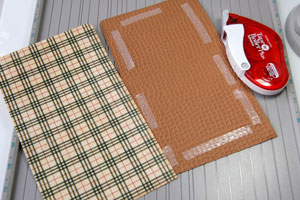
- One 5 1/4" x 8 3/4" piece of brown cardstock (13,5 cm x 22,5 cm)
- One 5 3/16" x 8 11/16" piece of patterned paper (13,4 cm x 22,4 cm)
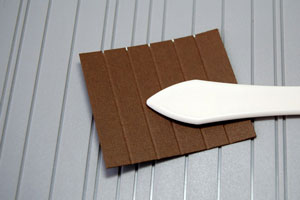
- Two 2" x 3" pieces of brown cardstock (5 cm x 6 cm)
- Cuttlebug™ Embossing folder Mosaic
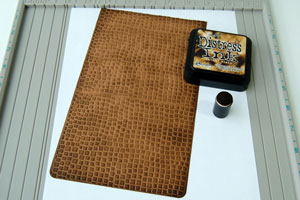
- Dark brown ink, Walnut Stain Distress ink used here
- Sponge
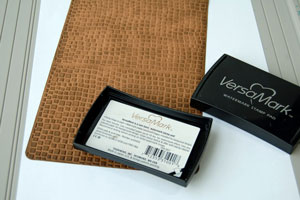
- Versamark™, or other clear embossing ink
- Clear Embossing Powder
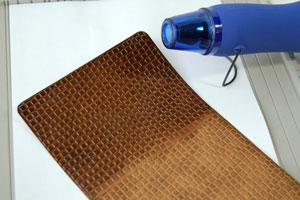
- Heat Gun
- Double Sided Adhesive
- Sewing Machine
- Corner Rounder Punch
- Decorative Brad, buckles and ribbon
Step-by-Step
-
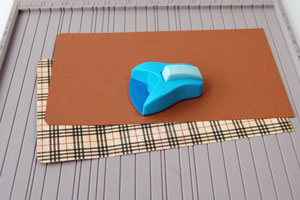
Step 1
Punch two corners on the short side of the brown cardstock and patterned paper.
-
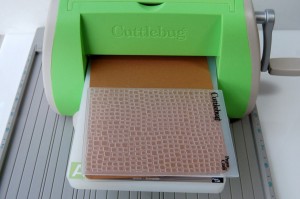
Step 2
Emboss the brown cardstock with the Mosaic Cuttlebug Embossing folder.
-
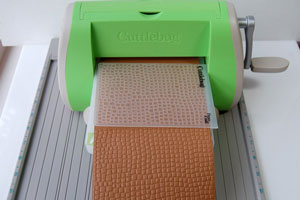
Step 3
You need to run the cardstock piece through your die cut machine three times to emboss the entire piece.
-
Step 4
Sponge the embossed piece randomly with dark brown ink.
-
Step 5
Apply Versamark™ ink over your cardstock.
Hint:
It's a big piece of cardstock. Apply first only to one half of the cardstock, emboss, then repeat with the other cardstock half.
-
Step 6
Add clear embossing powder over your cardstock.
Tap off excess.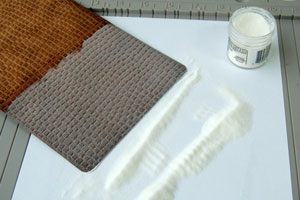
-
Step 7
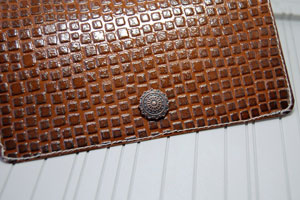
Heat emboss to complete the Faux Leather look.
-
Step 8
Adhere the patterned paper to the back of the Faux Leather cardstock.
-
Step 9
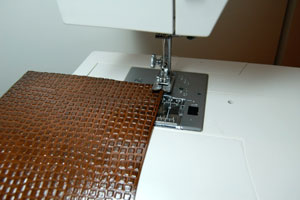
Sew around the edges of the cardstock.
-
Step 10
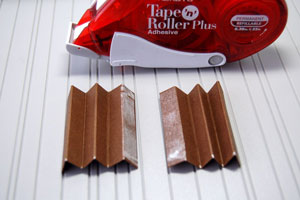
Score your smaller brown cardstock pieces every 1/2" (1 cm) , adding five score lines.
-
Step 11
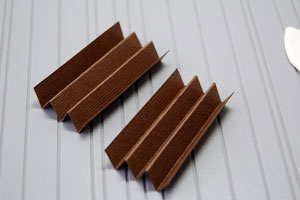
Fan fold the score lines mountain/valley style.
-
Step 12
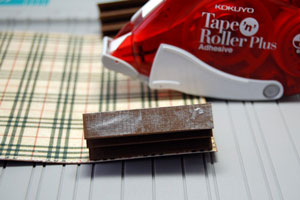
Add strong double sided adhesive to the last fold.
-
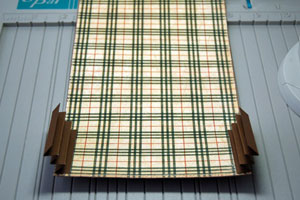
Step 13
Adhere folded cardstock as shown.
-
Step 14
Add adhesive to the last fold of the cardstock fan.
-
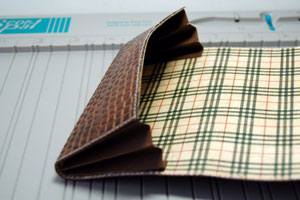
Step 15
Fold the lower part of the wallet as shown.
-
Step 16
Use a piercing tool or similar to make a hole, and add a decorative brad at the front of the wallet.
-
Step 17
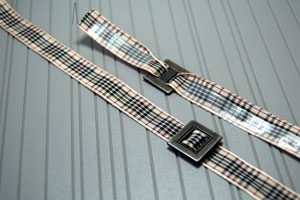
Attatch the buckles to the ribbon, add double sided tape and attatch them to the wallet as shown on the finished wallet.
-
Step 18
Attach a small magnet as shown. (you want to use some strong glue here)
-
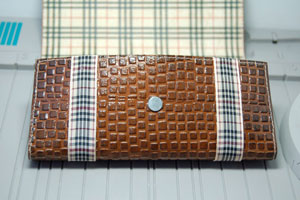
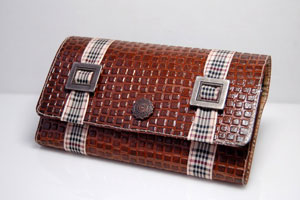
Step 19
Your Faux Leather purse is finished.
Video!
Variations
-
Cut a window into your faux leather cardstock piece and place a stamped image behind it.
Your Turn
You've seen the tutorial, now you try it! We've got a section of the gallery set aside for Faux Leather Wallet. Try this technique, then upload your artwork to the gallery. Show us your creations!
***Please note - Internet Explorer/Edge is not a supported browser, and will not allow you to see the videos. Please use Chrome, Firefox or Safari to view our tutorial videos.

 *
*
Questions and Comments
We'd love to get your feedback or questions. Leave your comment below.
Can't wait to give it a try!
TFS
RED would be stunning I think also!!! I just wondered how heavy the inside patterned paper should be that everyone is using?? Maybe it will fold up easier? also. Dunno ?? Would be curious to hear from others tho what worked (or didn't) for them.
Take care all....Happy Wallet Making!!
Not sure about sewing machine problems..as mine worked ?? okay I guess...hard to move it through the machine, but just took my time and did Best I could with that part.
Had same problems with darn magnets...I ended up gluing a piece of paper to back side of magnet (that I would normally be gluing to wallet) and THAN put crystal effects on that and pressed onto wallet surface...know what I mean??? Somehow the "paper backed magnet"I call it
Candy
Thanks Sue
Page 4 of 5 pages « First < 2 3 4 5 >