Faux Hardware Embellishments
by France Martin
Use common supplies to create some fun metallic hardware embellishments.

Supplies
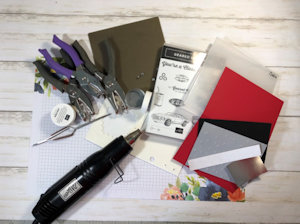
- Embossing powder (silver and black )
- Stampin' Up!® Dimensionals (double-sided foam adhesive hexagons)
- Heat tool
- Paper piercer
- Hole punch (1/4” and 1/8”)
- Other supplies as needed to complete the project (SU supplies uses here: Geared Up Garage stamp set, Real Red, Basic Black, Smoky Slate cardstock, Silver Foil and Wood Texture designer paper, glue dots, Scattered Sequins embossing folder, VersaMark ink, Cherry Cobbler Stampin’ Blend)
Step-by-Step
-
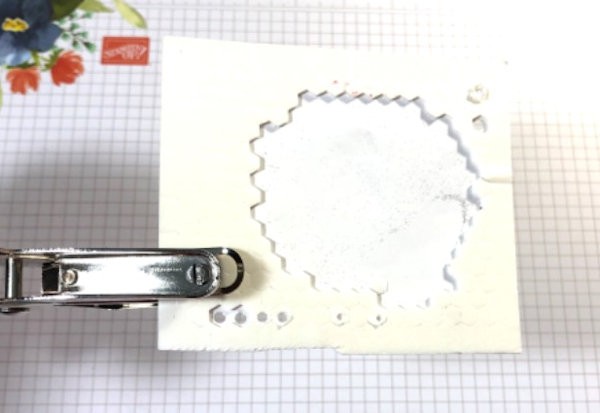
Step 1
Using a 1/4" hole punch, punch out a hole in the center of a large Dimensional. If using small Dimensionals, use an 1/8” hole punch.
NOTE:
Dimensionals have a hexagonal shape. Small dies or scissors can be used to cut regular adhesive foam into hardware shapes. -
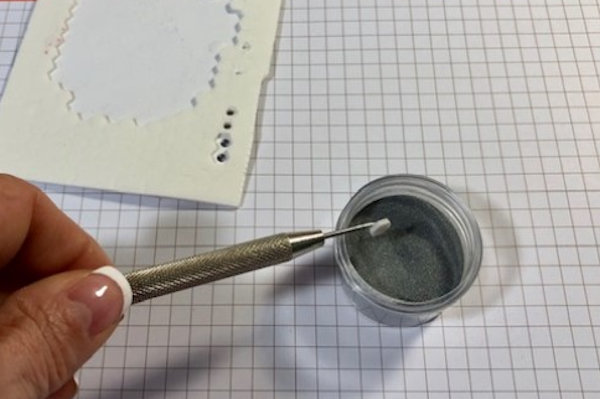
Step 2
Place the Dimensional on the paper piercer and dip it in silver embossing powder.
-
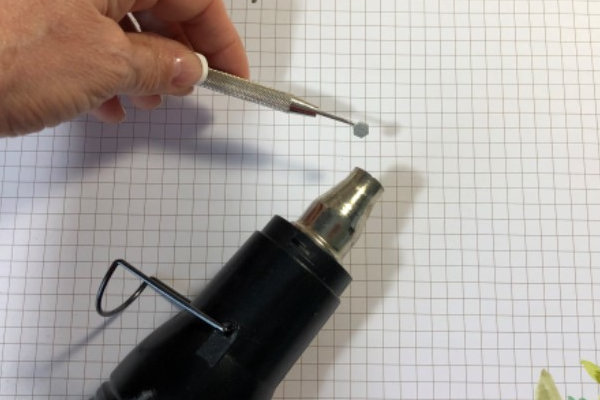
Step 3
Heat emboss. Dip the shape into the embossing powder again while it is hot and heat emboss again.
-
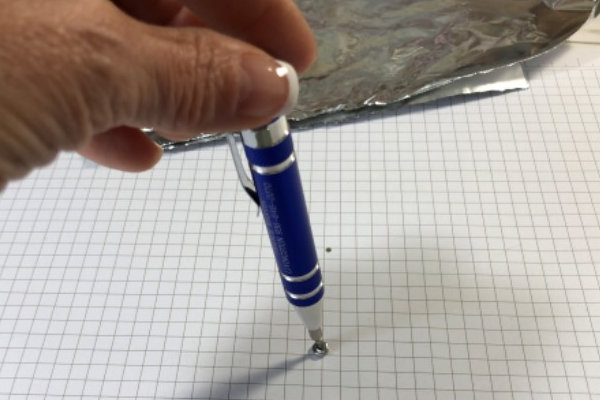
Step 4
If choosing to do a screw, do not punch a hole in the center of the Dimensional. Dip the Dimensional into the silver embossing powder. Emboss and repeat.
After the second time heat embossing and while the melted powder is still hot, place a screwdriver on the top of the embossed Dimensional and press to imprint. -
Step 5
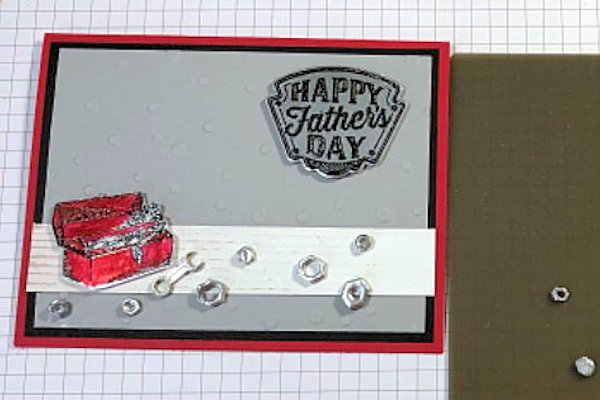
Prepare a card base with a toolbox or hardware theme.
-
Step 6
Use the screw and bolt embellishments to decorate the card and complete the project.
Video!
Your Turn
You've seen the tutorial, now you try it! We've got a section of the gallery set aside for Faux Hardware Embellishments. Try this technique, then upload your artwork to the gallery. Show us your creations!
***Please note - Internet Explorer/Edge is not a supported browser, and will not allow you to see the videos. Please use Chrome, Firefox or Safari to view our tutorial videos.

Questions and Comments
We'd love to get your feedback or questions. Leave your comment below.
Page 1 of 1 pages