Faux Brads
by Julie Warner
Create your own brads out of paper.
Supplies
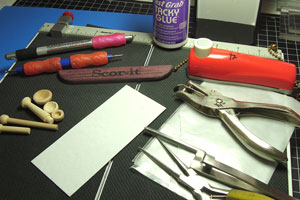
- Scrap cardboard
- Hole punch (1/4" or 1/2", round)
- Large ball stylus
- Tacky glue
- Tweezers or Needle-nose pliers
- Wax paper
- Wooden toy bowls and pegs (optional – found in woodworking section of local craft store)
Step-by-Step
-
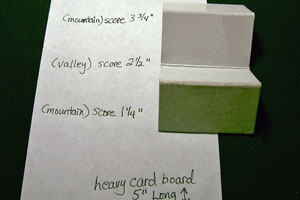
Step 1
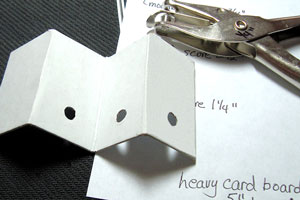
Score a 5" long piece of cardboard 3 times at 1 ¼" intervals. The first and third scores should be mountain fold and the second (middle) fold should be a valley fold.
-
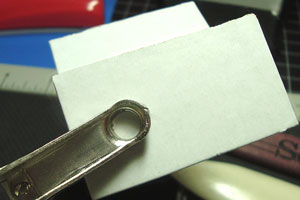
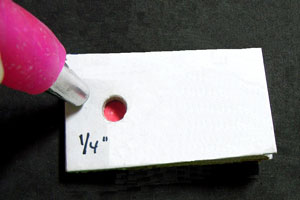
Step 2
Punch a hole in the first section. Fold up to the second section.
-
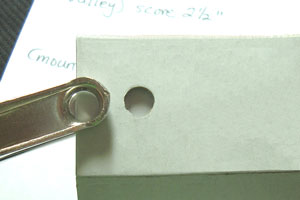
Punch Using the first hole as your guide, punch a hole through the second section.
-
Step 3
Fold up to the third section. Using the first 2 holes as your guide, punch through the third layer. Leave the fourth layer unpunched.
-
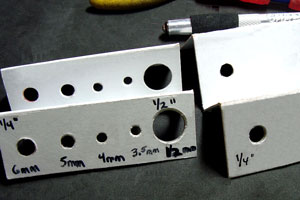
Your faux brad jigs, or molds, are finished. Multiple sizes are shown on first example.
-
Step 4
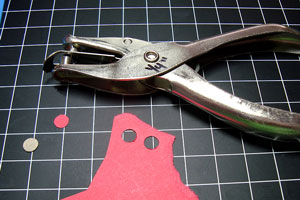
Using the same hole punch, punch one hole out of card stock and one out of cardboard.
-
Step 5
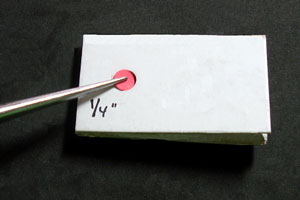
Fold up your brad jig and place the card stock circle inside the hole in your jig.
-
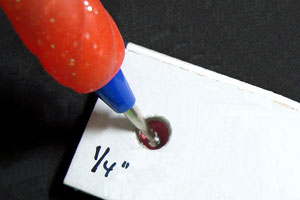
Step 6
Use the largest end of your stylus to push the circle down and round it against the sides.
-
Step 7 (Optional)
You may also use a wooden toy bowl in place of or in addition to the jig.
Note:
The larger sizes work well for 1/2 inch or larger faux brads.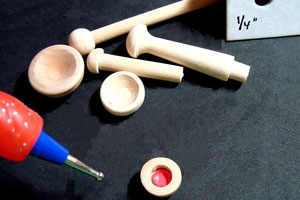
-
Step 7
Repeat the rounding on the cardboard circle. Place a small amount of fast grab tacky glue inside the rounded card stock circle.
-
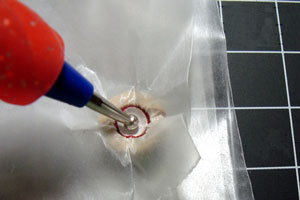
Step 8
Place the wax paper between the last punched hole and the unpunched layer in your brad jig (or inside the wooden bowl as shown). Use the stylus to push the layers together and also to further round the two. The wax paper will keep the glue from sticking but also provides a wax shine to your brad.
-
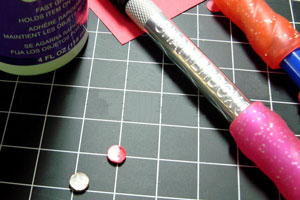
Comparison:
Brad with this step and without.
-
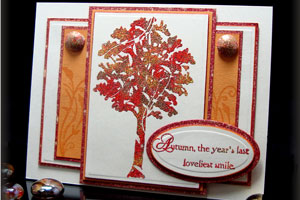
Step 9
Complete your project and attach the brads using the same tacky glue.
-


Questions and Comments
We'd love to get your feedback or questions. Leave your comment below.
Thanks Beata.
I love the Faux Brad Technique. I am heading to Michaels for the mini bowls today. I get my weekly ideas on Wednesdays and I find that I look forward to this each week too. I file them into a Folder I have labeled Splitcoast stampers. You do a grea job!!
Diana
I think the written our version of this technique is using an alternative way to make the brads without the bowls. At least as you read down she then writes, Optional (step 7) you may also use a wooden toy bowl. Check it out.
Diana
Thank you so much!!
I saw a video you made, several months ago, I think, that was on a Tent Topper Card. Could you please let me know where I can find that video again? I have no idea what I did with it.
I love the way you taught us how to make a brad out of card stock and all the other videos you have out there. Thank you so much for all your efforts.
Midge
The second method, I experimented with, also worked!! I inverted the upper portion of a button kit (to use in place of the wooden bowl), the prongs produced a tiny spiked edge. Neat thing about using this ... a wide range of button sizes can be found!
Thanks for sharing all your wonderful ideas! CM2
Hugs and smiles
Page 2 of 2 pages < 1 2