Fan Fold Flower
by Bonnie Szwalkiewicz
Create these darling embellishments in just a few steps.
Supplies
- 12" wide Patterned Paper
- Decorative Edge Punch (here, Scallop Edge Punch from Stampin' Up!)
- Paper Trimmer
- Adhesive
- Circle Punch
Step-by-Step
-
Step 1
Use a scalloped punch to add a border to a 12” strip of patterned paper.
The finished flower will be twice as wide as your paper strip when finished, so cut the strip accordingly.
Tip: Try experimenting with other edges, too.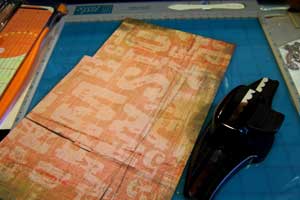
-
Step 2
Place patterned paper on the paper trimmer.
Here, the strip measures ¾” including the measurement of the scallops.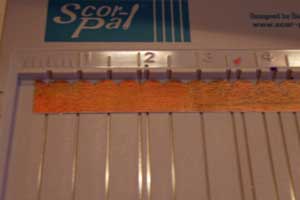
-
Step 3
Score the scalloped strip between each of the scallops.
Fan fold at each crease.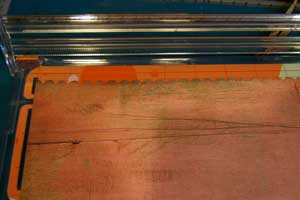
-
Step 4
Join the patterned paper ends with glue or double sided tape.
Punch or cut a small base piece of card stock to glue the flower to.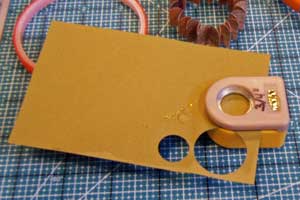
-
Step 5
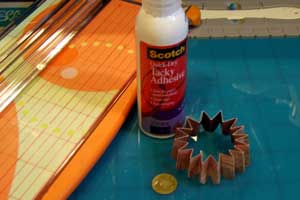
Add glue to the punched base.
-
Step 6
Adhere the fan folded ring to the base, pushing flat to create a flower.
Hold flower in place until dry.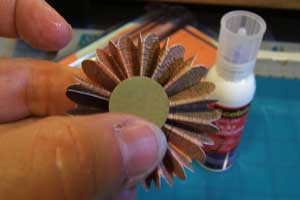
-
Step 7
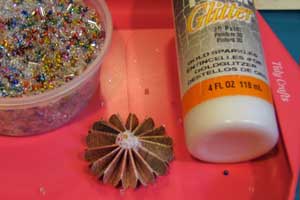
Fill in the center gap with a button or brad.
-
Here, the center was filled with Tulip white glitter puffy paint. While the paint was still wet, various colored seed beads were sprinkled on.

Video!
Your Turn
You've seen the tutorial, now you try it! We've got a section of the gallery set aside for Fan Fold Flower. Try this technique, then upload your artwork to the gallery. Show us your creations!
***Please note - Internet Explorer/Edge is not a supported browser, and will not allow you to see the videos. Please use Chrome, Firefox or Safari to view our tutorial videos.

Questions and Comments
We'd love to get your feedback or questions. Leave your comment below.
Thank you, thank you, thank you!!!!
Page 3 of 3 pages < 1 2 3