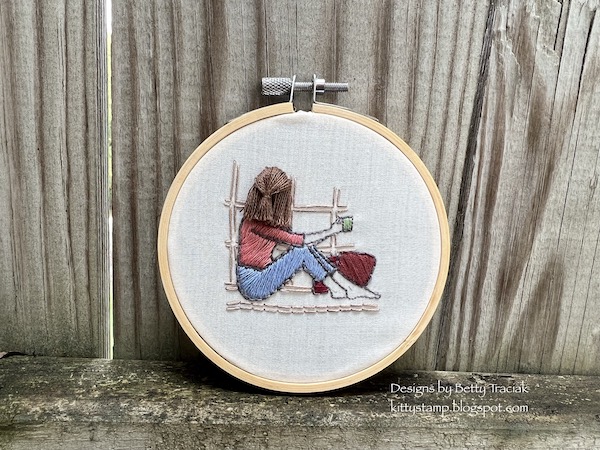
Embroidering Stamped Images
by Betty Traciak
Add detailed embroidery to line art stamp images.
Supplies
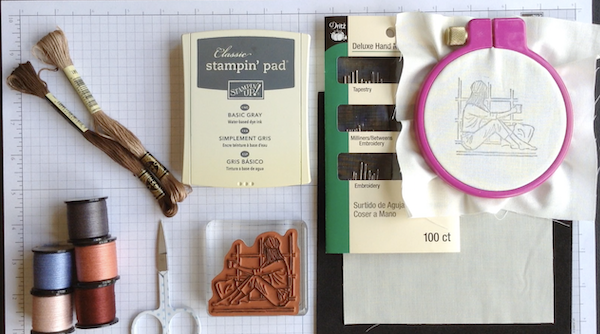
- Line art stamp
- Neutral Ink
- Embroidery floss
- Scissors
- Embroidery needles
- Light colored fabric
- Small brush
- Embroidery hoop
- Foam stamping pad optional
Step-by-Step
-
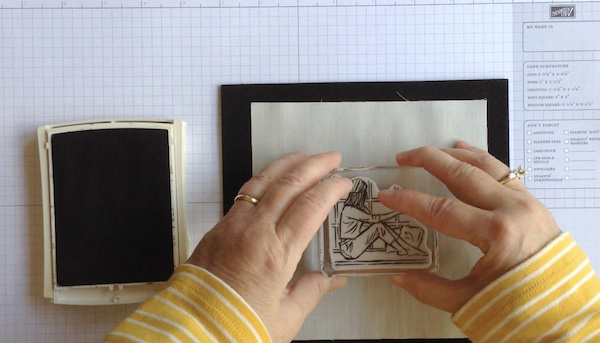
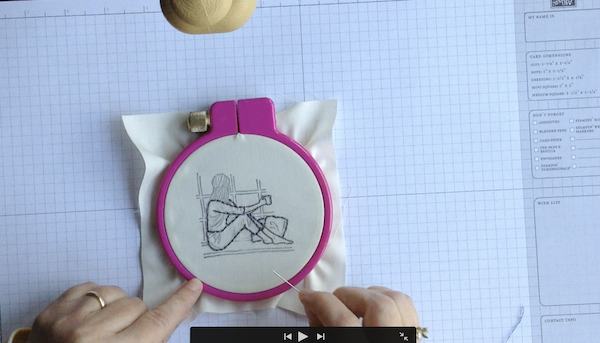
Step 1
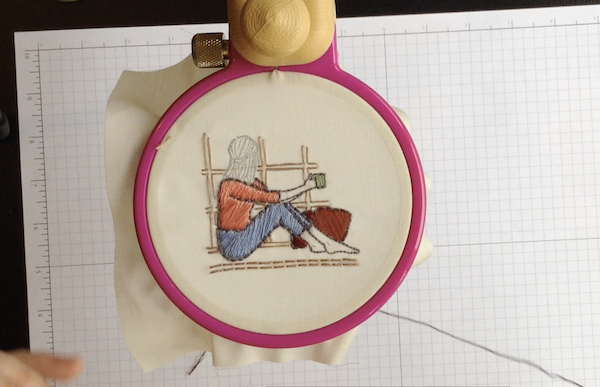
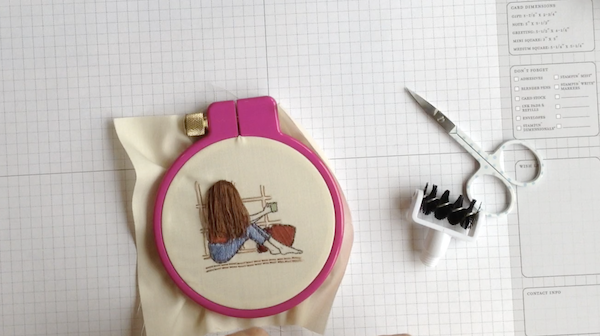
Stamp a line art stamp image on light colored fabric with a neutral, light ink. Secure and stretch your fabric in an embroidery hoop.
-
Step 2
Backstitch the lines with black embroidery floss.
-
Step 3
Fill areas of clothing and accessories with satin stitch using desired colors.
-
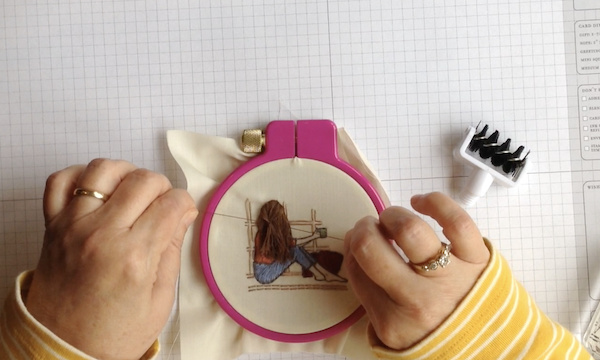
Step 4
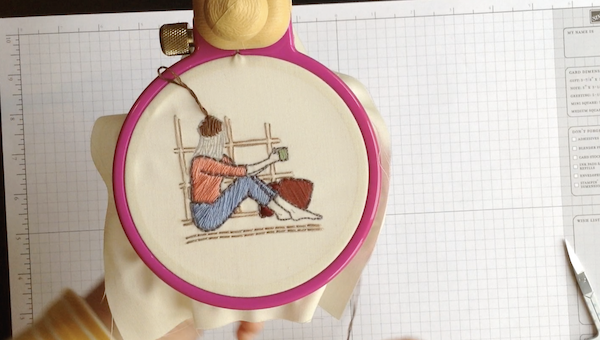
Fill area of crown of head with satin stitch.
-
Step 5
Bring thread up at edge of crown. Go back down very close to this stitch leaving a loop. Take a small stitch at base to lock the loop.
-
Step 6
Continue making loops around crown.
-
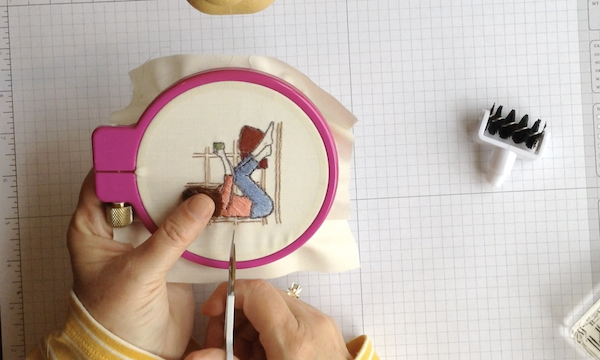
Step 7
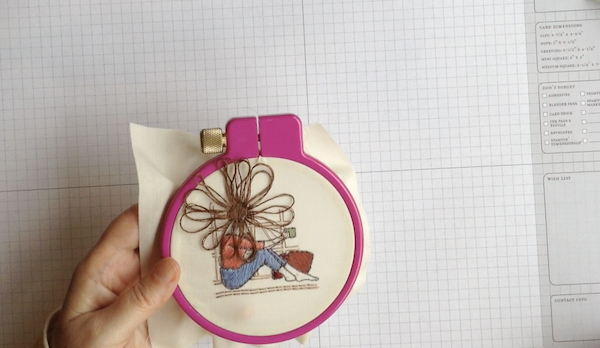
Snip each loop with scissors.
-
Step 8
Use small brush to separate strands of floss.
-
Step 9
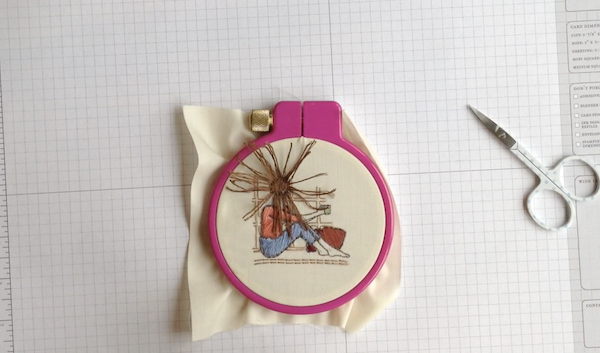
Optional: tie half ponytail with single strand of floss.
-
Step 10
Trim hair to desired length.
Video!
Your Turn
You've seen the tutorial, now you try it! We've got a section of the gallery set aside for Embroidering Stamped Images. Try this technique, then upload your artwork to the gallery. Show us your creations!
***Please note - Internet Explorer/Edge is not a supported browser, and will not allow you to see the videos. Please use Chrome, Firefox or Safari to view our tutorial videos.

Questions and Comments
We'd love to get your feedback or questions. Leave your comment below.
Page 1 of 1 pages