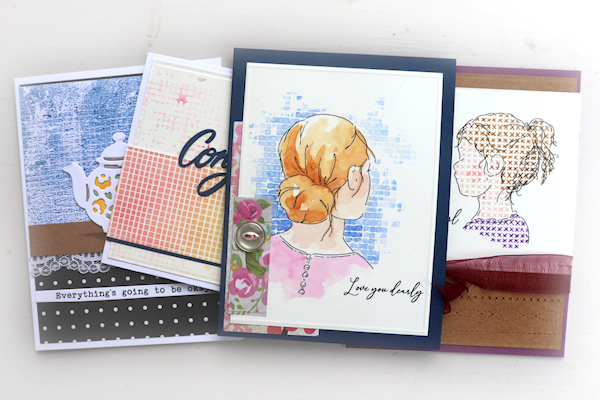
Drywall Tape Techniques
by Dina Kowal
Uses for drywall mesh tape in card making.
Supplies
- Drywall mesh tape
- Substrates of choice (watercolor paper, smooth cardstock, mini canvas used for tutorial)
- Blendable inks, brushes (Distress Oxide inks used here)
- Watercolor paints (QoR watercolors by Golden used here)
- Brush and water
- Stamps (Impression Obsession CL1208 Mother's Love clear set used here)
- Colored pencils
- Sharpener
- Gel plate
- Craft paint
- Brayer
- Tin can or other sturdy cylinder
- Texture medium, palette knife (Liquitex modeling paste used here)
- Other supplies as needed to complete the projects (used here: see notes in gallery entries)
Step-by-Step
-
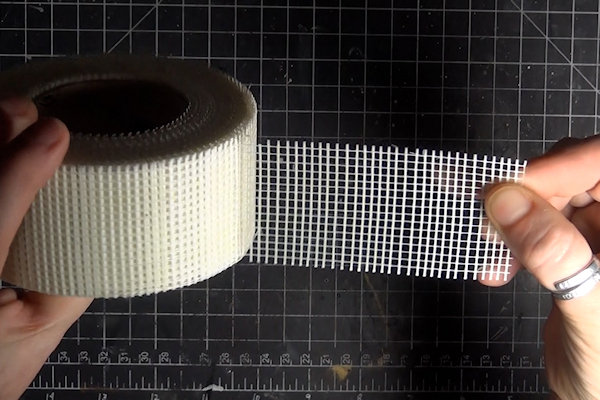
Step 1
Drywall mesh tape is an adhesive fiberglass mesh that strengthens the seams of drywall in construction. It comes in rolls of various widths and can be found in any hardware store.
-
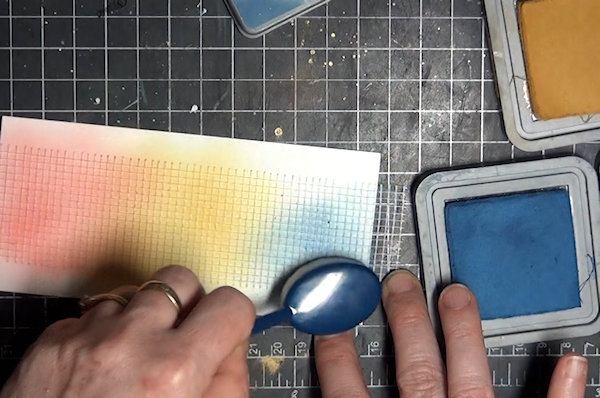
Step 2
The light adhesive backing and gridded texture of drywall tape are great properties for a stencil. Adhere the tape to a piece of cardstock and brush ink over it.
-
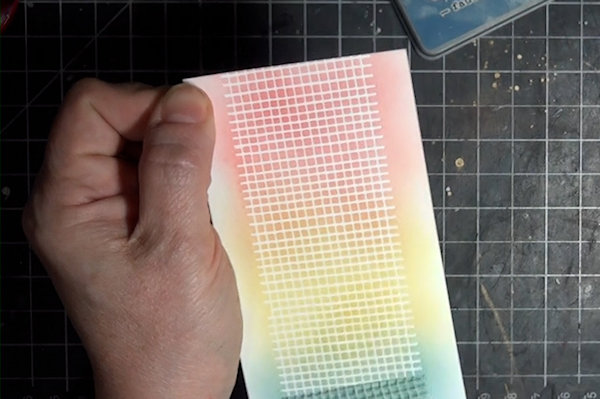
Remove the tape to reveal the pattern.
-
Step 3
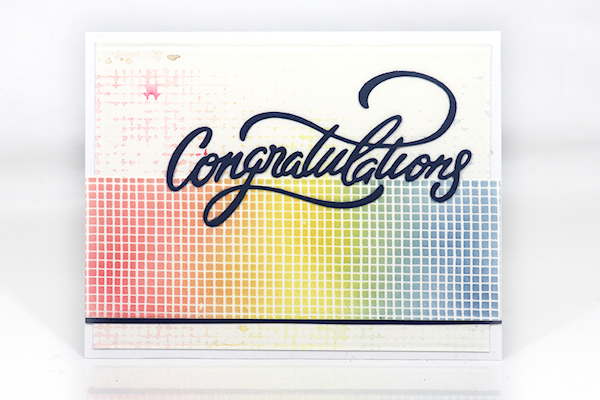
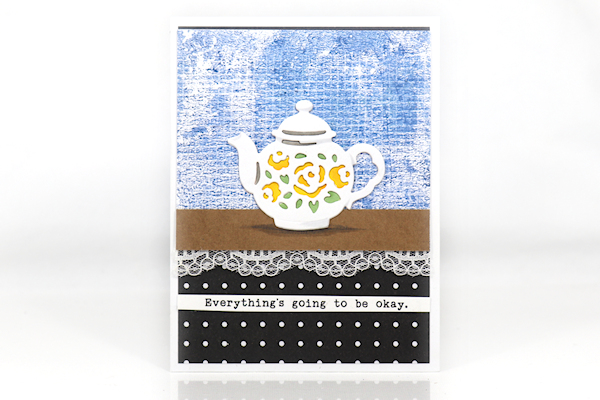
The inked tape could also be used as a design element, or misted with water and printed on another surface as seen on the background panel here.
-
Step 4
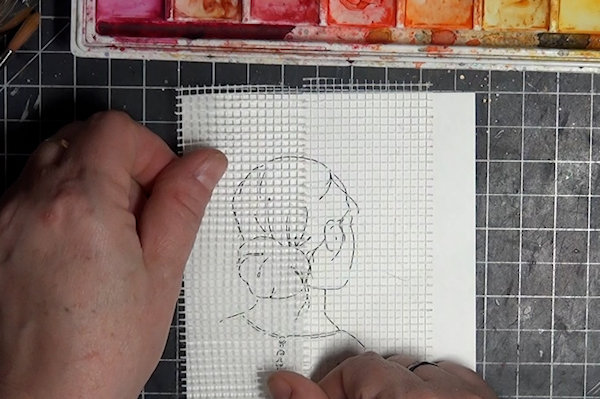
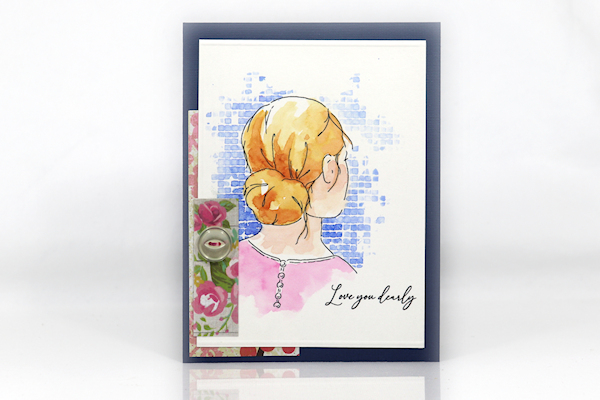
Align the tape over the edge of a stamped image.
-
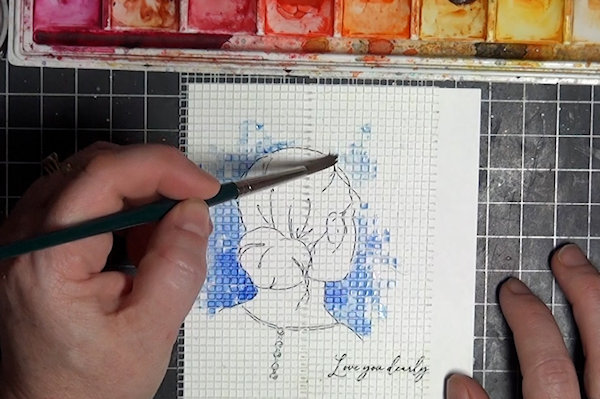
Watercolor around the image to add texture to the background. The raised texture of the tape helps to control the watercolor wash.
-
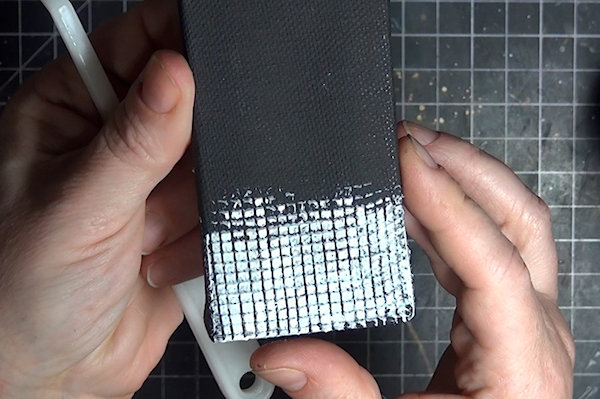
Step 5
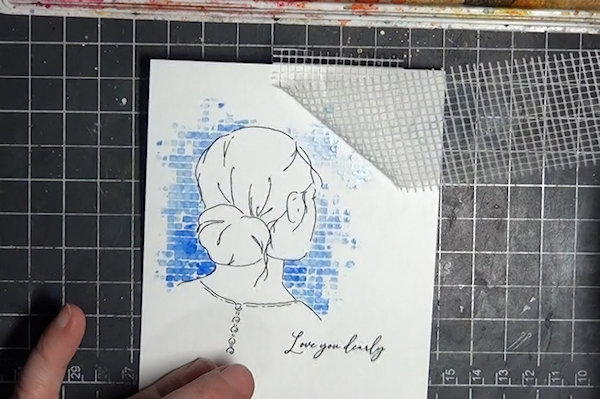
When you remove the tape you will be left with this texture. Try layering over or under other colors for different effects.
-
-
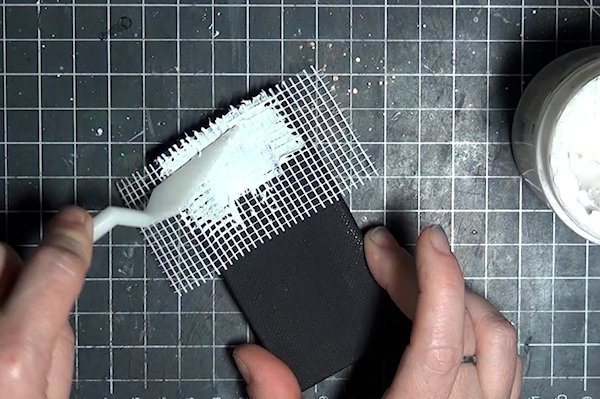
Step 6
Apply a texture medium through the tape (modeling paste used here).
-
-
Step 7
Try a faux cross-stitch technique! Apply the tape over a stamped image and use a sharp colored pencil to draw an x in each square from corner to corner.
-
Fill in the base color of each section first, then add darker colors for shading.
-
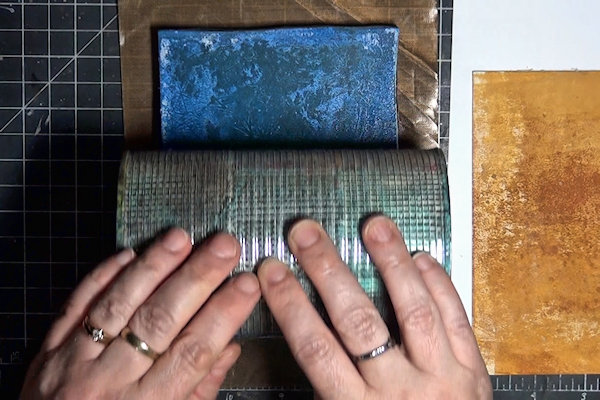
Step 8
Add texture to a gel print. Wrap drywall tape around a large tin can or another sturdy cylinder.
-
Use a brayer to apply acrylic paint to a gel plate in an even layer. Roll the taped can over the gel plate, pressing the texture of the tape into the paint.
-
Step 9
Press a paper down onto the plate to lift the paint and pull a print. (For more instructions on gel printing, click HERE.)
-


Video!
Your Turn
You've seen the tutorial, now you try it! We've got a section of the gallery set aside for Drywall Tape Techniques. Try this technique, then upload your artwork to the gallery. Show us your creations!
***Please note - Internet Explorer/Edge is not a supported browser, and will not allow you to see the videos. Please use Chrome, Firefox or Safari to view our tutorial videos.

Questions and Comments
We'd love to get your feedback or questions. Leave your comment below.
Page 1 of 1 pages