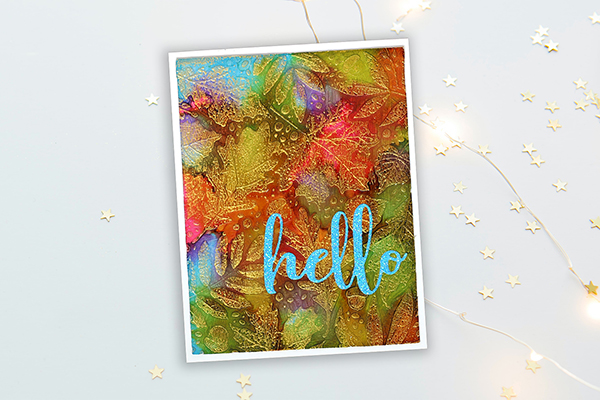
Drunken Embossed Foil
by Lydia Fiedler
Get a luminous opacity with embossing and alcohol ink.
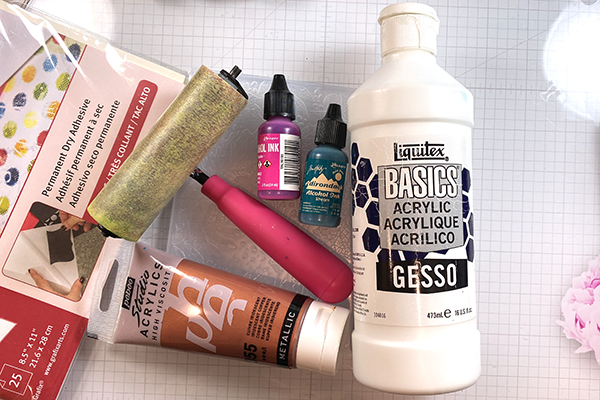
Supplies
-
Please see video description on YouTube for detailed supplies
- 3D embossing folder
- Gesso
- Alcohol inks
- Double sided adhesive sheets
- Brayer
- Gold acrylic paint
Step-by-Step
-
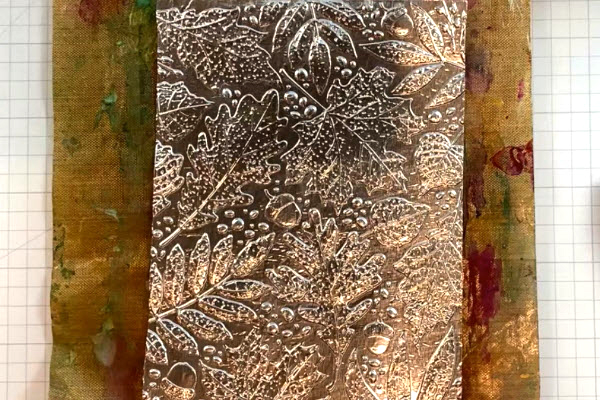
Step 1
Using double-sided adhesive sheets, attach thin aluminum foil to cardstock and emboss with a 3D embossing folder.
-
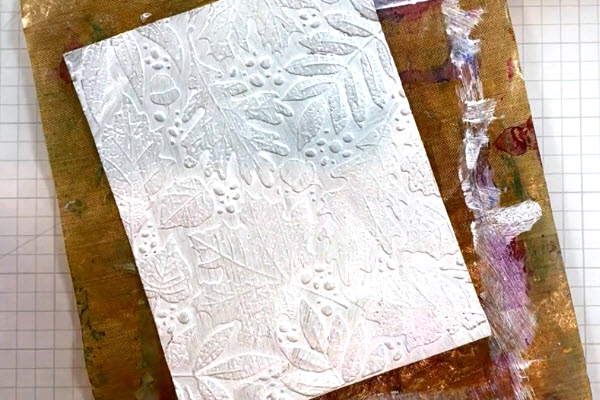
Step 2
Paint the entire panel with white gesso, and let it dry completely. Heat is not advised, because it can bubble the gesso.
-
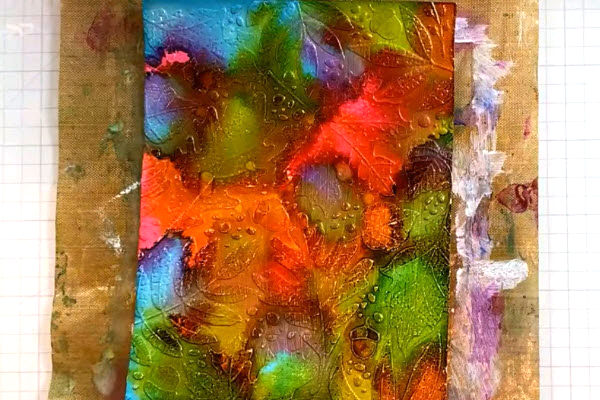
Step 3
Add various colors of alcohol inks, allowing them to mix. Allow to dry completely without heat.
-
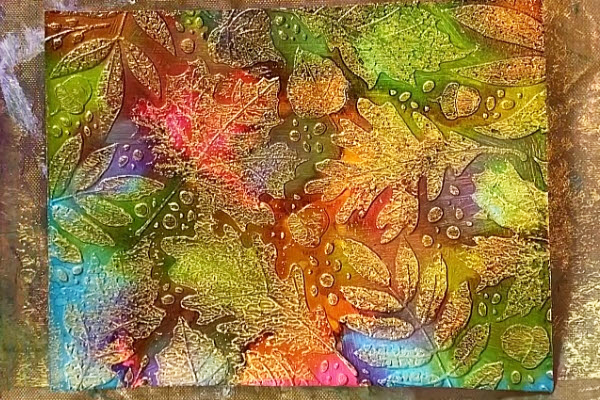
Step 4
Using a brayer, highlight the embossed details with gold acrylic paint.
-
Step 5
Finish the card.
Video!
Your Turn
You've seen the tutorial, now you try it! We've got a section of the gallery set aside for Drunken Embossed Foil. Try this technique, then upload your artwork to the gallery. Show us your creations!
***Please note - Internet Explorer/Edge is not a supported browser, and will not allow you to see the videos. Please use Chrome, Firefox or Safari to view our tutorial videos.

Questions and Comments
We'd love to get your feedback or questions. Leave your comment below.
The technique and your card are gorgeous!
Mike
I took some of the panels and cropped them to add to stamped panels for finished card projects. Thank you for the tutorial!!! Really appreciate it!
Page 1 of 1 pages