Double Triangle Fold
by Dawn Olchefske
Cut a sheet of cardstock at an angle to create 2 of these fun fold cards.

Supplies
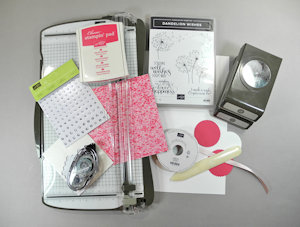
- Cardstock (Stampin’ Up!® Thick Whisper White cardstock (8-1/2" x 11") used here)
- Decorative paper (SU Garden Impressions Designer Series Paper (4" x 5-1/4") used here)
- Trimmer
- Scoring tool
- Other supplies as needed to complete the card (SU supplies used here: Dandelion Wishes stamp set, Melon Mambo ink, Whisper White and Melon Mambo cardstock, 2” Circle punch, Starburst punch, Powder Pink Shimmer ribbon, Basic Rhinestone jewels)
Step-by-Step
-
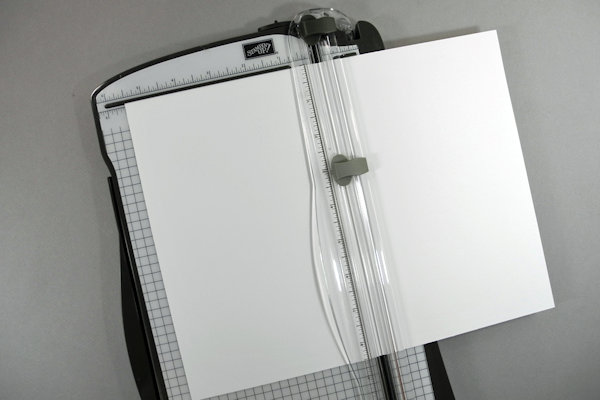
Step 1
Place a full sheet of cardstock in the paper trimmer in the "landscape" position. Score in half at 5 1/2".
-
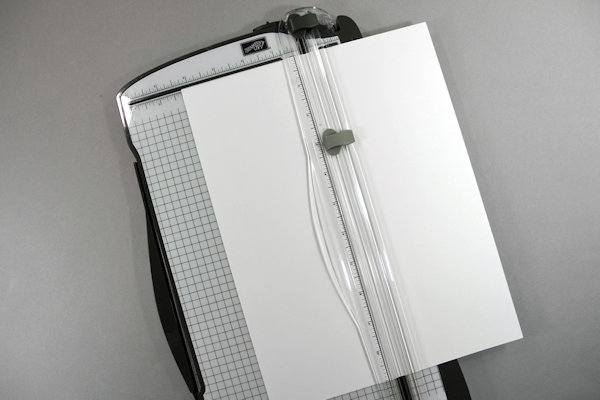
Turn cardstock to the portrait position. Score in half at 4 1/4”.
-
Step 2
Remove the scoring blade. Position scored cardstock in the paper trimmer on the diagonal, lining up the upper right corner and the lower left corner to the cutting "groove".
NOTE:
The corners need to go past the "straight-edge" guides of the trimmer.
Cut. This will make two card bases. -
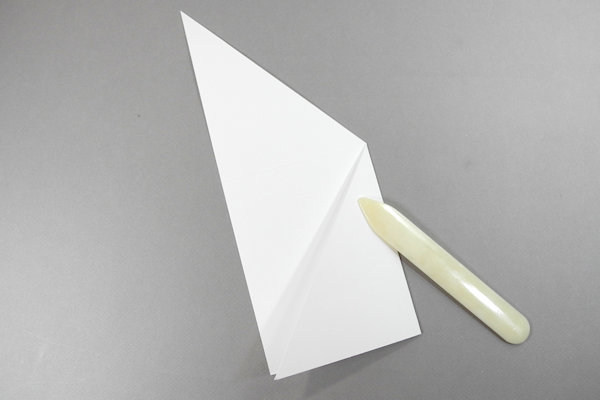
Step 3
Fold the right side over, then fold the top over.
-
Use a bone folder for a nice fold.
-
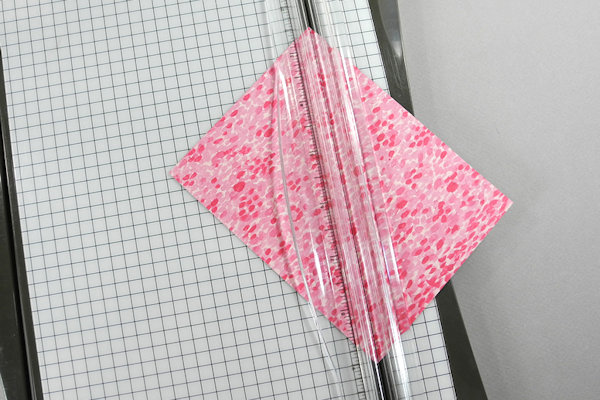
Step 4
Cut 4" x 5 1/4" patterned paper on the diagonal, upper right corner to lower left corner. This will also make two cards.
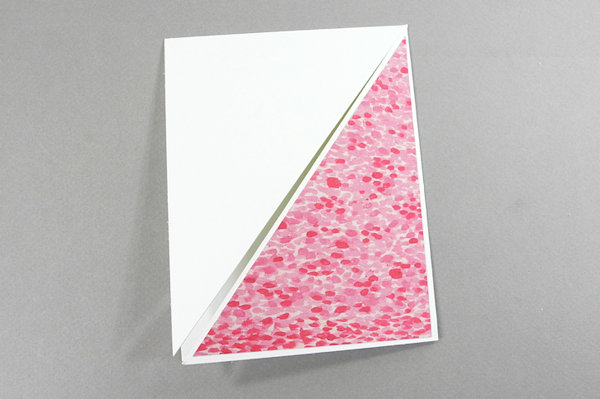
-
Adhere one of the triangles to the lower front of the card.
-
Step 5
Decorate the card front as desired. If embellishments will overlap the card opening, strategically place adhesive so it is only adhered to one flap of the card.
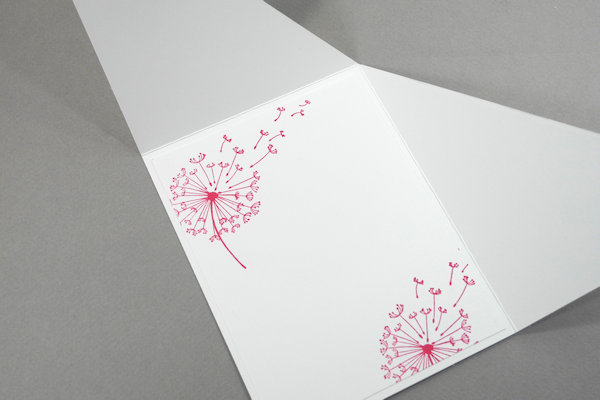
-
Decorate the inside panel if desired.
-
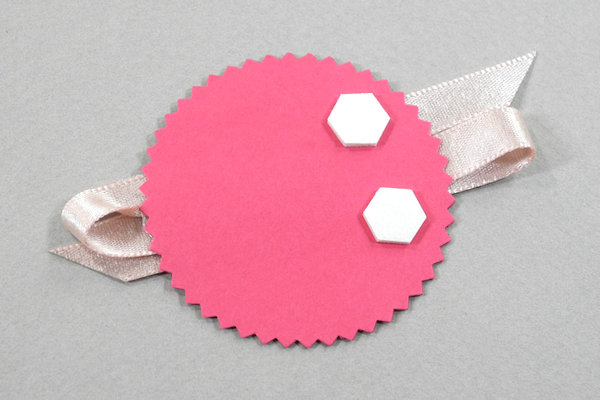
Step 6
Complete the card.


Video!
Your Turn
You've seen the tutorial, now you try it! We've got a section of the gallery set aside for Double Triangle Fold. Try this technique, then upload your artwork to the gallery. Show us your creations!
***Please note - Internet Explorer/Edge is not a supported browser, and will not allow you to see the videos. Please use Chrome, Firefox or Safari to view our tutorial videos.

Questions and Comments
We'd love to get your feedback or questions. Leave your comment below.
Page 1 of 2 pages 1 2 >