Diamond Origami Fold Card
by Patricia St. Martin
Create a unique card fold.
Supplies
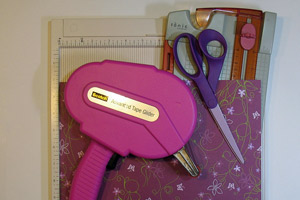
- One Sheet of 11" x 11" patterned paper
- Scoring tool
- Paper cutter
- Adhesive
Step-by-Step
-
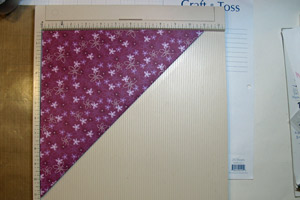
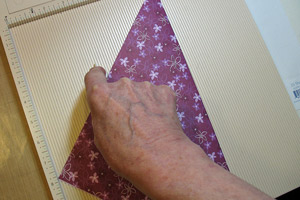
Step 1
Place your patterned paper on your scoring board on the left side and fold diagonally and crease the fold.
-
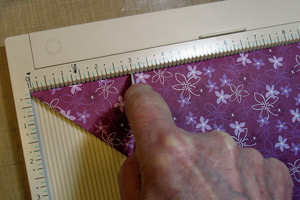
Step 2
Place the long edge of the paper to the top side of the scoring board. Score at 3 and 5 1/2". Flip the paper over and score again 3" and 5 1/2" .
-
-
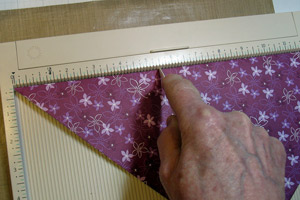
Step 3
Turn your paper with the long end on the right side and the triangle pointing to the left side of the soaring board. Score at the 3 1/2" mark.
-
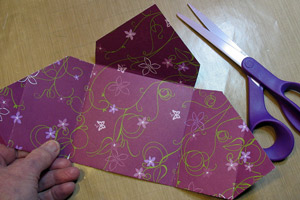
Step 4
Folding all the scored marks toward the inside of the card. Cut the two ends of the triangle off.
-
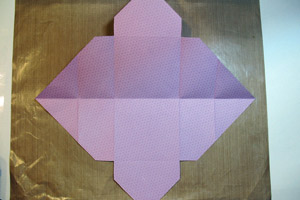
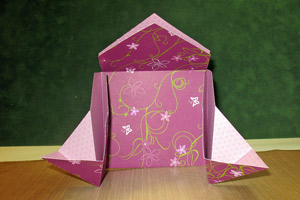
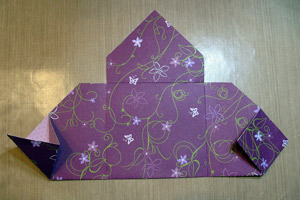
Step 5
When you open the card it will look like this.
-
-
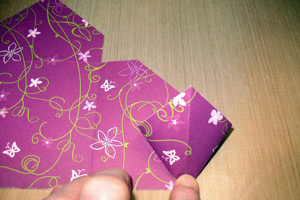
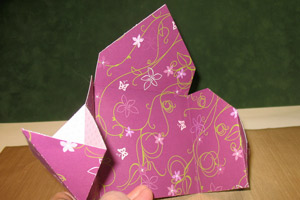
Step 6
Laying the card down. You are going to make the Origami fold. Put your fingers into the fold on the right side and place to finger at the center and press down them score. This is a basic origami fold. Do the same thing on the left side.
-
-
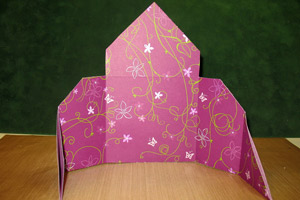
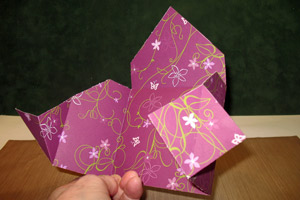
Step 7
With both ends folded this is what you will have.
-
Step 8
You need to tape or glue the inside of your card.
Hint:
REMEMBER DO NOT PUT ANY GLUE ON THE LEFT ORIGAMI FOLD.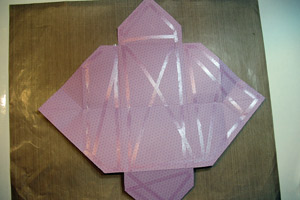
-
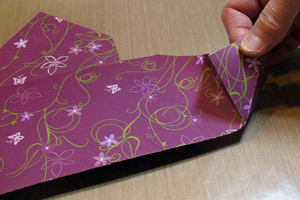
Step 9
As you are folding the two side together HOLD THE RIGHT ORIGAMI FOLD OPEN WITH YOUR RIGHT HAND SO IT WILL NOT GLUE FLAT AT THIS POINT.
-
Step 10
Once you have taped together the card you can now press down the origami fold.

-
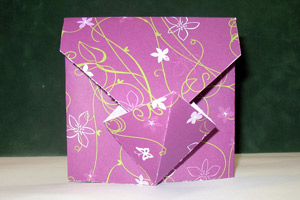
Step 11
Your card will look like this:
-
Step 12
Right side view:
-
Left side view.
-
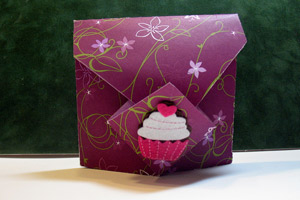
Step 13
The front triangle folds into the left origami fold. You have your envelope and card all in one. Finished view.
-
Step 14
Decorate the front
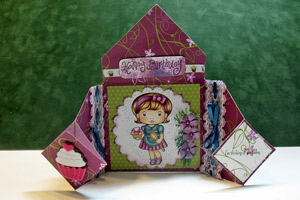
-
and the inside of the card.
Video!
Your Turn
You've seen the tutorial, now you try it! We've got a section of the gallery set aside for Diamond Origami Fold Card. Try this technique, then upload your artwork to the gallery. Show us your creations!
***Please note - Internet Explorer/Edge is not a supported browser, and will not allow you to see the videos. Please use Chrome, Firefox or Safari to view our tutorial videos.

Questions and Comments
We'd love to get your feedback or questions. Leave your comment below.
Kathy
Sue Revill - Thanks for the correction of the first score line. I had just made my third card and couldn't get the diamonds in the middle. The 1/4 inch made all the difference.
I love Splitcoast tutorials, galleries and community. It's the first thing I go to on Wednesday mornings.
Do you score at 3 1/4" instead of 3" or 3 1/2"?
Using the 3 1/2" measurement my center diamond for tucking is a bit offset.
If it is 3 1/4" do you adjust the top fold crease also or keep it at 3 1/2?
Thanks
Page 2 of 3 pages < 1 2 3 >