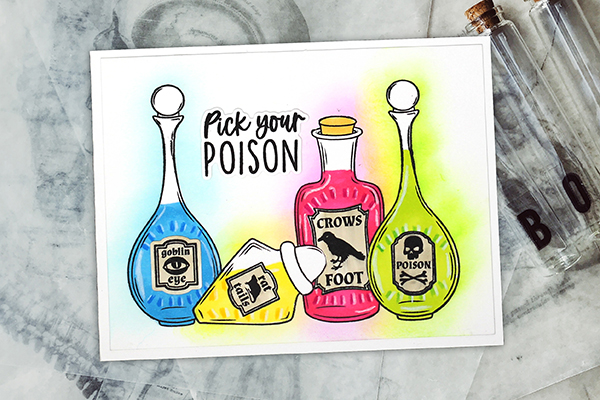
Cut Glass Effect
by Lydia
Take simple bottle shapes and turn them into cut glass with easy coloring.
Supplies
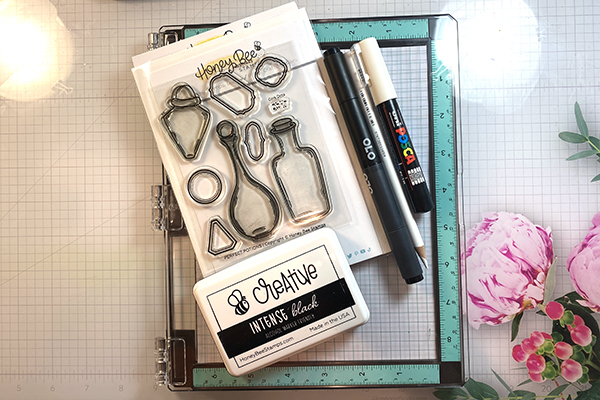
- Simple bottle shape stamp (Honey Bee Perfect Potions used here)
- Hybrid/Alcohol friendly ink
- Alcohol Markers (OLO Markers used here)
- Colored Pencils (Holbein colored pencils used here)
- White Gel Pen or White Paint Pen - optional
Step-by-Step
-
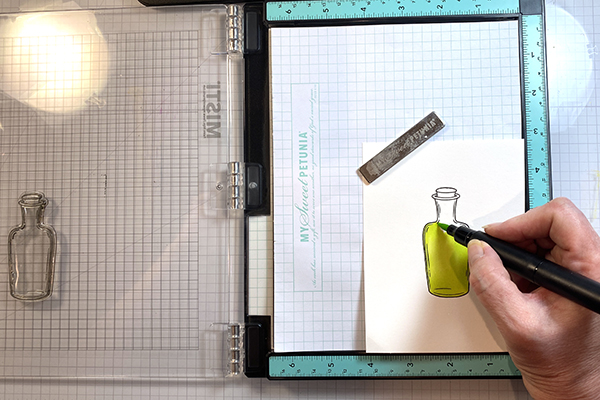
Step 1
Choose a simple bottle image and stamp it in hybrid ink on white cardstock.
-
Step 2
Color the bottle with an alcohol marker.
-
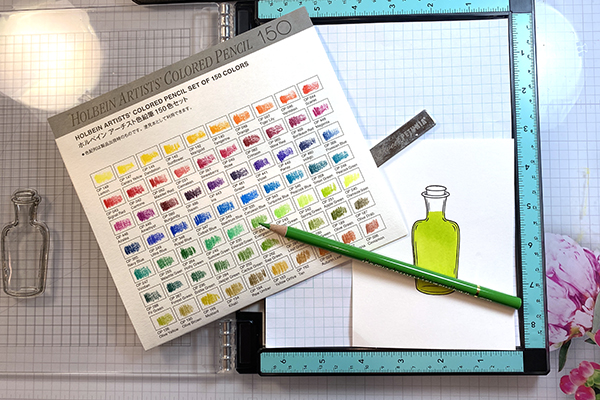
Step 3
Choose a slightly darker matching colored pencil to work with your alcohol marker layer. It's very helpful to swatch your mediums.
-
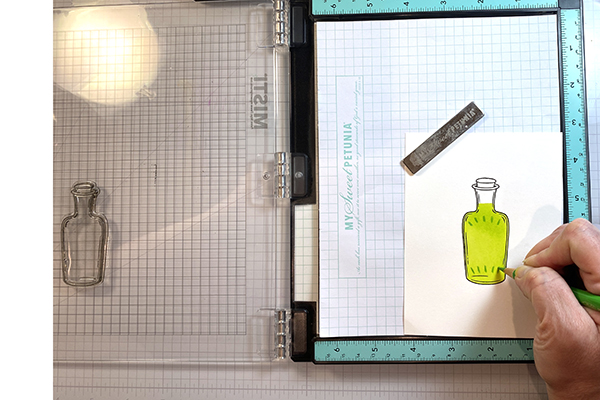
Step 4
Make short, vertical lines with your coordinating pencil - if there's room, do it at the top and bottom of the bottle.
-
Step 5
Add white highlights with a colored pencil to the pencil details - choose which side and be consistent.
-
Step 6
If you like sharper highlights, use a paint pen or gel pen to add the white details.
-
Step 7
Finish your card. Add additional bottle highlights if desired.
 <
<


Video!
Your Turn
You've seen the tutorial, now you try it! We've got a section of the gallery set aside for Cut Glass Effect. Try this technique, then upload your artwork to the gallery. Show us your creations!
***Please note - Internet Explorer/Edge is not a supported browser, and will not allow you to see the videos. Please use Chrome, Firefox or Safari to view our tutorial videos.

Questions and Comments
We'd love to get your feedback or questions. Leave your comment below.
Page 1 of 1 pages