Cupcake Toppers
by Kim Hughes
Decorate your cupcakes with stamped images.
Supplies
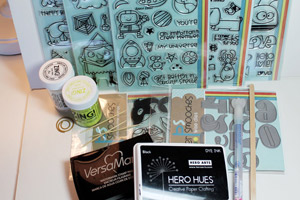
- White Cardstock
- Stamps Paper Smooches - Birthday Buddies, Halloweenies, Bee Mine, Space Cadet, Santa Paws, Briny Blue used here
- Dies, Paper Smooches Number Dies used here
- Ink
- Adhesive, Glue Dots and tape used here
- Clear and Green Embossing Powder
- Heat Gun
- Paperclip, round clip or wire
- Toothpick or stir stick
- Glue Pen, Sakura glue pen used here
- Glitter pen
- Copic markers, or other coloring medium
- Circle Punch
- Scissors
- Tweezers
- Gems, Googly eyes or other embellishments(optional)
Step-by-Step
-
Step 1
Stamp the witch from our Halloweenies stamp set onto white cardstock and color just the bottom.
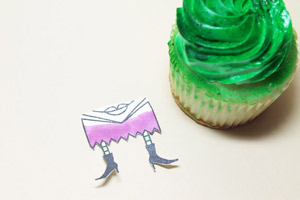
-
Cut the bottom of the witch and place the paper directly into the cupcake.
Ideas to note:
Use the Santa from our Santa Paws stamp set for a Christmas cupcake (you can stick him out of vanilla white snow).
Be sure to research food safe coloring and crafting mediums if you're going to have a finished image directly touching the cupcake.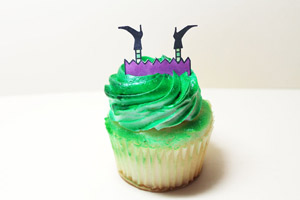
-
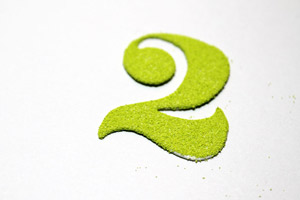
Step 2
Die cut a number from white cardstock using number dies.
Press the paper number face down onto a Versamark ink pad.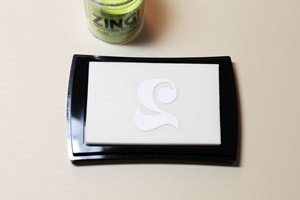
-
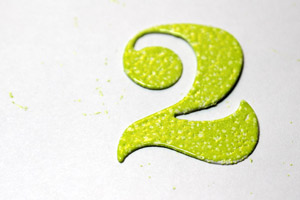
Gently lift the inky number with tweezers and dip into embossing powder or pour powder over the front.
-
Step 3
Heat emboss and stick number into frosting.
-
Ideas to note:
Use a toothpick to raise the number off the cupcake if desires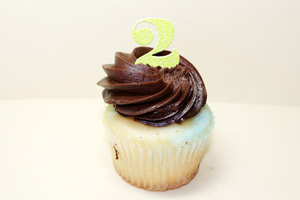
-
Step 4
Add personality to stamped images with googly eyes and bling. (The reindeer is from our Santa Paws stamp set)
Ideas to note:
Stamp eight reindeer and add a Santa to another cupcake top for a fun table decoration.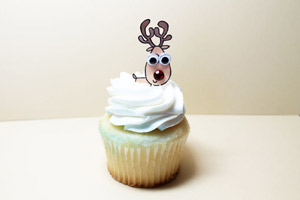
-
Step 5
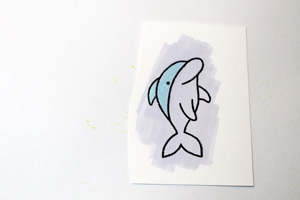
Stamp image and color. You don't have to stay in the lines if you are fussy-cutting the image. (The dolphin image is from Paper Smooches Briny Blue stamp set).
-
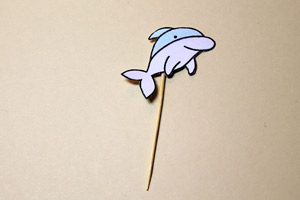
Punch a small circle, add an adhesive dot to the back of the dolphin and the circle and press between a toothpick.
Ideas to note:
Create an entire ocean scene by stamping and cutting out many ocean friends.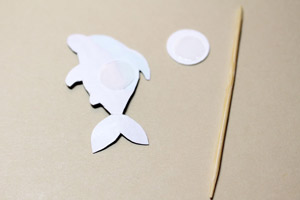
-
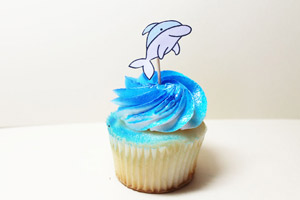
Step 6
Stick the toothpick into the cupcake.
-
-
Step 7
Die cut the chick image and stamp onto the white cardstock. (Birthday Buddies stamp set and Buddies dies used here.)
Color with Copic markers.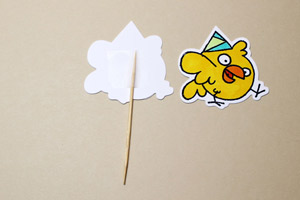
-
Apply tape to the toothpick and cover with the stamped image side.
Ideas to note:
Dies make the perfect "clean" backside to the topper. You can add glitter to the stamped image as well.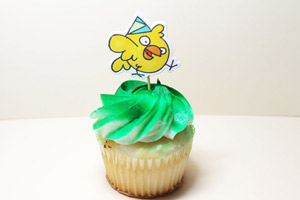
-
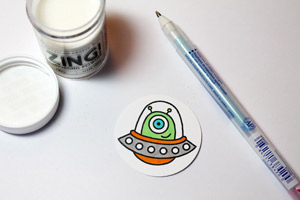
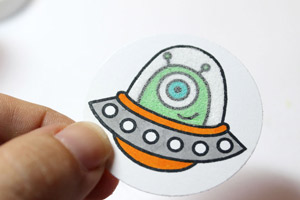
Step 8
Stamp image ( Martian is from Space Cadet stamp set) onto a punched or die cut circle and color with Copic markers. Use a Quickie Glue pen to color the glass part of the spaceship
-
Apply clear embossing powder over glue, tap off excess and heat emboss.
-
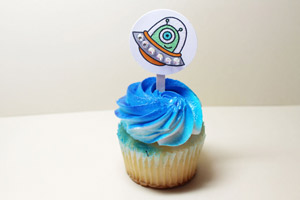
Step 9
Ideas to note:
Instead of using a toothpick, you can use a stir stick from Starbucks.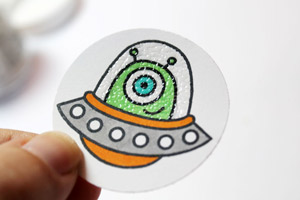
-
-
Step 10
Stamp the bee (from Bee Mine stamp set) onto white cardstock and fussy cut around the image
Color with Copic markers.
Add glitter using a glitter pen to the wings.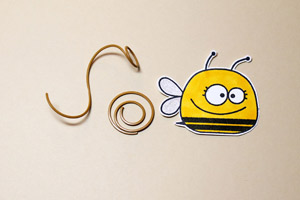
-
Bend and twist a circle clip to make it look like the bee is hovering over the cupcake
Ideas to note:
Use a paperclip or wire to create a coil for the bee.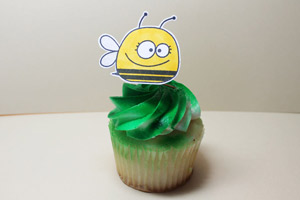
Video!
Your Turn
You've seen the tutorial, now you try it! We've got a section of the gallery set aside for Cupcake Toppers. Try this technique, then upload your artwork to the gallery. Show us your creations!
***Please note - Internet Explorer/Edge is not a supported browser, and will not allow you to see the videos. Please use Chrome, Firefox or Safari to view our tutorial videos.

Questions and Comments
We'd love to get your feedback or questions. Leave your comment below.
I'd stick the paper into the frosting right before serving. And then to do what Carolyn suggested - eat fast
Heat embossing the ink will help to seal the ink as well.
Maybe you can try to stamp onto wax paper?
hope these suggestions help
Kim
Page 1 of 1 pages