Contact Paper Transfer
by Dina Kowal
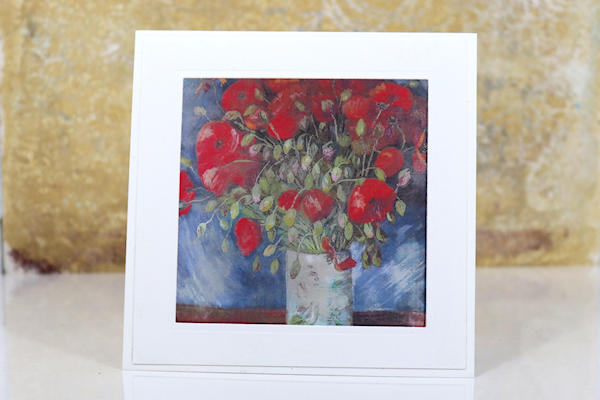
Transfer a printed image onto clear contact paper for a window card.
Supplies
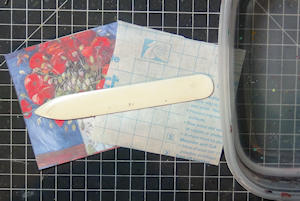
- Clear contact paper, label sheet or packing tape
- Laser-printed image or magazine page
- Bone folder or old credit card for burnishing
- Warm water
- Paper towel
- Other supplies as needed to complete the project (used here: Neenah Classic Crest 110# cover stock, square die from Spellbinders, washi tape, die cutting machine), double sided tape, Scor-Buddy)
Step-by-Step
-
Step 1
Prepare an image for transfer. Toner is needed for the transfer to work, so the image needs to be printed with a laser printer or photocopier. Photos from magazines will also work. For the sample, the image was printed onto 24# text weight paper using a laser printer.
Cut a piece of clear contact paper to the size of the photo. Packing tape will also work. -
Step 2
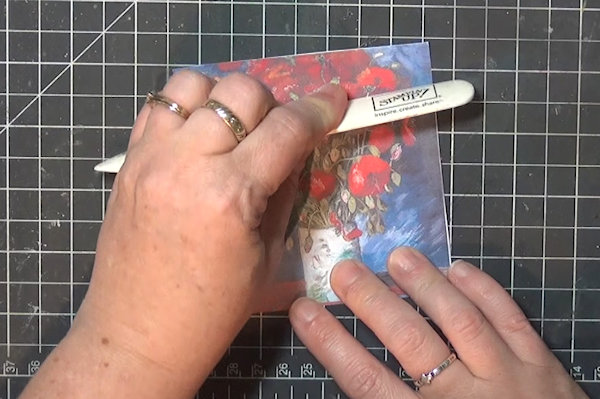
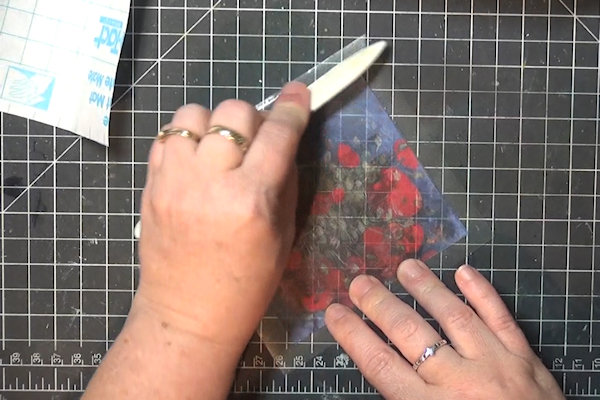
Apply the sticky side of the contact paper to the printed image. Burnish well with a bone folder or an old credit card.
-
Step 3
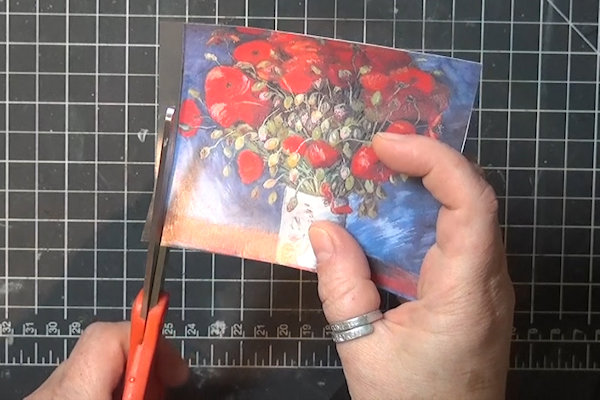
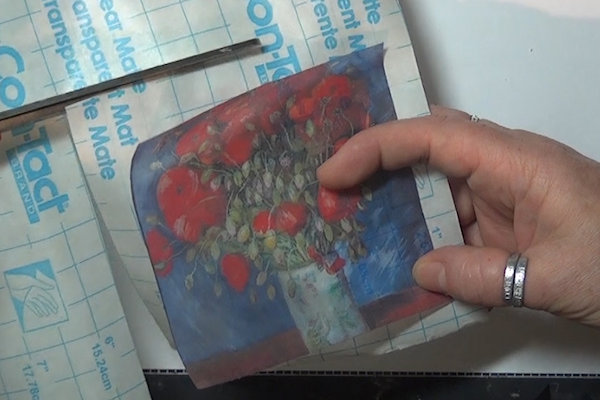
Trim excess contact paper.
-
Step 4
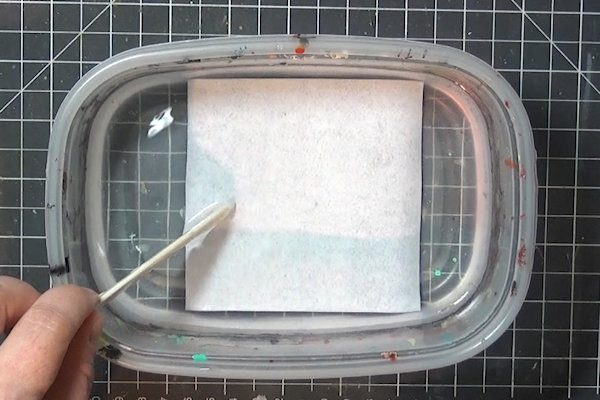
Let the paper soak in warm water for about 2 minutes, until you see the paper begin to darken and break down.
-
Step 5
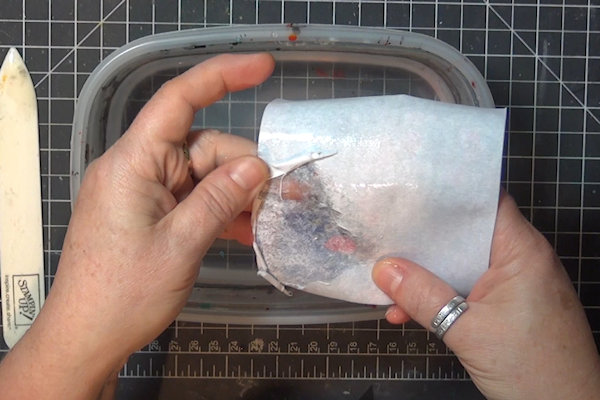
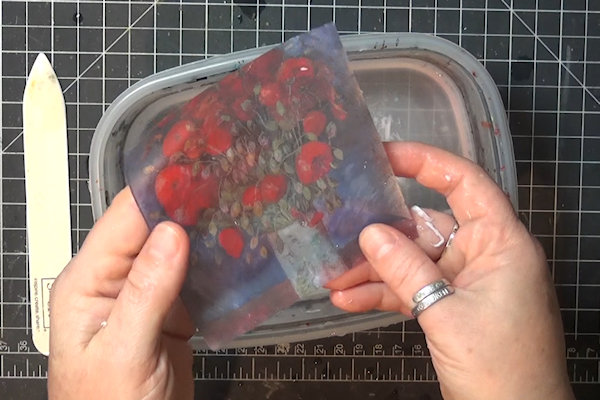
Begin gently rubbing the back of the paper to peel it away from the contact paper. The top layers will roll away easily.
-
Continue rubbing until the top layers are removed.
-
Step 6
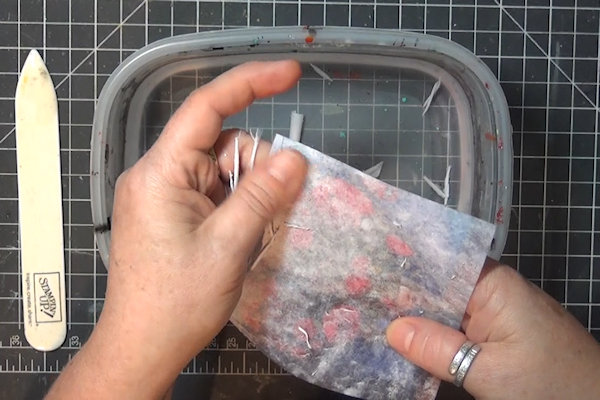
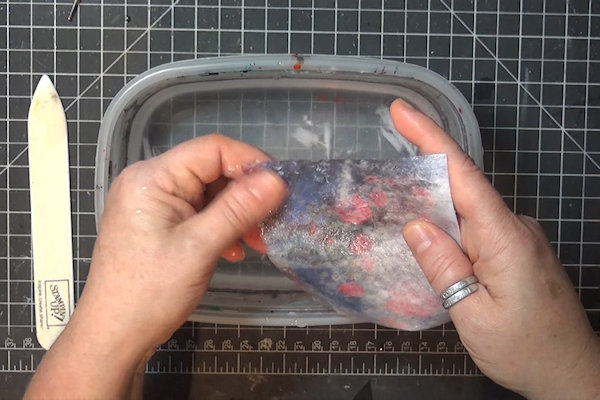
Rinse the paper to loosen the smaller fibers that remain. Continue rubbing gently. For these photos the container was used, but you may prefer to work at the sink under running water for the rest of the process.
-
Repeat, rinsing and rubbing until all the paper fibers are removed, and you’re left with the image transferred onto the adhesive side of the contact paper.
-
Step 7
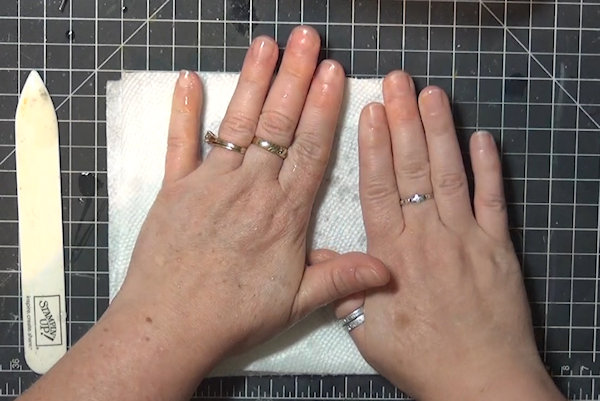
Blot the panel dry on a paper towel. It should not be sticky on the back.
-
Step 8
Cut a second piece of contact paper slightly larger than the first one (for the sample it’s cut with about 1/2" margin all the way around).
-
Back the transferred panel with the other contact paper adhesive sides facing. There will be a border of adhesive around the image, facing up. Burnish well.
-
Step 9
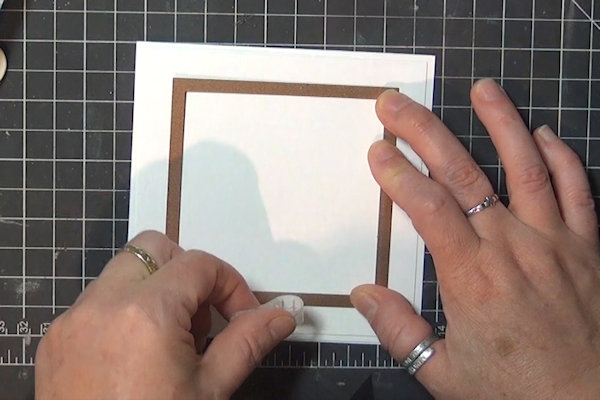
To make a window card, cut a base and temporarily adhere a layering panel to the front. (For the sample a 5” x 10” panel folded in half creates the base of a 5” square card. The layering panel is 4 3/4" square.) Die cut an opening through both layers.
-
Step 10
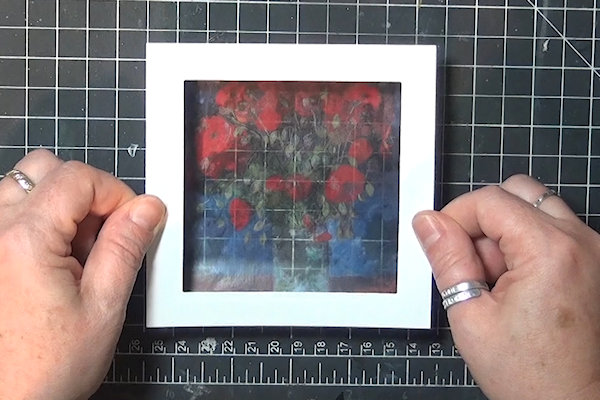
Lay the layering panel over the image panel so the adhesive border attaches to the frame. Trim off any excess.
-
Step 11
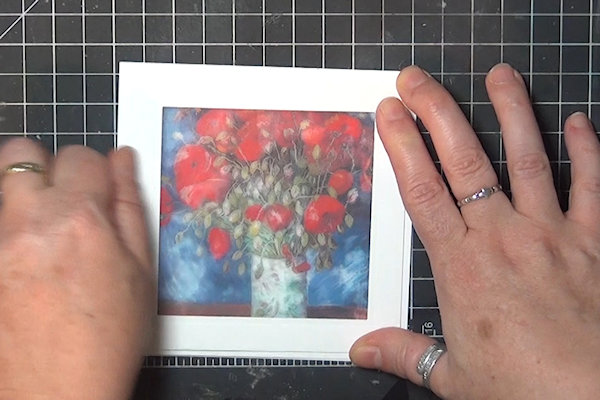
Align the openings and adhere the panel to the front of the card with double sided tape. Embellish if desired.
-
Step 12
Complete the project.
Video!
Your Turn
You've seen the tutorial, now you try it! We've got a section of the gallery set aside for Contact Paper Transfer. Try this technique, then upload your artwork to the gallery. Show us your creations!
***Please note - Internet Explorer/Edge is not a supported browser, and will not allow you to see the videos. Please use Chrome, Firefox or Safari to view our tutorial videos.


Questions and Comments
We'd love to get your feedback or questions. Leave your comment below.
Sabrina, I didn't have trouble with the rubbing on this, not like I do with transfers using gel medium... I did a stack of canvases a year or 2 ago that just took forever to get clear.
Page 1 of 1 pages