Colorless Blender Bleaching
by Colleen Schaan
Create a bleached look with Copic markers and Blending solution.
Supplies
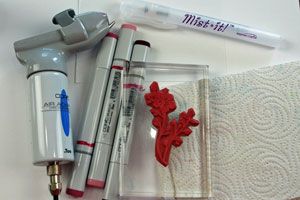
- Copic airbrush system
- Copic markers (Sketch or Original) any colors
- Glossy white paper
- Solid image stamp (Gina K. Designs Comfort & Peace used here)
- Colorless Blender Solution in spray bottle
- Paper towel
Step-by-Step
-
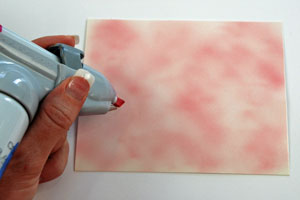
Step 1
Begin by airbrushing the lightest color onto the glossy paper. You do not need to have smooth coverage; splotchy is good.
-
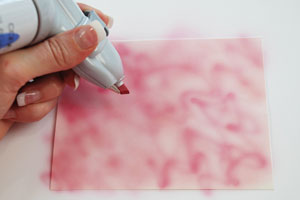
Step 2
Airbrush a second, darker color over the first, leaving some of the lighter color showing through.
-
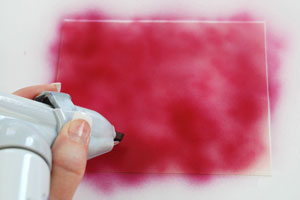
Step 3
Add a third (darker) color to the background.
Note:
Here three colors from the same family were used. Feel free to use as many colors and whichever ones you want.
-
Step 4
Spritz the colorless blender solution onto the bold image stamp.
Hint:
Do not soak... just a light layer is preferred.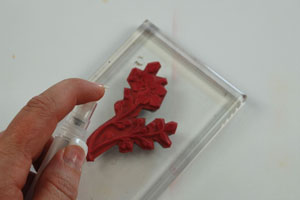
-
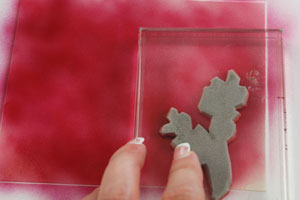
Step 5
Press the stamp firmly onto the airbrushed surface and hold for a few seconds.
-
Step 6
Lift stamp to reveal "bleached" image.
If you would like multiple images, clean off the stamp between each "bleaching" by spritzing it with blender solution and rubbing off the ink onto a paper towel.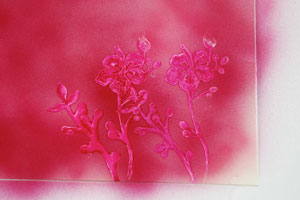
-
Step 7
Finish your card.

Video!
Variations
-
Soft and Fuzzy
Try the technique on regular matte cardstock. Follow the same steps. The image will be soft and fuzzy versus the crisp edges you get with glossy.
A little different
For an interesting look, don't clean off the stamp, spritz with colorless blender and stamp on a different colored background. This will remove the colored background and mix the ink with the color that was already on the stamp. Here I used a bamboo image that I first did the colorless blender bleaching on a background with browns and yellows and without cleaning it off, spritzed with colorless blender and stamped on an orange background. The browns were left in the "bleached out" spaces.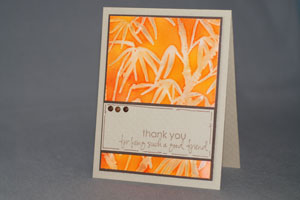
Your Turn
You've seen the tutorial, now you try it! We've got a section of the gallery set aside for Colorless Blender Bleaching. Try this technique, then upload your artwork to the gallery. Show us your creations!
***Please note - Internet Explorer/Edge is not a supported browser, and will not allow you to see the videos. Please use Chrome, Firefox or Safari to view our tutorial videos.

Questions and Comments
We'd love to get your feedback or questions. Leave your comment below.
It's funny that you mention Eugene, OR because that is where the company headquarters is for Imagination International, Inc/Copic Markers.
http://store.copicmarker.com/products/vbl200cc
I will have to check out Imagination, I hadn't heard of it and didn't know it was in Eugene. See what I get for living in the stick!
I also checked out Copic's website, I'll want to revisit it when I have some time...much to learn! I've always wished I could take a class in it.
Page 2 of 2 pages < 1 2