Broom Lollipop
by Janet Yates
Turn a round lollipop into a broom.
Supplies
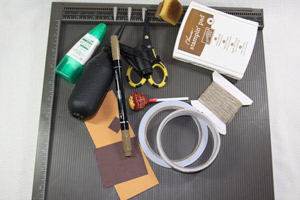
- Round Lollipop
- Light Brown Ink and Marker, Stampin' Up! Soft Suede used here
- Sponge
- Color Spritzer
- Multi-Purpose Liquid Adhesive
- Double sided tape
- Linen Thread
- Paper Snips
- Scoring Tool
- Card Stock for Broom (heavy weight is best) 6" x 2 1/4"
- Card Stock for Broom Handle 2 1/4" x 2" (or cut to fit your sucker handle)
- Card Stock for top of Broom Handle, a small square to fill the hole
Step-by-Step
-
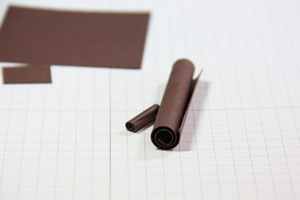
Step 1
Roll the Card Stock for Broom Handle by running your paper along the corner of your desk or table. Breaking the fibres will help make the paper easier to adhere to the sucker handle.
-
Step 2
Using two-sided tape on both ends of the Card Stock wrap it around the handle, using the liquid adhesive as well gives it an extra hold.
If there is a hole in the end of the sucker handle it can be filled with the additional card stock. Take a small piece of cardstock (5/8" x 3/4" used here) and break fibers of paper by running it along the edge of a table or counter. You need to make the paper more pliable so it will wrap around the stem of the sucker. Using a strong adhesive wrap the cardstock around the stem. Cut it half way down in strips to make it look worn.
-
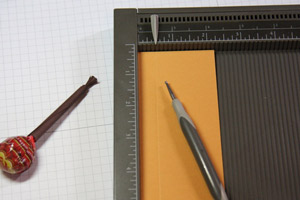
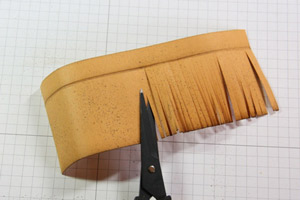
Step 3
Score the 6" x 2 1/4" Card Stock on the long side at 1/2".
-
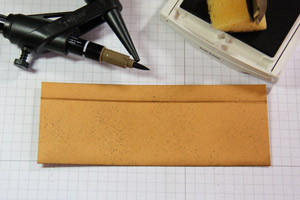
Step 4
Then create a distressed look using the Color Spritzer and Marker as well as the Ink and Sponge. Now roll the Card Stock on the edge of a desk or table.
-
Step 5
Using Paper Snips cut small strips from the bottom of the broom base to the score line. Cut the strips from one end of the paper to the other. The less even the better and smaller sized strips are best.
-
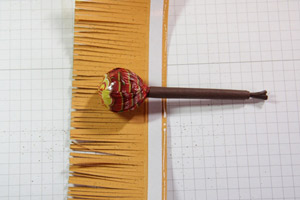
Step 6
Add two sided tape and liquid adhesive to the top 1/2" of the broom base and starting at one end wrap the sucker around the handle of the sucker right above the candy.
-
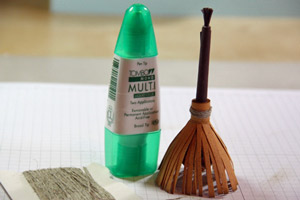
Step 7
Wrap a piece of linen thread around the base of the broom where it meets the handle. Adhere with a small amount of liquid adhesive or glue dot.
-
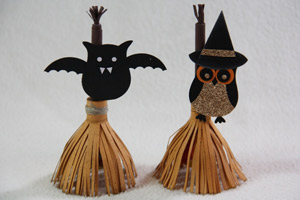
Step 8
Decorate the Treat for a finished look.
Video!
Your Turn
You've seen the tutorial, now you try it! We've got a section of the gallery set aside for Broom Lollipop. Try this technique, then upload your artwork to the gallery. Show us your creations!
***Please note - Internet Explorer/Edge is not a supported browser, and will not allow you to see the videos. Please use Chrome, Firefox or Safari to view our tutorial videos.

Questions and Comments
We'd love to get your feedback or questions. Leave your comment below.
1) what color cardstock did you use for the broom? More Mustard?
2) HOW were you able to punch through glitter paper to make that owl - I can never get a punch to cut through glitter paper - did you glitter sections afterwards?
cut the bottom into a scalloped design or use paper snips to cut strips.
tie string to hold filters together.
add Halloween tags. No need to cover the sucker
stick - I like Janet idea covering it (cute top on stick). Also, you have some card stock that will hold large cut outs. It looks like a broom.
Page 1 of 1 pages