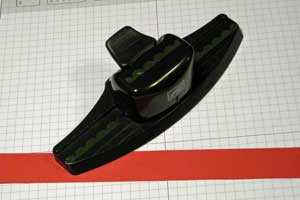
Box in a Bag
by Diana Gibbs
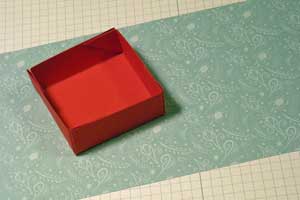
Create this darling box in a bag.
Supplies
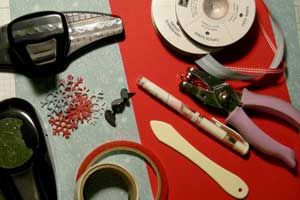
- Designer Paper
- Cardstock
- Round Tab Punch
- Scallop Punch
- Scor-Pal™ or other paper scoring tool
- Sticky Strip™
- Glue Dots
- ¼” hand held circle punch
- Embellishments
Step-by-Step
-
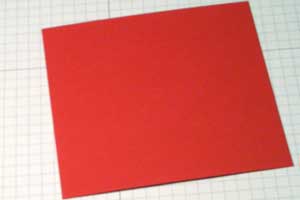
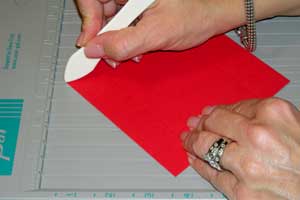
Step 1
Cut your Cardstock to 4 ½” x 4 ½” .
-
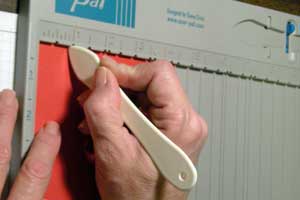
Step 2
Score 1” around all the edge on all 4 sides.
-
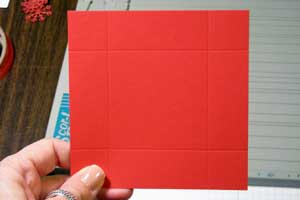
It will look like this.
-
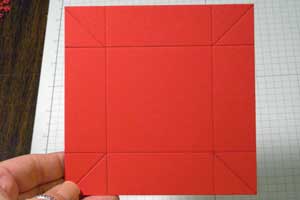
Step 3
Turn cardstock on the Scor-Pal™ so it is in a diamond shape, and score from the point to where the score lines meet.
-
It will look like this (I penciled in the lines so you could see them better. All the penciled in lines have been scored.).
-
Step 4
Crease your box on the 1 inch score lines.
-
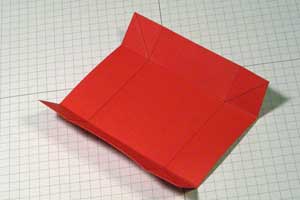
Step 5
Bring the corners in like this.

-
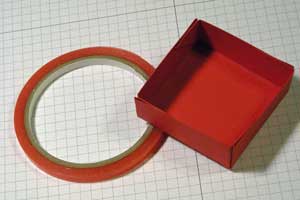
Step 6
Using Sticky Strip™ glue your box together, using the pointy folded pieces of the box.
-
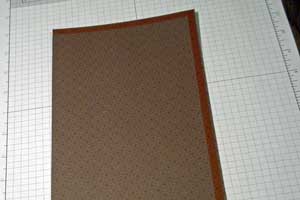
Step 7
Cut your Designer Paper to 5 ½” x 11”.
-
Step 8
Add Sticky Strip™ on the bottom and up one side of the back of the background paper.
-
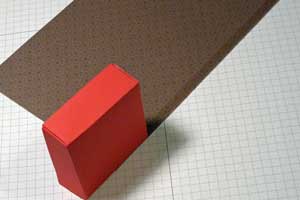
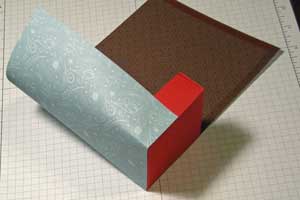
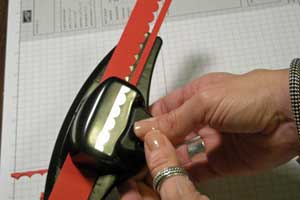
Step 9
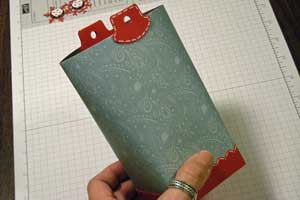
Peel off the Sticky Strip™ along the bottom only. Lay your box along the bottom edge of the background paper so they are even with each other. I start it about half way on the side of the box (see photo) it seems to end up better at the end with the seam near the back of the bag at the end.
-
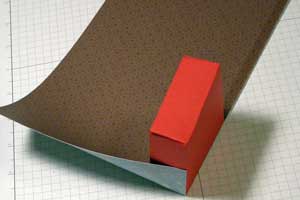
Step 10
Continue to wrap the box up with the paper, keeping the edges of the paper and the box even.
-
Continue wrapping.
-
Step 11
When you come to the end piece, now remove the Sticky Strip™ from the side.

-
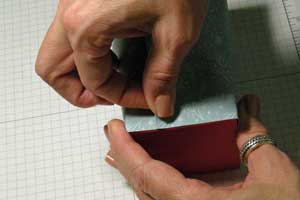
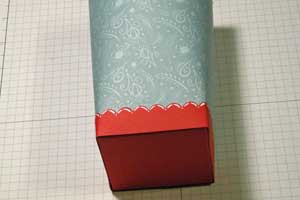
Step 12
Carefully bring your edge together on the bottom, and also up the side of the bag.
-
-
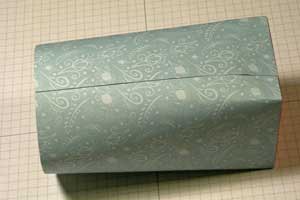
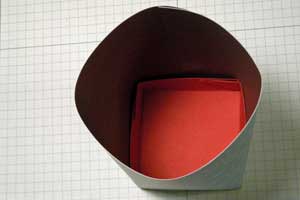
Step 13
What it looks like from the top.
-
Step 14
Now you need a strip of Real Red cardstock 11" x 1”, and you need your Scallop Punch.
-
Step 15
Scallop punch the whole strip of cardstock.
-
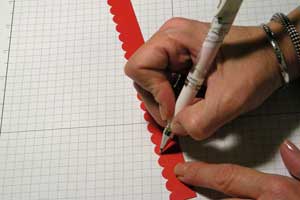
Step 16
You can do some faux stitching at this time if you would like.
-
Step 17
Add 2 strips of Sticky Strip™ on the back of the scalloped piece of cardstock. Wrap it around the bag keeping the bottom even with the bag bottom. Start the strip at the back of the bag seamed edge.
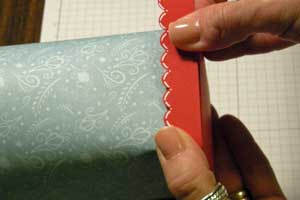
-
Bag with scallop added.
-
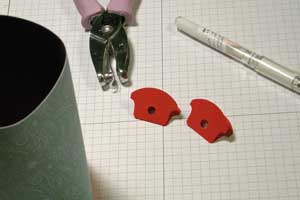
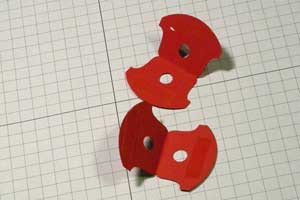
Step 18
Punch out 2 round tab punches, fold in half and punch a ¼” circle in them. The hand held punch is easiest to use. You can then do your faux stitching on them.
-
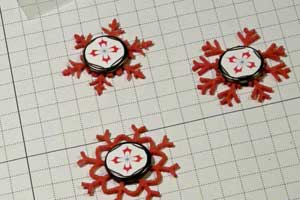
Step 19
Decorate some build-a-brads and add them to the center of the Felt Flurries. Be careful with the felt flurries, as they tear easily when you are trying to get the build-a-brad in the center (because the Build-a Brad legs are bigger then a regular brad). Take your paper piercer and poke a couple holes in the center of the felt flurry this makes it easier to stick the build-a-brad in.
-
Step 20
Add your Sticky Strip™ to the inside of the round tab punch pieces, do it on both sides of the inside.
-
Step 21
Glue these on the front and the back of the bag, this will hold the bag closed when we tie ribbon through it.
-
Step 22
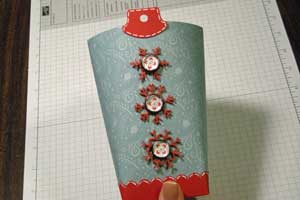
Use glue dots to adhere your decorated Flurries on the front.
-
Step 23
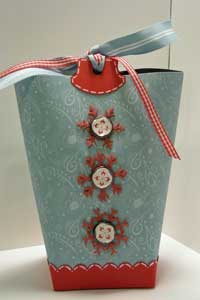
Fill your box and tie it together with ribbon.
Video!
Your Turn
You've seen the tutorial, now you try it! We've got a section of the gallery set aside for Box in a Bag. Try this technique, then upload your artwork to the gallery. Show us your creations!
***Please note - Internet Explorer/Edge is not a supported browser, and will not allow you to see the videos. Please use Chrome, Firefox or Safari to view our tutorial videos.

 *
*
Questions and Comments
We'd love to get your feedback or questions. Leave your comment below.
Heidi Kilgore
Great job on the instructions- I'm a teacher so I appreciate good instructions.
Can this work with SU 12x12 paper instead of DSP do you know? Just wondered because of the thickness of the paper, if it would still be okay?
Hope to get a reply/answer soon.
Many thanks.
babybluegirl
Diana is using SU designer paper in the tutorial. So yes, SU paper works for this project.
Have a great weekend
Hugs and smiles
Hopefully it's okay? Just wanted to know before I try the instructions and find out that I waste my time and the whole sheet and it doesn't work out.
Bye for now,
Alex
I think thinner cardstock will be allright. Especially Whisper White or Very Vanilla. They are pretty thin compared to our others.
We have a weekly crafty showcase and would love you to stop in and link this up! It is fun!
Thanks, Susie
http://bowdabrablog.com/2012/06/30/saturday-showcase-craft-projects-8/
Page 2 of 3 pages < 1 2 3 >