Box Card
by Beate Johns
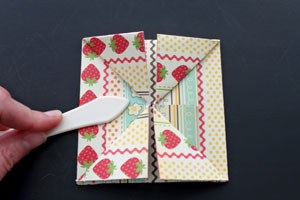
Create a card that opens into a box when you pull on its sides.
Supplies
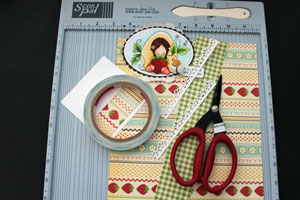
- 8 1/2" x 11" piece of patterned paper, or lightweight cardstock
- Scor-Pal™ or other scoring tool
- Cardstock, stamps and embellishments to decorate the card
- Scissors
- Adhesive
Step-by-Step
-
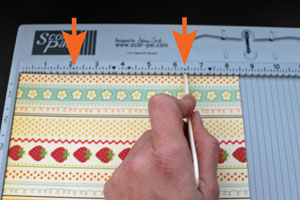
Step 1
Place the patterned paper into the Scor-Pal™, with the 8 1/2" side on top. Score at 2 1/8" and 6 3/8".
-
Step 2
Turn the paper so the 11" side lines up with the top and score at 1 1/4"and 3 3/8".
Repeat on opposite side.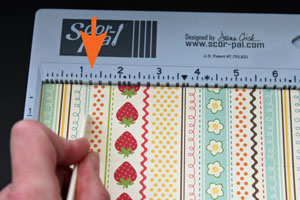
-
Hint:
If you are using the Scor-Pal™, move the paper to the 1/8" score line and score at 3 1/2" for the 3 3/8" score.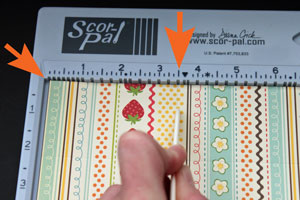
-
Step 3
Pre-fold the long score lines.
-
Step 4
Unfold paper. Keep the side that you want on the outside of the box facing toward you.
-
Fold the two score lines on the 8 1/2" side up.
-
Step 5
Flip paper over.
-
Fold the second score lines down.
-
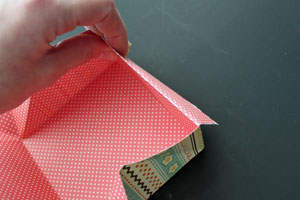
Step 6
Fold first one end's short side up,
-
then the other.
-
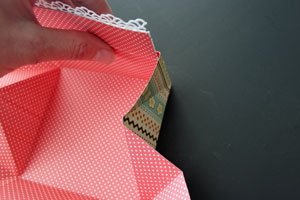
Step 7
Take the outer upper corner of the just folded side and carefully fold it down diagonally.
Be careful to not rip the paper on top.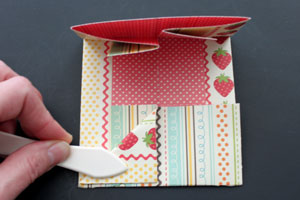
-
Repeat on the other four corners.
-
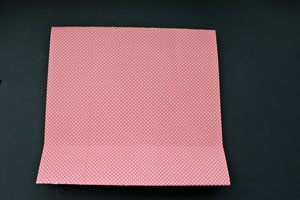
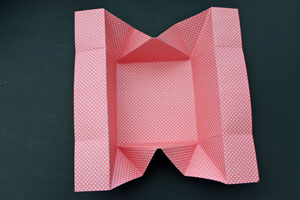
Step 8
Unfold everything.
-
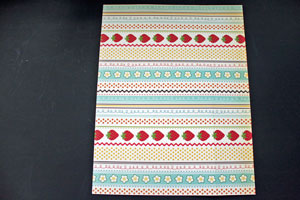
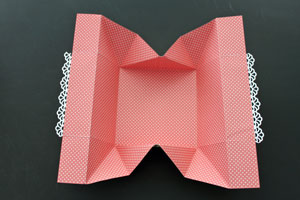
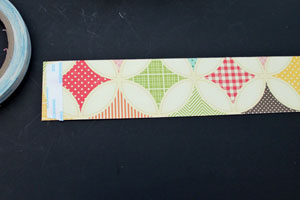
Step 9 (Optional)
Adhere a decorative strip to the long un-scored sides.
-
Step 10 (Optional)
Cut the corner rectangles diagonally from the long, unscored sides toward the edge. Not completely, just on a slight angle.
This will ensure that parts of the sides won't show up after you fold the box.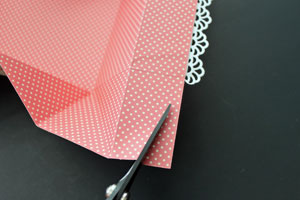
-
-
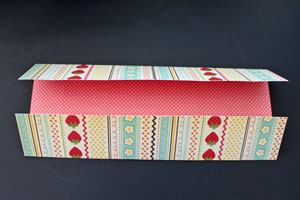
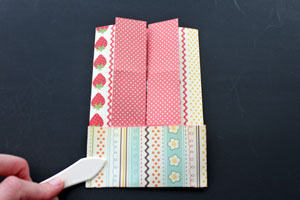
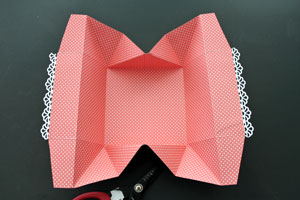
Step 11
Take one of the corners next to the decorated side and fold it over to the long side.
-
Repeat on the other corner of that long side.

-
Step 12
Fold the long side down.
-
Repeat these steps on the other side.
-
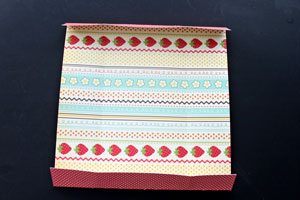
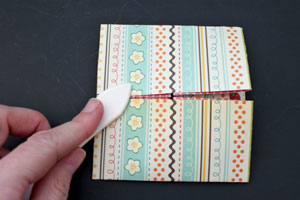
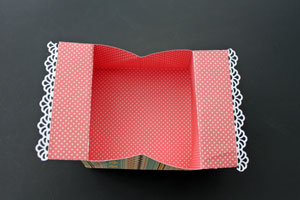
Step 13
Fold sides down carefully.
Hint:
It is a bit difficult and works better the second time you fold it down. The thinner the paper, the easier the folding is.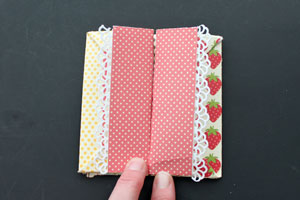
-
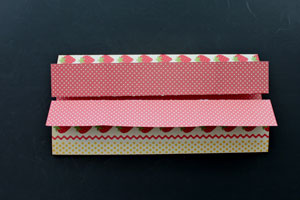
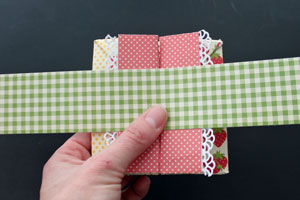
Step 14 (Optional)
You could keep the card like it is, or you could add a belly band. If you want to add it, take a long strip (10" or longer) of patterned paper. Add adhesive to one end.
-
Step 15 (Optional)
Wrap the strip around the card, keeping it loose. Adhere strip ends together to create the belly band.
-
-
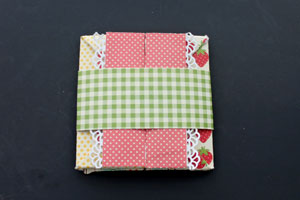
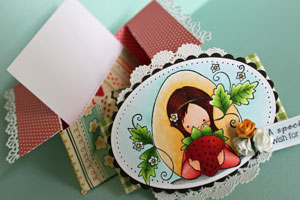
Step 16 (Optional)
Adhere image or sentiment to the belly band and create a matching panel for the inside of the card for a really polished look.
The finished card size will be 4 1/4" square.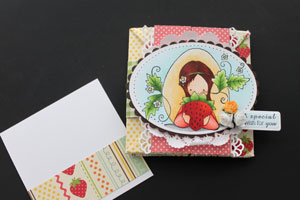
-
Video!
Your Turn
You've seen the tutorial, now you try it! We've got a section of the gallery set aside for Box Card. Try this technique, then upload your artwork to the gallery. Show us your creations!
***Please note - Internet Explorer/Edge is not a supported browser, and will not allow you to see the videos. Please use Chrome, Firefox or Safari to view our tutorial videos.
 *
*
Questions and Comments
We'd love to get your feedback or questions. Leave your comment below.
Margie
You can check out the card satchel at
http://www.scor-pal.com/apr_magazine/Card Satchel.pdf
It will hold four cards and envelopes or it could be used for a card with embellishments that pop up making a regular envelope difficult to use.
Good luck.
There is also an envelope box tutorial under resources on this site as well.
The materials Beate used can be found on the July 7, 2011 post on her blog. http://beate.blogs.splitcoaststampers.com/
Happy Stamping!
God Bless! <><
Keryn
Page 2 of 2 pages < 1 2