Artist Trading Cards (ATC)
by Jen del Muro
ATC is short for Artist Trading Card. These cards were made popular in the mid 1990’s by M.VÄNÇI STIRNEMANN, a Swiss artist attempting to gain exposure in the art world.
Supplies

- Paper Cutter
- 8 1/2" x 11" Cardstock
- Stamps
- Ink pad and markers
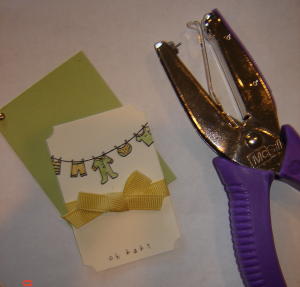
- Embellishments (punch, brads and ribbons shown)
- Adhesives (foam squares and glue shown)
Step-by-Step
-
Step 1
Using your paper cutter, take the 8 1/2" x 11" cardstock and make a cut at 2 1/2" and 5" along the short side. You will have three strips of paper.
On the first two that are 2 1/2" wide, make cuts at 3 1/2", 7", and 10 1/2". On the third strip which is 3 1/2" wide make cuts at 2 1/2", 5", 7 1/2" and 10".
When you are finished cutting you will have ten 2.5" x 3.5" pieces of paper. This will be the base of your ATC. Cut other layers slightly smaller than the base.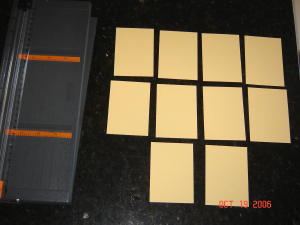
-
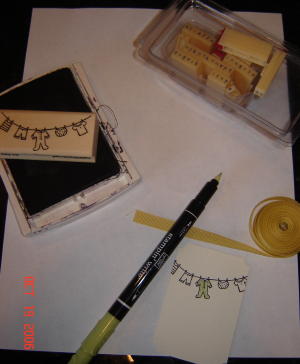
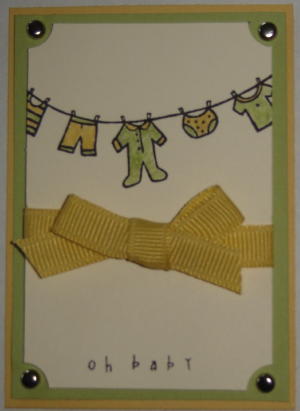
Step 2
Stamp image(s) of choice on the top layer of cardstock, then color and embellish as desired
-
-
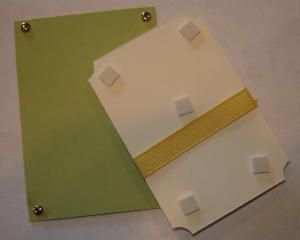
Step 3
Adhere layers. In this ATC the top layer is on 3-D squares and the middle layer is glued to the base.
-

-
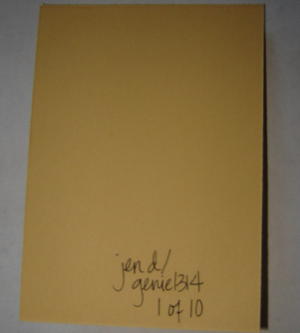
Step 4
Sign and number the back of the ATC.
-
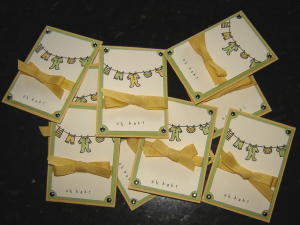
Step 5
Completed ATC. As the name suggests, these should be traded.
-
Your Turn
You've seen the tutorial, now you try it! We've got a section of the gallery set aside for Artist Trading Cards (ATC). Try this technique, then upload your artwork to the gallery. Show us your creations!
***Please note - Internet Explorer/Edge is not a supported browser, and will not allow you to see the videos. Please use Chrome, Firefox or Safari to view our tutorial videos.

Questions and Comments
We'd love to get your feedback or questions. Leave your comment below.
Next ATC's can be traded by going on line to any card group or start your own group. If you need to remember the size of an ATC it is the size of a card from a deck of standard playing cards. I have used a picture card, the queen and put embellishments on it and a name only as a challenge to see how it would work as a name badge. The queen was used for a back drop so to say. You can glue card stock to the front (number side) to a playing card using the back as a design for your card. I have even bought pads for water coloring and canvas pads cut them cut them to the size of an ATC after painting etc as a true work of art. If you want a challenge make and trade inches they are 1 x 1 and you decorate them like you would any card and trade them too. They are beautiful when finished. Happy Cards to all
Keep in touch, Kathay
PS email me we can start an online club to trade cards.
Page 2 of 2 pages < 1 2