Accordion Card
by Beate Johns
Create an extra long and special card for any occasion.
Supplies
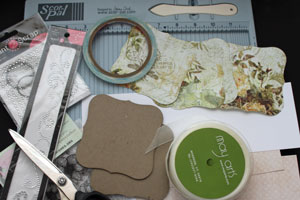
- Two pieces of Nestaboard™ or other chipboard pieces around 4" square
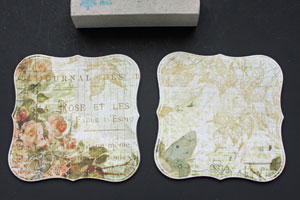
- Four pieces of Patterned Paper, cut with the matching Spellbinders™ die or a bit bigger then your chipboard piece
- One 3 1/2" x 7" piece of Patterned Paper, or neutral cardstock
- One 3 1/2" x 10 1/2" piece of Patterned Paper, or neutral cardstock)
- Additional cardstock and Patterned Paper for decorating and matting pages
- Ribbon for the cover
- Scor-Pal™, or other scoring tool
- Adhesive
- Corner Rounder (optional)
- Ink
- Stamps
- Embellishments, Want2Scrap Nestabling™ and Rhinestones used here
Step-by-Step
-
Step 1
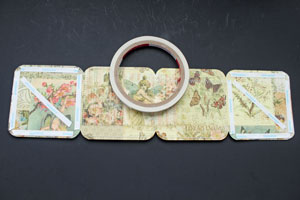
Adhere Patterned Paper piece to the front and back of your Nestaboard™ or chipboard covers.
-
-
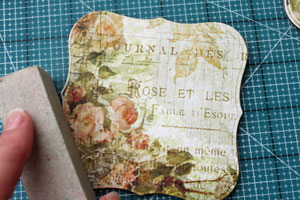
Step 2 (Optional)
Sand over the edges of your patterned paper for a softer look.
-
-
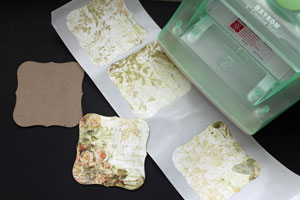
Step 3
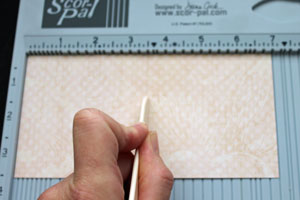
Score your 3 1/2" x 10 1/2" piece of Patterned Paper at 3 1/2" and 7".

-
Score your 3 1/2" x 7" piece of Patterned Paper at 3 1/2".
-
Step 4
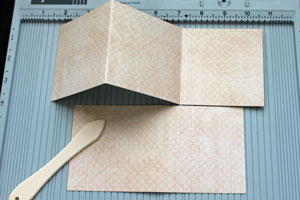
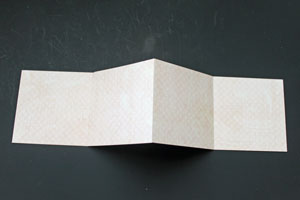
Prefold your score lines mountain/valley style.
-
Step 5
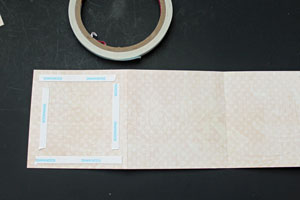
Add adhesive to one of the outer panels of your longer paper strip.
-
Adhere one of the panels from the shorter strip to the longer one to create a four panel strip.
-
Step 6 (Optional)
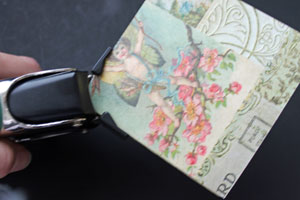
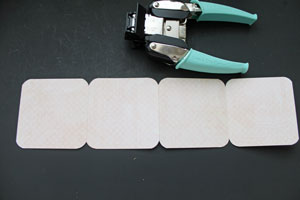
Fold your pages together and round each corner.
-
-
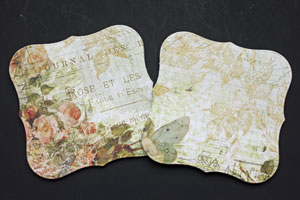
Step 7
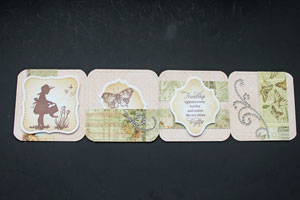
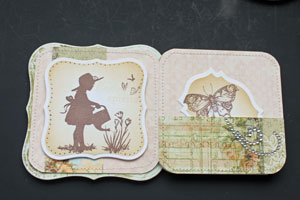
Decorate your pages.
-
Step 8
Apply adhesive to the back side out the outer panels.
-
Step 9
Adhere the outer panels to your cover pieces.
-

-
Step 10
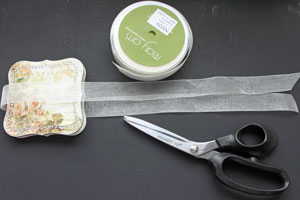
Cut a piece of ribbon and place it around your card.
-
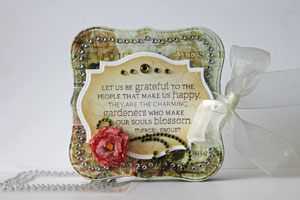
Step 11
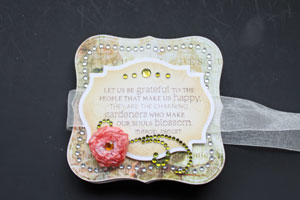
Stamp a center piece for the card cover and adhere it over the ribbon to hold it in place.
-
Step 12
Tie ribbon. Your accordion card is done.
Video!
Variations
Different Sizes
Try a matboard cover of 4 1/2" x 3" and pages sizes of 4 1/4" x 11" scored three times at 2 3/4", 5 1/2" and 8 1/4". Or make your card big enough to hold pictures. Be creative!
Decorate
Decorate with charms, eyelets, fibers...whatever you have at home.
Glitter Puzzle Window
Add a glitter puzzle in the card window.
Stamp Pages
Instead of using patterned paper for your pages, try using cardstock and stamping the pages instead.
Add Pages
Try a different amount of pages. Make your card longer or shorter just by adding or leaving out extra page strips.
Creative Covers
Use fabric on your matboard or chipboard covers, or stamp them instead of covering them with patterned paper. Or, use solid background paper for the cover and distress it with sand paper.
Your Turn
You've seen the tutorial, now you try it! We've got a section of the gallery set aside for Accordion Card. Try this technique, then upload your artwork to the gallery. Show us your creations!
***Please note - Internet Explorer/Edge is not a supported browser, and will not allow you to see the videos. Please use Chrome, Firefox or Safari to view our tutorial videos.
 *
*
Questions and Comments
We'd love to get your feedback or questions. Leave your comment below.
I really enjoy looking at your fabulous cards and this one is no exception. I have a question about another card that you made.
How did you attach the frame on the Double Embossing card? Thanks so much for all your help.
Joan Schoppe
Judy
You can sign up for our newsletter on this page: http://www.splitcoaststampers.com/resources/newsletters
I love that corner rounder. It's made by We R Memory Maker and is called a Corner Chomper.
Page 2 of 3 pages < 1 2 3 >