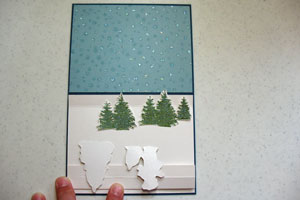
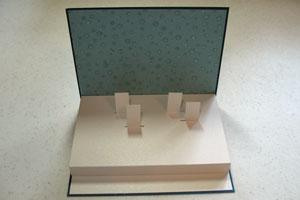
Pop-Up Stage

by Kim Score

Create a pop-up card with a stage inside.

Supplies
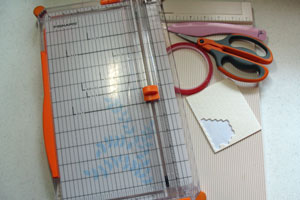
  • Paper cutter
  • Scoring board
  • Bone folder
  • Cutting blade
  • Strong adhesive
  • Dimensionals
  • Scissors
  • Stamps & ink
  • Cardstock , patterned paper and embellishments

Step-by-Step

  1. Step 1

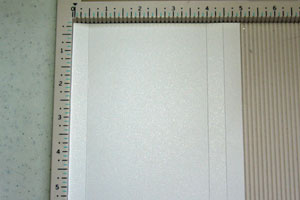
    Cut 5 1/2" x 5" cardstock for stage. On 5" side, score at 1/2", 4” and 4-1/2".
  2. Step 2

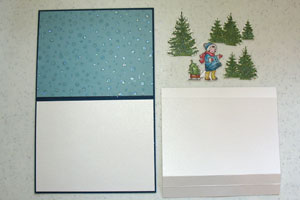
    Cut 8 1/2" x 5 1/2" cardstock and fold in half for base.

    Cut two 5 3/8" x 4 1/8" cardstock or print paper for inside decoration (optional) and attach to inside of card base.

    Stamp, color and cut out pop up pieces.
  3. Step 3

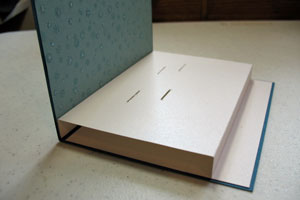
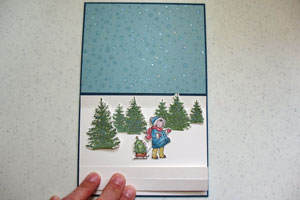
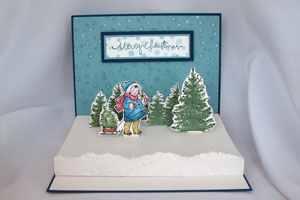
    Flip stage piece to wrong side up. Align edge of stage to card center (end with single 1/2" score). Fold other end at 4" score towards center and hold in place. Lay out pieces where you want them. Flip front pieces forward to make sure they don’t go beyond edge of card. Mark stage at base of each piece with pen.
  4. Step 4

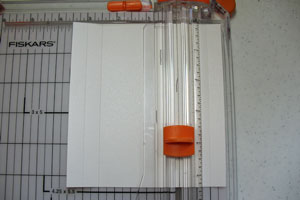
    On each of the marks, use paper cutter or craft knife and ruler to cut slots slightly longer than 1/2".
  5. Step 5

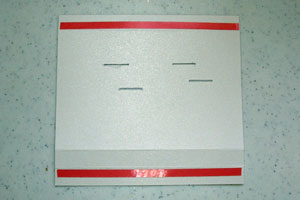
    Apply adhesive along 1/2" and 4 1/2" score lines.
  6. Step 6

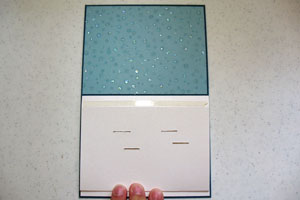
    Remove backing from tape. Fold card stock under at 4" score line. Align other end of stage at center of card and press to adhere to card base. Close card and press down at center to adhere tape.
  7. Step 7

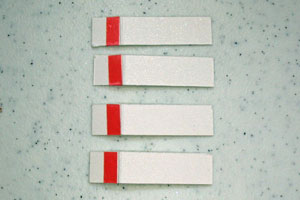
    Cut four 1/2" x 2" pieces card stock for pop up tabs. Score each one at 1/2". Add adhesive to tabs.
  8. Step 8

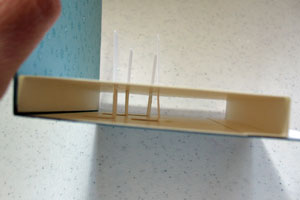
    Sharpen crease and remove backing from adhesive. Carefully slip tab through slot with adhesive facing down and tab pointing towards center of card. Holding card open at 90 degree angle, adhere tab straight up and down to base of card.
  9. Step 9

    Cut strip of patterned paper 2 1/2" x 12" for belly band. Wrap around card and adhere ends in back. Wrap ribbon around and tie bow.
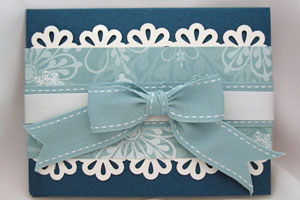
  10. Attach stamped pieces to tabs with dimensionals. Decorate front of stage.
Video!

Your Turn

You've seen the tutorial, now you try it! We've got a section of the gallery set aside for Pop-Up Stage. Try this technique, then upload your artwork to the gallery. Show us your creations!

***Please note - Internet Explorer/Edge is not a supported browser, and will not allow you to see the videos. Please use Chrome, Firefox or Safari to view our tutorial videos.

Questions and Comments

We'd love to get your feedback or questions. Leave your comment below.

Wonderful card for special occasions and special people! Thank you
Rosa M. Vasquez  |  Wed Jul 13, 2011 at 1:35 PM
Thanks for the tutorial! I love your card and it has given me so many ideas. Pop up cards always looked difficult but you made it doable.
Teresa Zuehls  |  Wed Jul 13, 2011 at 2:37 PM
Love your card! Thanks so much for the step by step tutorial.
suelondon2  |  Wed Jul 13, 2011 at 2:50 PM
Great tut. I'm glad you did a written one as well as a video, because it usually takes me both to figure it out, duh! Thanks for the tip on the cheaper Scor Tape. One question, is this too bulky to mail? Will it fit in a standard envelope and would it take extra postage? Just trying to think ahead for Christmas. TFS!
Lisa
[email protected]  |  Wed Jul 13, 2011 at 3:15 PM
Very cute card. May just try one this winter. Thanks. Edna
Edna Burgess  |  Wed Jul 13, 2011 at 5:03 PM
Thank you so much. Even I can follow your wonderful directions, LOL I intend to try these for my Christmas cards this year.
Robin Mowat  |  Wed Jul 13, 2011 at 6:06 PM
Thank you for your wonderful tutorial. You make it very easy to follow along. And with the picture & written tutorial, I think I can make a pop-up card.
Linda Cichowski  |  Wed Jul 13, 2011 at 6:48 PM
Lisa, this will fit into a standard A2 envelope without the belly band. To avoid too much thickness and extra postage, I suggest using a designer paper for the stage piece instead of card stock. This will make it fold much flatter.
Kim Score  |  Wed Jul 13, 2011 at 8:25 PM
Thank you very much for a great tutorial on the pop up card, absolutely love it, I look forward to making this card.
Anne
kiwistamper  |  Wed Jul 13, 2011 at 9:32 PM
Sorry I meant to ask you, what were the names of the stamps you used in this project, please.
Anne
kiwistamper  |  Wed Jul 13, 2011 at 9:33 PM
Wow! This is one of the best tutorials & new project I have viewed. Very good job! Now I want to try this. Got my Mojo juices flowing!
Thank you for your time & work creating this video.
Bevie Bee
Bevie Bee  |  Wed Jul 13, 2011 at 10:00 PM
Kiwistamper, I used Stampin' Up! sets for the project. The little girl with sled is from Greeting Card Kids. The trees are from Scenic Season.
Kim Score  |  Thu Jul 14, 2011 at 9:49 AM
You make it look so simple to do Kim! thanks for the GREAT step by step. I cant wait to try this one!
Tracy  |  Thu Jul 14, 2011 at 12:48 PM
Thank you very much Kim for your response.
I look forward to making this card.
Anne
New Zealand.
kiwistamper  |  Thu Jul 14, 2011 at 3:41 PM
Hi Kim - Great tutorial! Your instructions are so concise and your video is so easy to follow. Beautiful card, great idea!
Laura Boetto  |  Thu Jul 14, 2011 at 7:57 PM
Oh my goodness, this is so adorable, I hope to try this soon! Thank you for such a clear video tutorial, you make it look a wee bit less daunting LOL!! Thanks Kim!!
Stef Perry  |  Thu Jul 14, 2011 at 11:13 PM
Oh what a great card, you do beautiful work, I have to try this???
marlene
marlene geiger  |  Thu Jul 14, 2011 at 11:59 PM
So cute, i love pop up.

t
Terri  |  Fri Jul 15, 2011 at 3:40 PM
Excellent tutorial! I really didn't think it would work until I saw the video! I'm going to try a Halloween one!
Queen Mary  |  Sat Jul 16, 2011 at 8:30 PM
Awesome video! This is such a great project and you make it look super easy. I have to say this. . .know what I loved most about your video???? Not a bunch of "filler talking". For example, when you were attaching the 4 tabs, you were totally quiet. That makes it so much better! LOL I just like to watch what is being done without distracting filler talk. Shows that you are comfortable with what you are doing and don't have to talk on and on about nothing. You are awesome, and they need to get you to do lots more! Best, Curt
Curt O'Brien  |  Sat Jul 16, 2011 at 9:00 PM

Page 2 of 3 pages  <  1 2 3 >

You need to be logged in to comment

GET OUR NEWSLETTER


Splitcoaststampers's privacy policy