Graphite Transfer Paper Deboss
by Lydia Fiedler
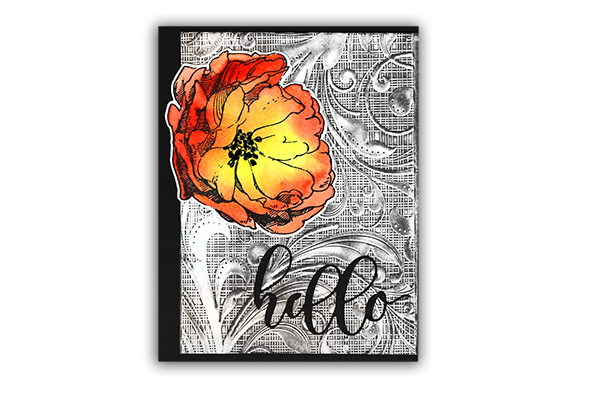
Don't want to get your hands inky? Color the background of embossing folders with graphite transfer paper.
Supplies
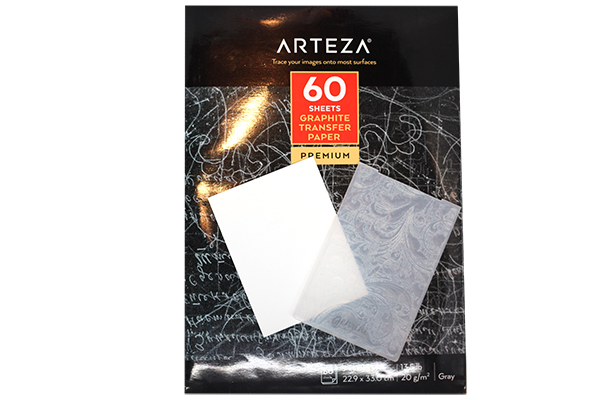
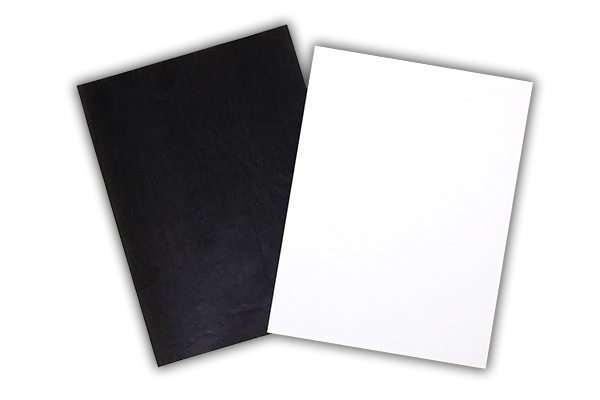
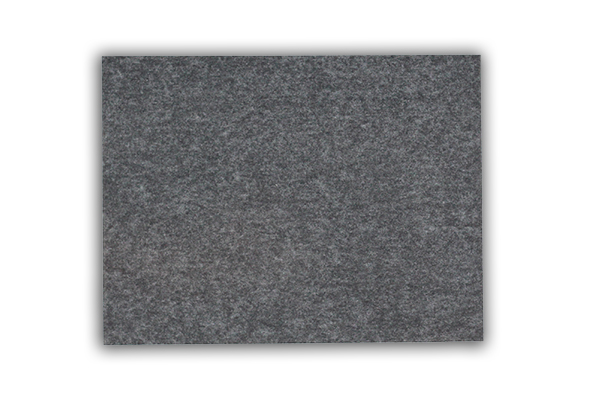
- Graphite Transfer Paper
- Cardstock or Watercolor Paper
- Embossing Folder
- Die Cutting Machine
Step-by-Step
-
Step 1
Cut a card front sized piece of graphite transfer paper.
-
Step 2
Place the paper over a card front, with the transfer side of the graphite paper facing the cardstock.
-
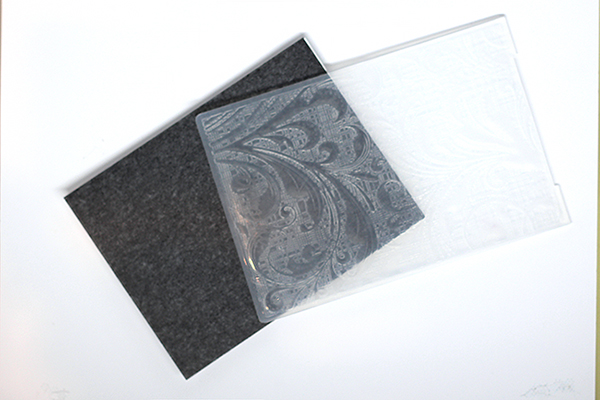
Step 3
Place the graphite paper and cardstock into an embossing folder. In my sample, I wanted the background to be graphite, so I positioned my cardstock accordingly. To see an example of how to choose which side of the embossing will end up with the color, please see this tutorial. So, imagine that the graphite paper is ink and place it on the side of the embossing folder where you would apply ink for the look you're trying to achieve.
-
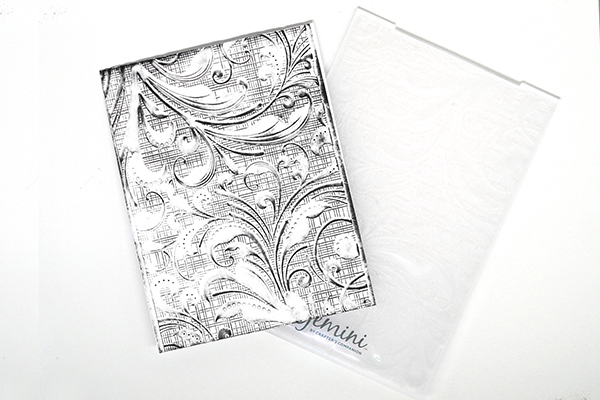
Step 4
Run the folder through your die-cutting machine and remove the graphite paper.
-
Step 5
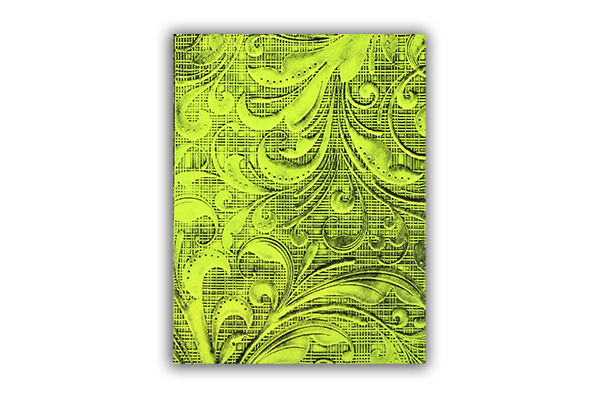
Variation: Graphite resists watercolor, so use any water media to color the white portions of your image, or color with another medium.
-
Step 6
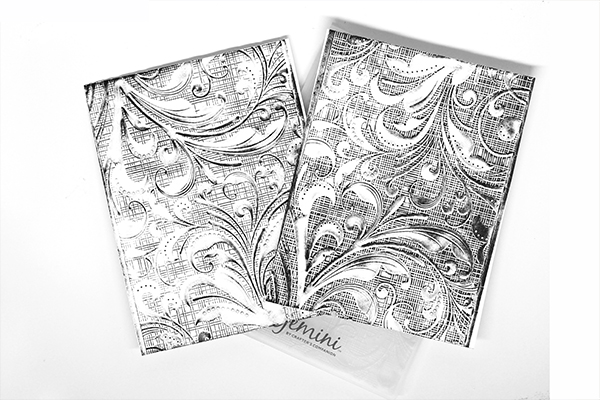
Variation: Orient the graphite paper the opposite way using the same folder for a different look.
-
Step 7
Variation: Use this technique on colored cardstock.
-
Step 8
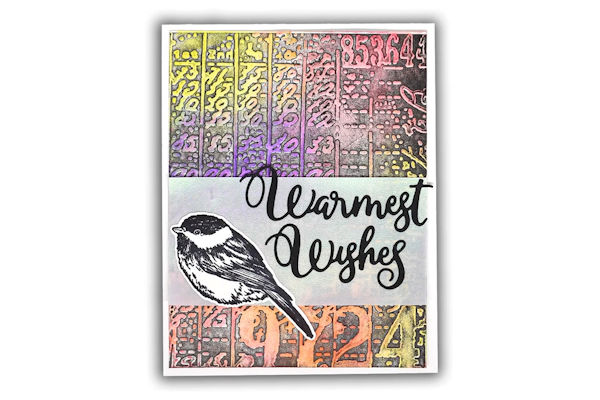
Finish your card.

Video!
Your Turn
You've seen the tutorial, now you try it! We've got a section of the gallery set aside for Graphite Transfer Paper Deboss. Try this technique, then upload your artwork to the gallery. Show us your creations!
***Please note - Internet Explorer/Edge is not a supported browser, and will not allow you to see the videos. Please use Chrome, Firefox or Safari to view our tutorial videos.

Questions and Comments
We'd love to get your feedback or questions. Leave your comment below.
You can see some of the projects I did on my blog : https://elliecreahoekje.blogspot.com/2019/05/technique-from-scs-graphite-transfer.html
Page 1 of 1 pages