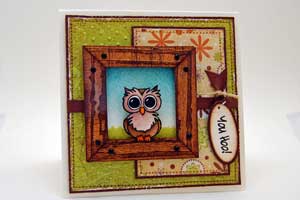
Faux Wood Frame
by Kim Teasdale
Create a faux wood look by swiping and sponging ink over your cardstock.
Supplies
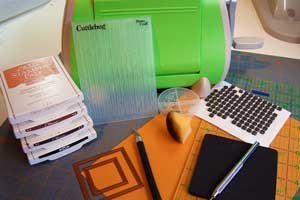
- Cardstock (More Mustard used here)
- Two or three ink pads in different shades of brown (Creamy Caramel, Close to Cocoa and Chocolate Chip used here)
- White pigment ink (Whisper White Craft Ink used here)
- Dimensionals
- Die cutting machine
- Stripe or wood grain embossing folder (Cuttlebug™ Embossing Folder – Distressed Stripes used here)
- Foam mat and piercing tool
- Mini brads
- Spellbinder’s Nestabilities™ Standard Square - 2 sizes, or paper cutter
- Craft Knife and Mat
- Adhesive
- Ruler
- Sponges
Step-by-Step
-
Step 1
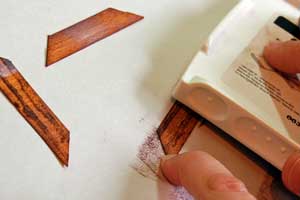
Starting at the top of the cardstock , apply ink with the lightest brown pad.
Let the edge of the pad touch the paper and drag it down in one direction covering all of the cardstock to start creating the grain.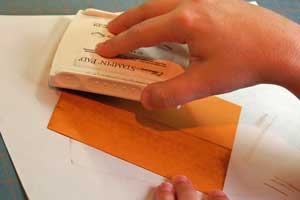
-
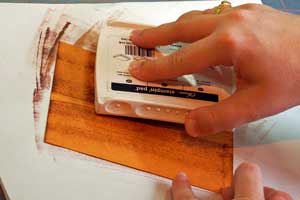
Step 2
Repeat step one, this time with a medium brown ink.
-
Step 3
Repeat step one with the darkest brown pad.
-
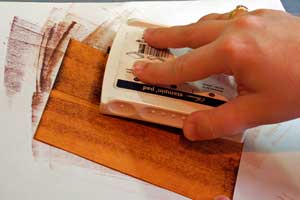
Step 4
Go over again with Whisper White Craft Ink using the same method.
If you are just creating the wood grain paper then skip to steps 7 & 8.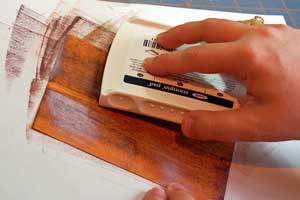
-
Step 5
Take 2 different sizes of Nestabilities™ Square Dies and place them ridge side down in your die cutting maching(Cuttlebug™ used here) to create a frame.
Alternative:
If you don't have Nestabilities dies, just cut a square frame with your paper cutter or with punches.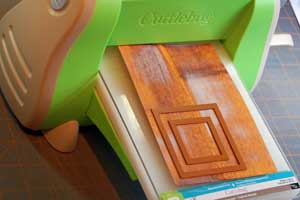
-
Step 6
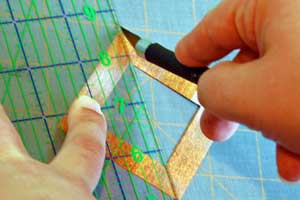
Take your craft knife and ruler and cut diagonally across the frame as shown to create four mitered pieces.
-
Step 7
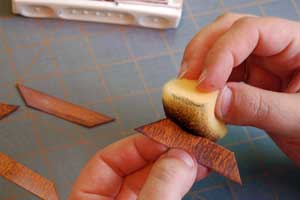
Sponge all the edges of the edges with the darkest brown ink.
-
Step 8
Place all four pieces in the Cuttlebug folder and emboss.

-
Step 9
Using the direct to paper technique, gently glide your inkpad across the embossed lines to darken them.
-
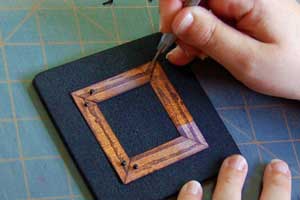
Step 10
Using a piercing tool to pierce one hole on either side of the mitered edges for the mini brads.
-
Step 11
To finish up, just tape the back side of the frame together, and use dimensionals to adhere it to your image.
Video!
Your Turn
You've seen the tutorial, now you try it! We've got a section of the gallery set aside for Faux Wood Frame. Try this technique, then upload your artwork to the gallery. Show us your creations!
***Please note - Internet Explorer/Edge is not a supported browser, and will not allow you to see the videos. Please use Chrome, Firefox or Safari to view our tutorial videos.

Questions and Comments
We'd love to get your feedback or questions. Leave your comment below.
the effect looks so great!!
Page 3 of 3 pages < 1 2 3