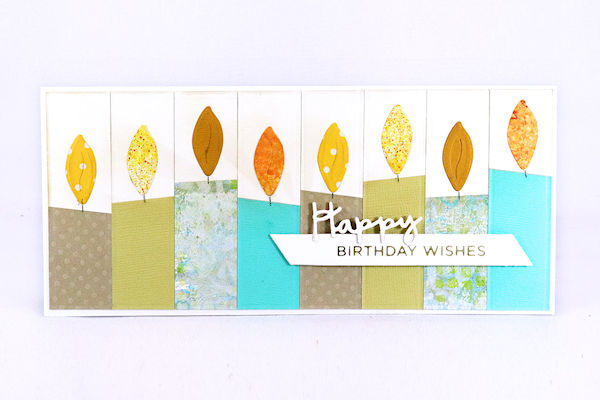
Faux Quilt Candle Card
by Dina Kowal
Make a birthday card inspired by a quilting pattern and technique.
Supplies
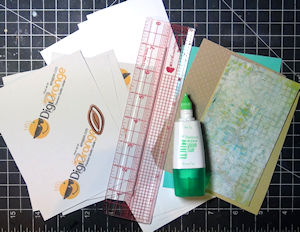
- White cardstock, or other solid color
- Cardstock scraps, coordinated variety, at least 3” x 5”
- Yellow cardstock scraps
- Adhesive label sheets or paper and adhesive for base
- Ruler and craft knife, paper trimmer
- Leaf die (Spellbinders Daisy Heads die set used here (discontinued))
- Liner pen
- Adhesive
- Other supplies as needed to complete the project (Spellbinders products used here: Small Die of the Month Club kit Dec. 2019 - Our Favorite Font Sentiment, Everyday Sentiments II Glimmer Hot Foil Plate, gold foil, Gemini Junior and Foilpress, Large Die of the Month Club kit Apr. 19 For You Gift Card Holder, banner die from Glimmer Club Kit Nov. 2019 - Shimmering Merry Christmas Sentiments; foam tape, A Colorful Life Designs Big Rays stencil, blender brush, Antique Linen Distress Ink, Scor-Buddy, ball stylus)
Step-by-Step
-
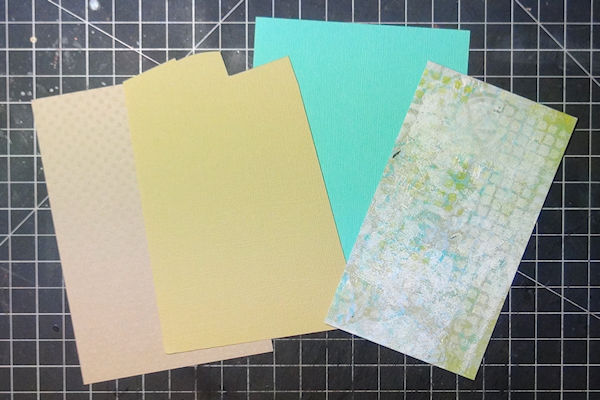
Step 1
Choose four coordinating scraps of colored and/or patterned cardstock, at least 3” x 5” each.
-
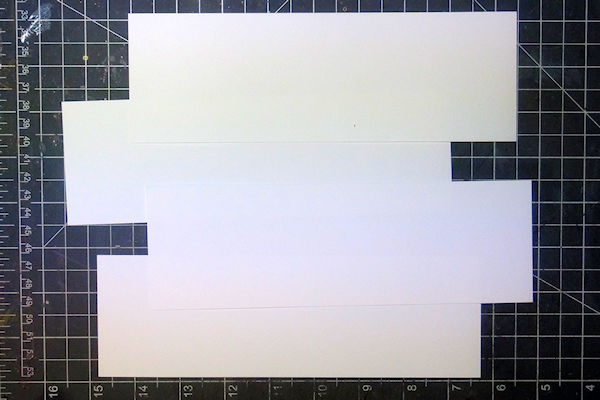
Choose four coordinating pieces of white (or other solid color) cardstock. For the sample, a full sheet of cardstock was cut into 4 strips, each 2 3/4" x 8 1/2”.
-
Step 2
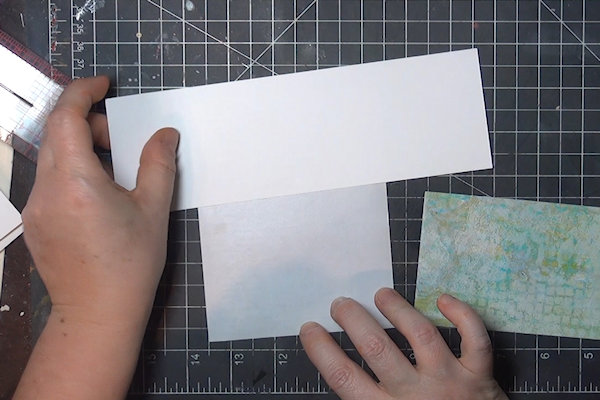
Cut a label sheet into four A2 panels (4 1/4" x 5 1/2"). Lay a white cardstock panel across the top of one of the label sheets at a slight angle.
-
Align one of the pieces of cardstock with the bottom edge of the white cardstock. The label sheet should be mostly covered. There will be some overhang on all sides.
-
Step 3
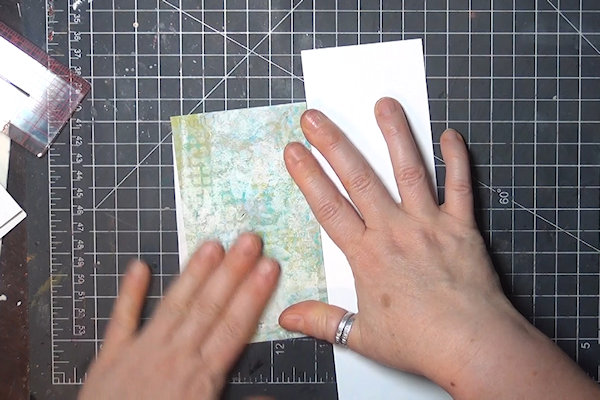
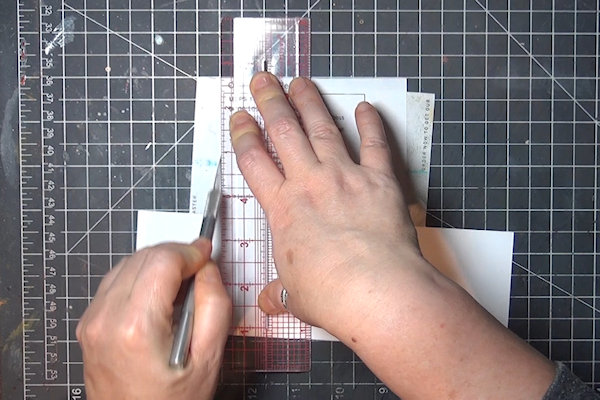
Flip the sheet over. Using a paper trimmer or craft knife and ruler, cut along the edge of the label sheet to create a straight edge.
-
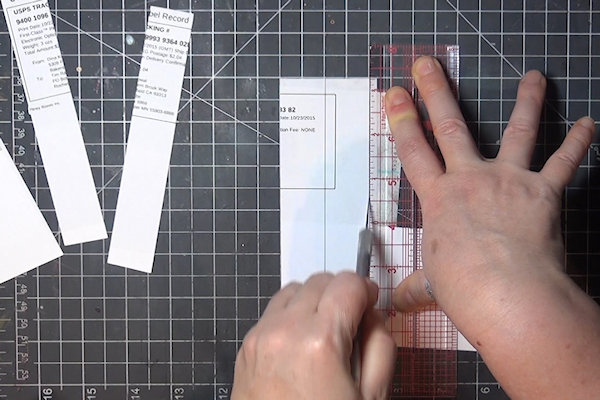
Cut across the panel at 1” increments to create 4 strips of equal width.
-
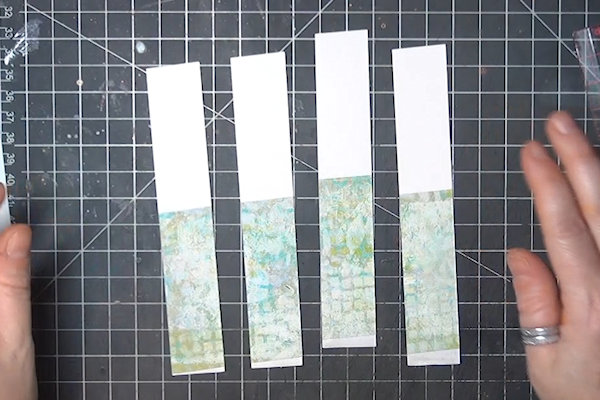
Step 4
Here are the first four strips - these will become the candles on the card.
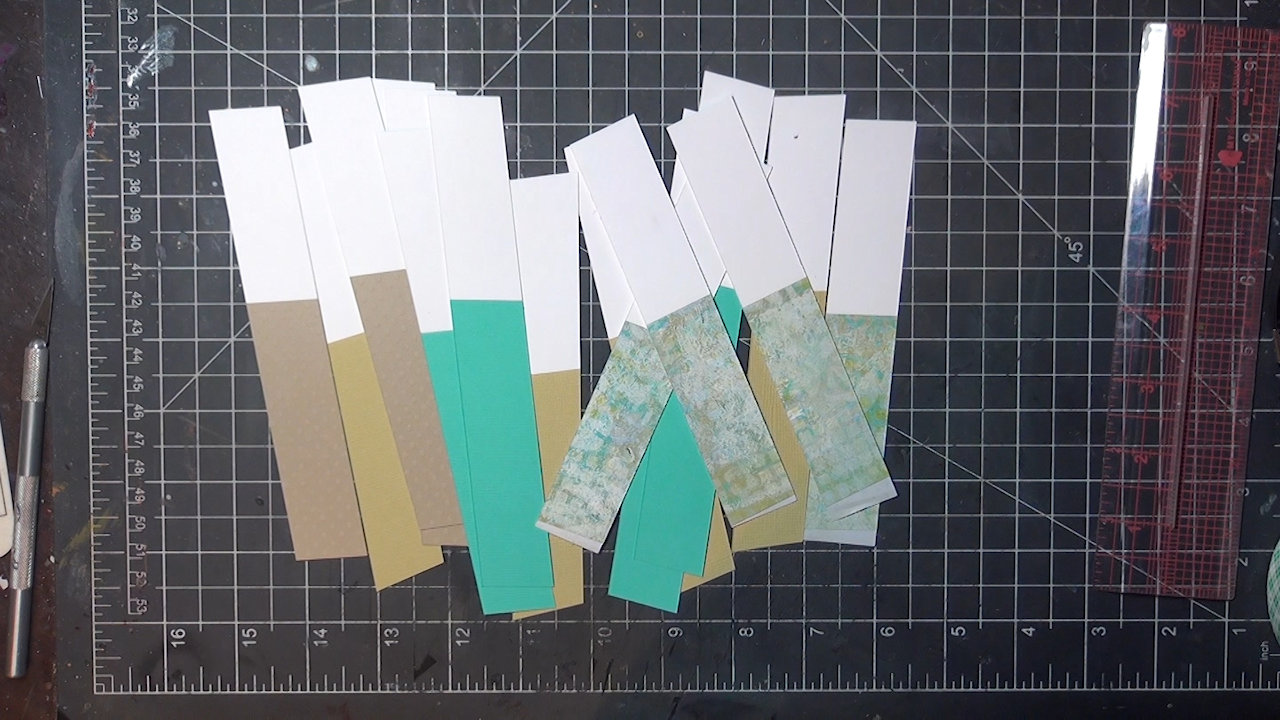
-
Repeat steps 2 and 3 with the remaining label sheets and cardstock. This will yield 16 strips.
-
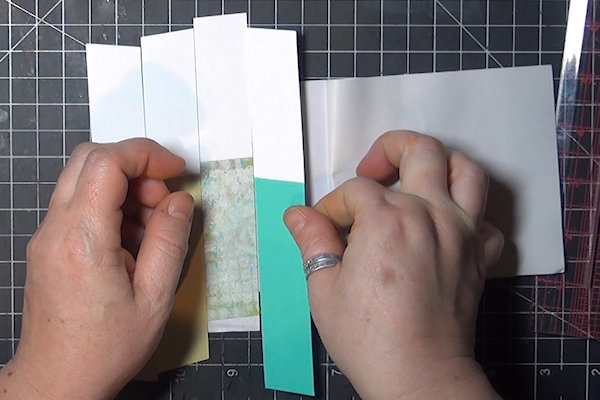
Step 5
Cut another label sheet to size for a card front. The sample here is cut to 4” x 8” (later trimmed down to 3 1/2"). Line the strips from one side to the other, staggering them slightly up and down with the cut ‘seam’ generally in the middle.
-
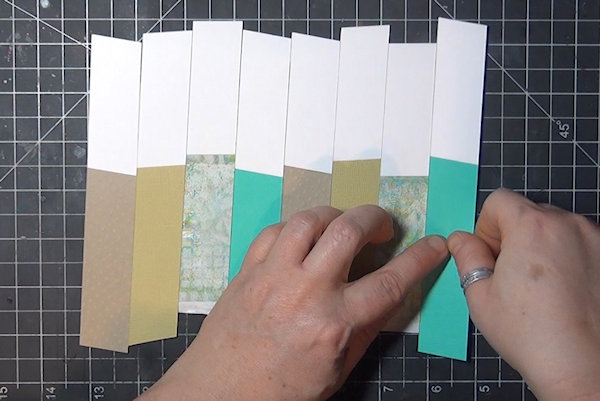
Continue across the panel until it is full. The ends of the strips will extend past the top and bottom edges.
-
Step 6
Trim off the overhanging ends to the desired size of the card panel.
-
Step 7
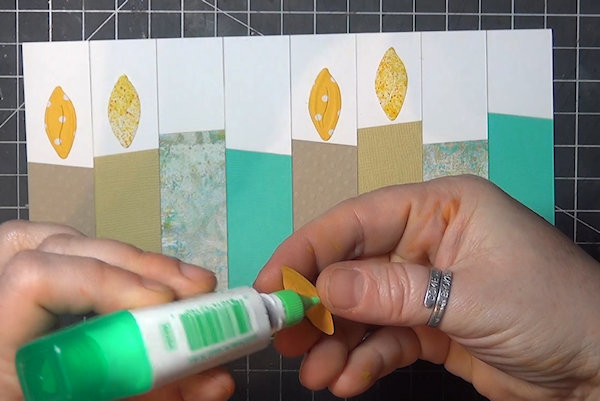
Use a leaf die to cut flames from yellow paper scraps, one for each candle on your panel.
-
Glue a flame above each candle. Use a pen or pencil to draw a short wick connecting each candle to the flame.
-
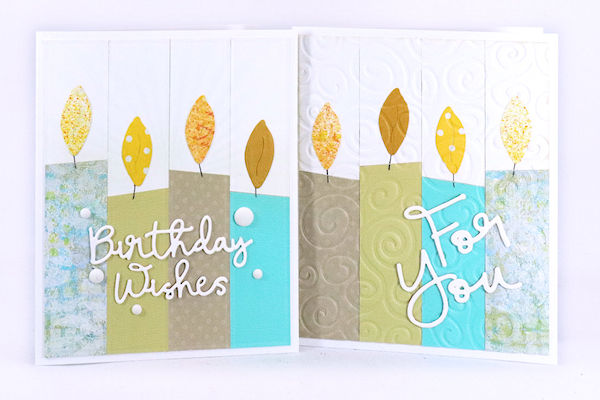
Step 8
Glue the panel to a card front. Embellish the card as desired.
-
Step 9
Complete the project.


Video!
Your Turn
You've seen the tutorial, now you try it! We've got a section of the gallery set aside for Faux Quilt Candle Card. Try this technique, then upload your artwork to the gallery. Show us your creations!
***Please note - Internet Explorer/Edge is not a supported browser, and will not allow you to see the videos. Please use Chrome, Firefox or Safari to view our tutorial videos.

Questions and Comments
We'd love to get your feedback or questions. Leave your comment below.
Label paper is used for printing mailing labels - it's just sticky on one side. I have a lot of it on hand for shipping orders, so it's what I use. It's nice and thin and doesn't gum up my blades.
Page 1 of 1 pages