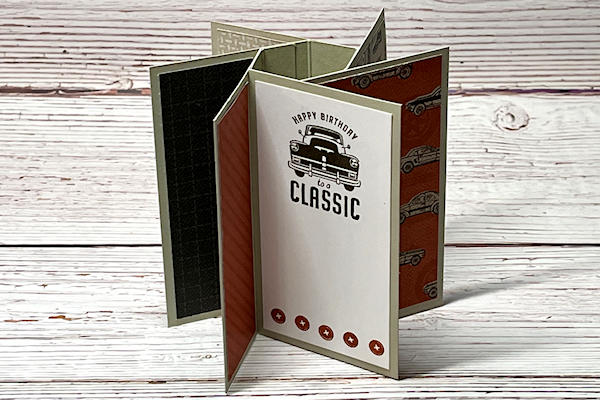
6-Sided Pinwheel Card
by Debbie Henderson
Create a standing flip card with a hexagonal base.
Supplies
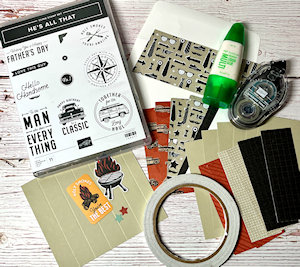
- Cardstock (Stampin’ Up!® Sahara Sand & Basic White Cardstock used here)
- Stamps and embellishments (SU He’s All That stamp set and All That Dies)
- Adhesives (Tape Runner, Tear & Tape, Tombow Multipurpose Liquid Glue)
- Trimmer
- Scoring tool
- Scissors
- Other supplies as needed to complete the project (SU products used here: He’s The Man Specialty Designer Paper, Early Espresso Ink, Cajun Craze Ink)
Step-by-Step
-
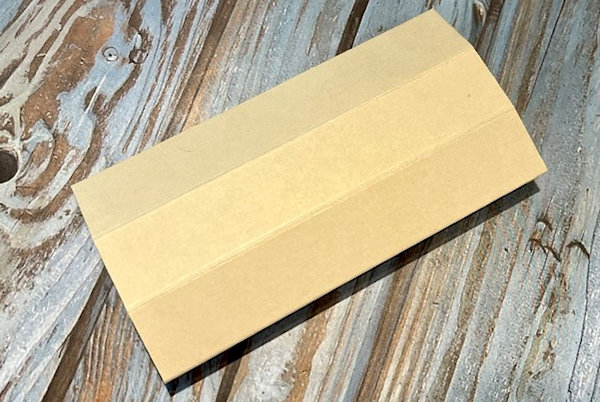
Step 1
Prepare a cardstock card base, 5” x 4 1/4”. On the 5” side, score at 3/4”, 1 1/2”, 2 1/4”, 3”, 3 3/4”, 4 1/2”. Add double-sided tape at the end of the smallest scored section.
-
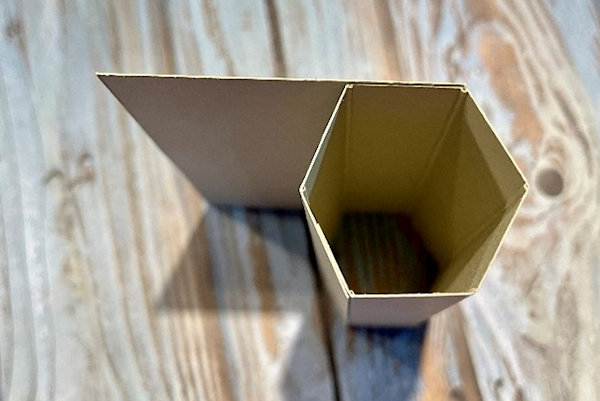
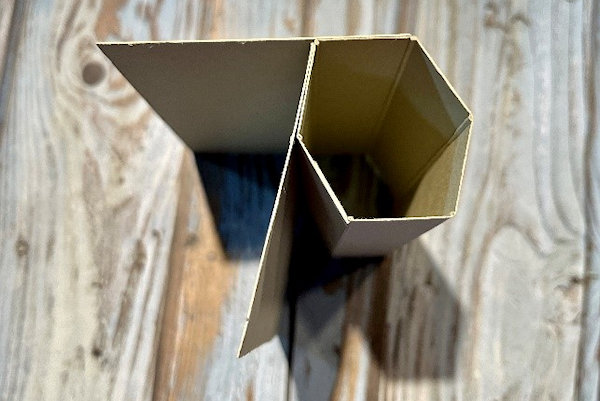
Step 2
Fold the card base on all of the scored lines.
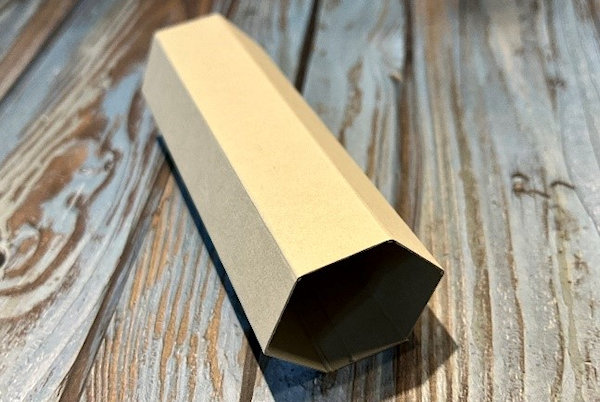
-
Peel off the adhesive backing and fold the cardstock over to glue the tab to the inside.
-
Step 3
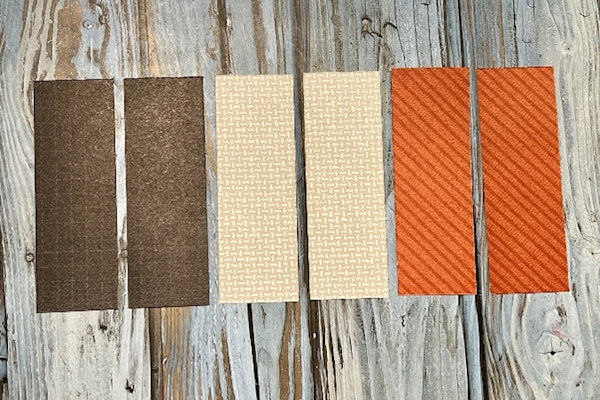
Cut six pieces of matching cardstock that measure 4 1/4” x 2 3/8”.
-
Step 4
Glue one of the cardstock pieces to the hexagon card base by lining up the left edge and using liquid glue.
-
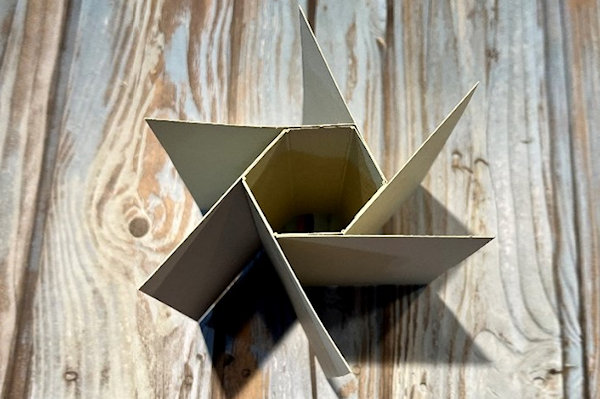
Step 5
Continue gluing layers to each section of the card base until all six are glued in place.
-
-
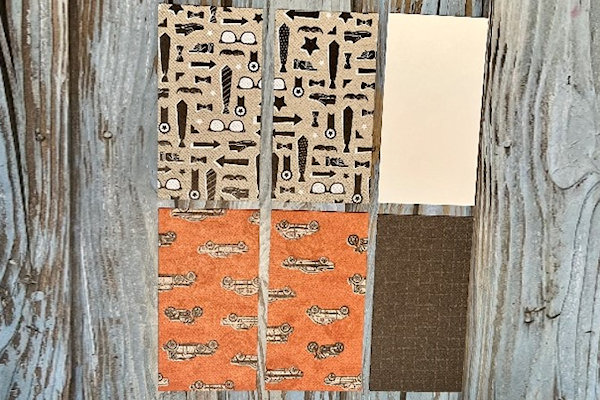
Step 6
Prepare the following layering pieces:
5 pieces of designer paper measuring 4” x 2 1/8”
1 piece of Basic White Cardstock measuring 4” x 2 1/8”
6 pieces of designer paper measuring 4” x 1 3/8” -
NOTE:
Three different papers were used for the sample. You can mix and match as many patterns as you like or use one pattern only. -
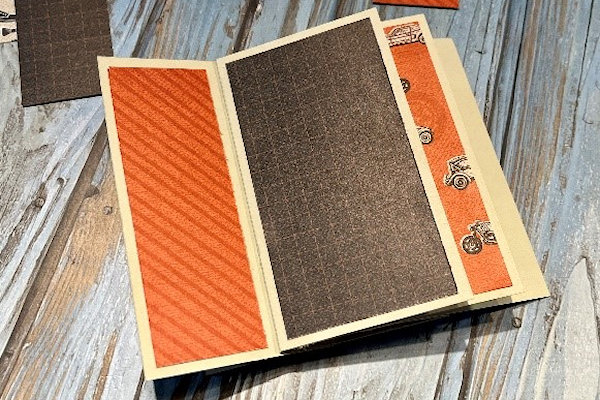
Step 7
Glue alternating patterns, using both sizes of the designer papers on each section.
-
-
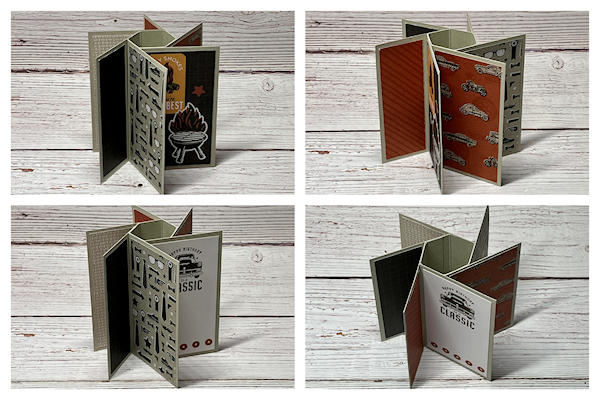
Step 8
For the last section, stamp the white cardstock layer as you like. For the sample, the sentiment was stamped at the top using Early Espresso Ink and the little buttons at the bottom were stamped with Cajun Craze Ink.
-
Decorate each panel as you like or let the designer paper do all the work for you. Diecuts were added to one panel. You can also add designer paper to the envelope flap to coordinate with your card.
NOTE:
It is best not to use embellishments, ribbon or foam adhesive to keep the card layers flat and not too bulky. -
Step 9
Complete the project.
This card will fold flat for mailing in a standard A2 envelope, but may require extra postage for uneven thickness.


Video!
Your Turn
You've seen the tutorial, now you try it! We've got a section of the gallery set aside for 6-Sided Pinwheel Card. Try this technique, then upload your artwork to the gallery. Show us your creations!
***Please note - Internet Explorer/Edge is not a supported browser, and will not allow you to see the videos. Please use Chrome, Firefox or Safari to view our tutorial videos.

Questions and Comments
We'd love to get your feedback or questions. Leave your comment below.
Page 1 of 1 pages