3D Stamping
by Lynn Mercurio
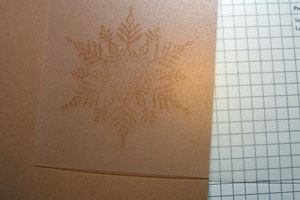
Create a 3D look by overstamping your solid image with a slightly darker ink.
Supplies
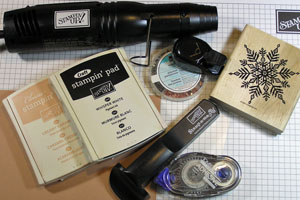
- Stamps
- Cardstock (Creamy Caramel was used here.)
- White Pigment Ink (or other bright white ink)
- Stamp-a-ma-jig (or other stamp positioner)
- Dye Ink to match cardstock used
Step-by-Step
-
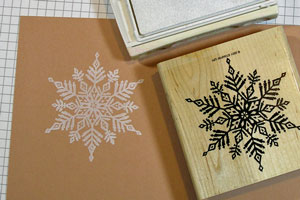
Step 1
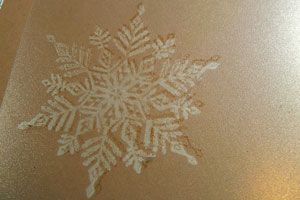
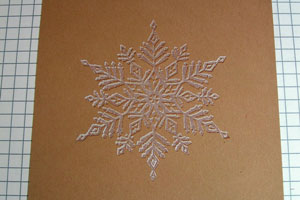
Stamp your image using white pigment ink onto colored cardstock.
-
Step 2
Let the craft ink dry, or heat set.
-
Step 3
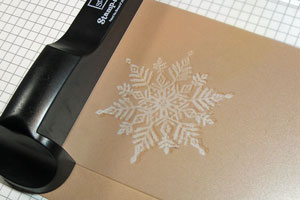
Line your positioning sheet up with the corner of your Stamp-a-ma-jig (SAMJ).
Ink the image you just used with dye ink.
Line it up with your SAMJ and stamp image on your positioning sheet.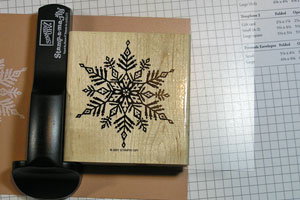
-
-
Step 4
Place the positioning sheet over the white stamped image, slightly off-center from the white image.
-
Place the SAMJ along the imaging sheet.
-
Step 5
Remove positioning sheet.
Line stamp up with the SAMJ and stamp image over the white image with dye ink.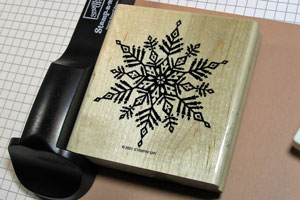
-
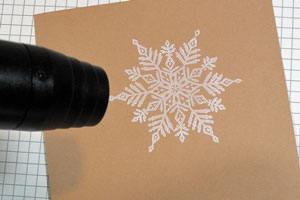
Step 6
Your stamped image should give the illusion of being embossed.
-
Step 7
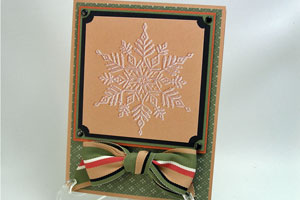
Finish your project.
Video!
Your Turn
You've seen the tutorial, now you try it! We've got a section of the gallery set aside for 3D Stamping. Try this technique, then upload your artwork to the gallery. Show us your creations!
***Please note - Internet Explorer/Edge is not a supported browser, and will not allow you to see the videos. Please use Chrome, Firefox or Safari to view our tutorial videos.

Questions and Comments
We'd love to get your feedback or questions. Leave your comment below.
but 'm really not sure what you mean when you say dye ink is that versa mark?
thanks
Looks like Lynn used SU Classic ink, which is a dye ink, in Creamy Caramel, to match her cardstock.
HTH- isn't this a beautiful (and easy) technique?
Page 2 of 4 pages < 1 2 3 4 >