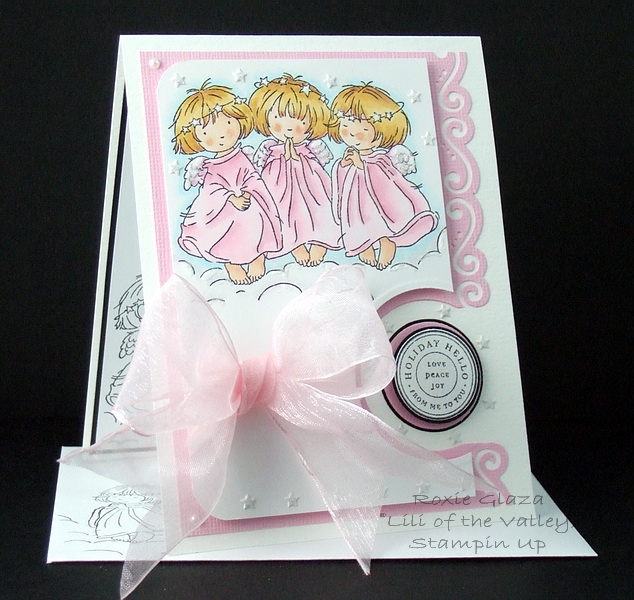
Measurements: angel panel – 3 3/16” x 4 15/16”, pink panel – 3 7/8” x 5 1/8”, circle cut out 1 5/8” for the pink and 1 7/8” for the white panel
I get to hand deliver this one so I went big on the bow which is not my norm!
After coloring the image I used AleeneÂ’s Paper Glaze as an adhesive to hold on the Glitter Ritz on the star halo, wings and cloud puffs.
Nestabilities were used to cut the circle openings then I used both punches for the sentiment and two black layers and Nestabilities again for the pink layer. The sentiment with black border is popped up with foam tape over the pink panel.
Scroll and Dots punch from EK Success was used to punch the pink border and I helped secure it to the card with tiny dots of AleeneÂ’s tacky glue. I also used that glue to attach all the tiny stars which are cut from the Cuttlebug die Snowflakes. I lay them out on the card upside to get them in position then touch a stick pin to the glue then to the back of the star which picks it up, flip it over and press down with the finger and pull away, youÂ’ll have time to slide it into place if needed.
To tie the bow I used one piece of ribbon and made that first tie then clamped it with my repurposed suture tool to hold it tight (which my daughter found in her used vehicle and was going to throw them out), continued with the bow and removed the tool. What a great find, itÂ’s like having a third handÂ…I know some tweezers tools will also lock.
The image panel was also popped up with foam tape.
I used the little angels on each end to stamp on the envelope and insert. After inking up the image I used a wet wipe to remove the unwanted ink before stamping.