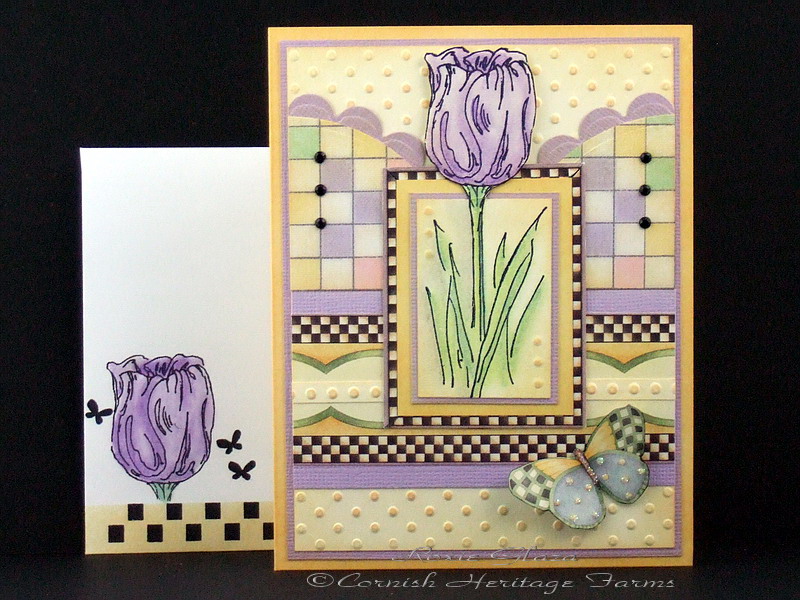
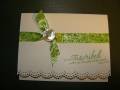
Measurements: The pastel checks scalloped border was cut with a 4” Nestabilites; cut the circle in half and then cut one of the halves in half again. I trimmed just a little off the two scallops that meet under the image panel so they wouldn’t overlap and cause bulk.
The panel going across is 2” wide (lavender) and is 5/8” from the edge of the embossed dots panel.
The image panel’s checked border is 2 x 2 5/8”.
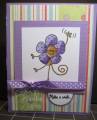
-Well, this is a busy little card isn’t it! The paper all comes from the same 12 x 12” sheet. The checks and scalloped print is a border around the pastel checks which I used for the quarter circles and the butterfly is one of about five from the same paper.
-I pieced the border together to make the cross panel and happened to have just the right ¼” width to emboss and cover the seam. The single row of dots CB folder was used and I also used it to emboss on the image panel but I used a metal ball stylus rather than try and run it through the machine.
-The checked frame was mitered from the paperÂ’s border.
-I used the wide Cuttlebug embossing dots border folder on the vanilla panel, two passes on the top and one on the bottom. With a bone folder I flatten the dots that were to be under the quarter circles to avoid bulk.
-Prismacolor pencils, baby oil and paper stumps were used for the image colors; this is done the same as the Gamsol technique but with the baby oil.
-Diamond Glaze was used to attach the gems.
-Ink distressing was done on all layers but the checks.
-I glued the butterfly to cardstock for stability and then cut it out. Art Glitter adhesive and Stampin UpÂ’s Dazzling Diamonds were applied to the body and lower wings.