This is for Jacqueline's fun Teapot Tuesday challenge and Karen's Technique challenge - embossed folder stamping.
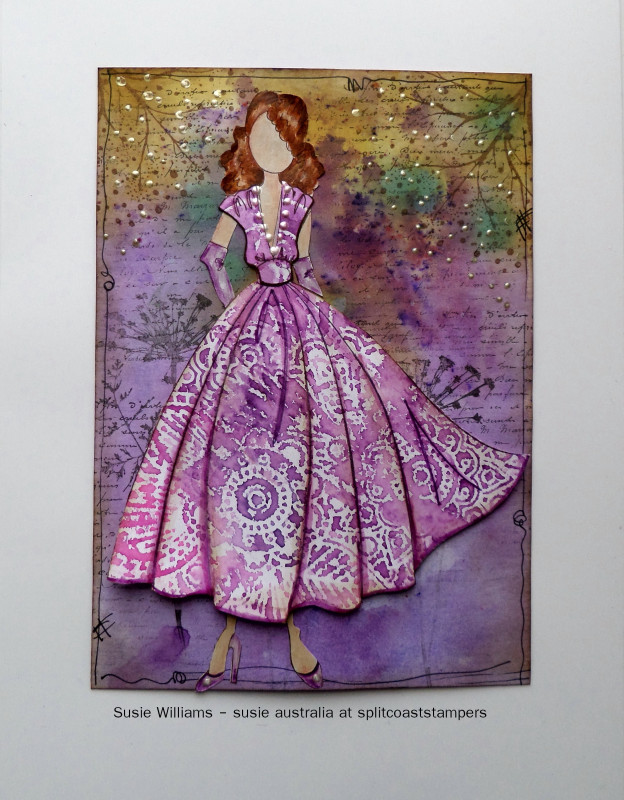
The idea for this card came about thanks to Angie and Susan's IC challenge last weekend....dress-up Barbie!!
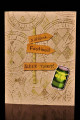
The background was from my ginormous stash of Dylusions ink spray's and Distress ink backgrounds. There is some really faint stamping pocking out behind the dress, which is how I clean stamps, by stamping onto some backgrounds. Same applies to the text stamping.
I did add the dotty tree today, using sepia coloured Versafine ink. A few liquid pearl spots were also added.
For her dress I used an embossing folder that I bought about 5 years ago, but as this is its first outing I'm classing this as my 'new' element.
H = hair
N = Nutting, as in Julie Nutting doll stamp
E = embossing folder technique.
I inked the inside of the EF with a purple and pink distress ink, squirted on water then pressed the cardstock onto the folder.
Karen provided a great link to a tutorial by Audrie. Up until I saw Audries video, I always thought you actually ran the EF through an embossing machine after inking it....LOL no wonder mine never worked before.
I digress, after the cardstock dried, I stamped the image on, then fussy cut. To give the skirt a 3D look, fold the skirt (mountain fold) where each seam line is, carefully manipulate the folds in line with the curves. Doing one fold at a time, scrub a foam dauber along the folded edge, I don't generally need to add more ink as the residue from walnut stain and other dark ink lasts for ages.
If you still need a bit more dark shadows, use a Copic or pencil and draw a line next to the fold. The actual doll body is just copy paper coloured with pencils and a few Copic highlights in her hair, the dress was then paper pieced on top.
Because this image is too big for the card base, I just chopped her legs off and tucked them under the skirt.
Happy new year everyone and thanks very much for looking.
Date: Tuesday, January 1, 2019 GMT Views: 1994
Favorited:23