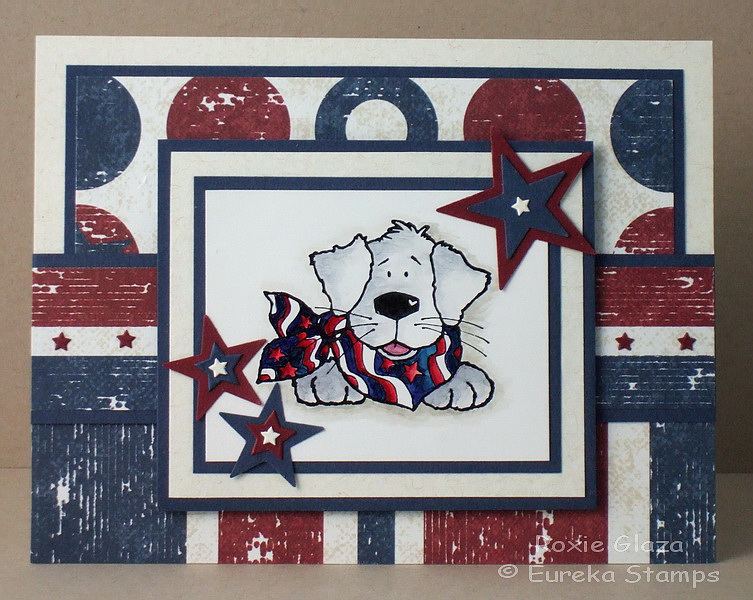
Measurements: image panel - 2 3/16" x 2 3/4" plus 3/32 and 1/4" borders, narrow panel 1 1/8" x 5 1/2" plus 3/32" border, bottom panel 2 5/8" x 4 7/8" plus 3/32" border, bottom designer paper is 1 1/4" x 5 1/2"
All I have left of this paper pack is smaller pieces so the blocking worked well here and I used one of my favorite layouts for blocking with patterned paper.
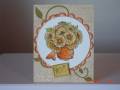
I stamped the image with Versa Mark in the past on a semi glossy cardstock but never used it until now. I was very careful to color it with Copic and keep the two from mixing and becoming muddy and I liked the results of the marker ink on the glossier cardstock which doesnÂ’t show real well in the photo but in real life itÂ’s sketchy looking.
The tiny stars are cut with the Cuttlebug Snowflakes die and when since I wanted only the star off the die I first punched the cardstock with a ¼” circle punch, placed it over the star and made the cut.
The larger stars are cut using a Fiskars punch and they are all assembled and attached to the card with AleeneÂ’s tacky glue. I pick up the small stars with a stick dipped in glue, touch the back and it picks it up then I put it in position press down with the finger and pull the pin away then slide it into place if needed.
This is a card front which will be sent to the company for show displays so thatÂ’s why you donÂ’t see an envelope!
Registered: September 3, 2007 Location: native Texan living in extreme N. GA Posts: 73400
Wed, Oct 19, 2011 @ 5:20 PM
Adorable, Roxie! Love the patriotic colors and all the little stars. A lot of mine are card fronts only. I had to devise a little easel back to hold them for the pics, lol. (Mine today is a card front.)
Registered: January 16, 2007 Location: Rio Rancho, New Mexico Posts: 203
Wed, Oct 19, 2011 @ 10:01 PM
Adorable!! I love the puppy!!
------------------------------ Have a sweet day, Pamela
Thank you for visiting my blog: http://www.stampinnatural.com
My Stampin' Up! Website HERE
My Gallery HERE-----Fan Club Member


 Thanks for sharing!!