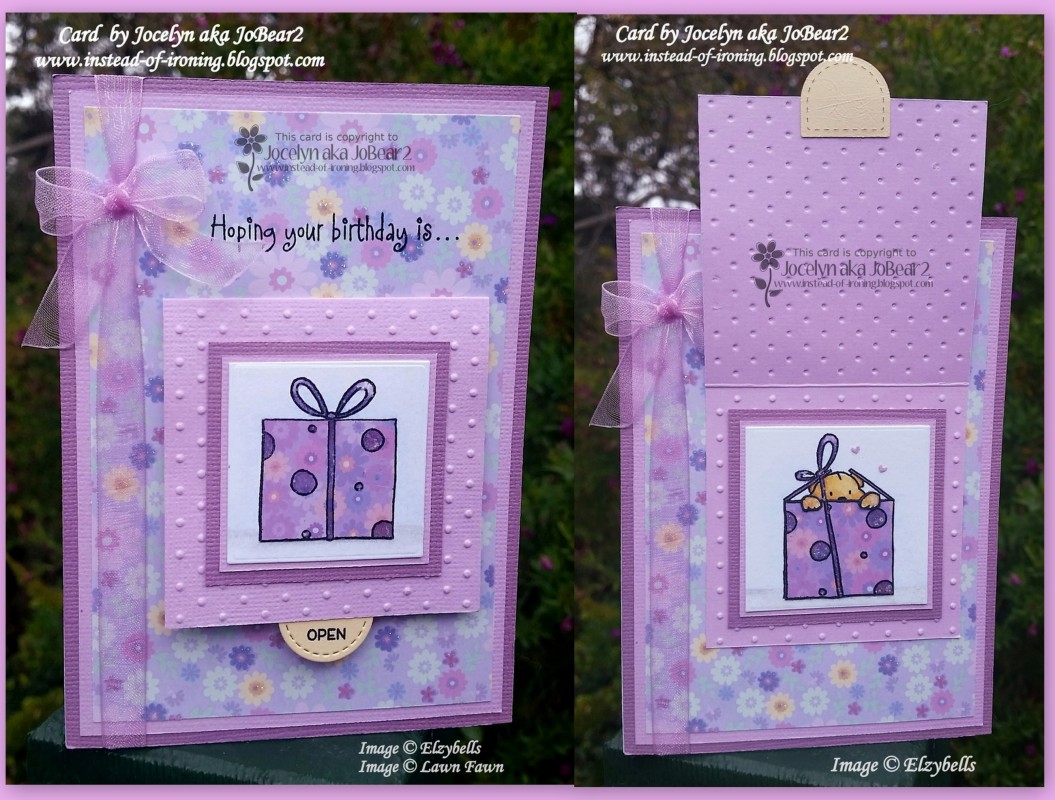
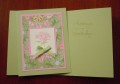
This is the CARD FRONT of the birthday card that I made for my daughter's 14th birthday. Please see my Gallery for the CARD INSIDE.
The two images are from an Elzybells stamp set called "Teddy Surprise" (Elzybells are no longer in business) - but fortunately, Penny Black brought out a set using all but one of the images on my card which is called "Wishes and Hugs" PNY-CS-30222. All but the present (LHS photo) are included in the set - even the two sentiments :-)
I stamped the images using my MISTI and Ranger Archival Jet Black ink onto Ranger Watercolour cardstock and coloured them (other than the presents) using Derwent Inktense pencils + Faber-Castell watercolour pencils and a #2 round paintbrush. I went around the images with a light blue watercolour pencil and faded the colour out.
I inked up just the presents again then restamped onto the back-side of my designer paper so I could paper-piece the presents. I coloured the circles with a dark purple watercolour pencil. I also re-stamped the bear's paws on image #2 and popped them up on dimensionals so they were higher than the present and looked more realistic. I went around all the images with a Copic black multiliner pen to hide any white lines/my uneven cutting.
I thought it would be fun to have a "lift-up" panel on the card front as my take on the trendy interactive cards. The dry embossing is my old favourite Cuttlebug embossing folder called Swiss Dots which I embossed using my Big Shot.
Lawn Fawn recently came out with a stamp and die set called "Push Here" which has all that you need for when you make interactive cards and want to let the recipient know what to do with their card - so I used the "Open Here" stamp with the half-circle stitched die which you can see in the 1st photo.
I trimmed all the card layers to either 1/16" or 1/8" using my Perfect Layers Tools. I used my EK Success Arrows border punch to punch tiny little hearts (the leftover punchies look like tiny hearts to me!) from lilac cardstock and popped 2 of them around the 2nd image using Tombow Mono Aqua glue.
I again used my MISTI for stamping the sentiment so I could stamp it several times to get a clear image on the designer paper as there is glitter on the paper and it was difficult to stamp on. This is where the MISTI is just such a fantastic tool and I can't tell you the amount of times in the past when I tried to stamp a sentiment and it was crooked or didn't stamp clearly. I added the lilac organza ribbon in 2 separate elements and the bow itself was made using my Bow Easy. I added Fray Stop to the cut ends to stop them from fraying.
Of course, everything got the glitter-treatment with my Stampin' Up Dazzling Details glitter glue: the circles and bows on the presents and tiny hearts. Gotta have plenty of glitter to make a happy card for my girl :-)
Once I finished the card front, I attached it to a white card base using Tombow Mono Multi glue which gives you plenty of wriggle-time to get it straight & in just the right place.
Thanks for having a peek at my card! You are welcome to visit my blog 'Instead of Ironing Blogspot' - this link will take you to my blog post---> http://instead-of-ironing.blogspot.c...hday-card.html I have lots of close-up photos and lots of information.
Date: Monday, July 3, 2017 GMT Views: 1214
Favorited:3