I made this card for my daughter for Valentine's Day just to say how much I love her :-)) This is also my card for the SCS Free-for-All Friday Challenge F4A363 of Make a Valentine. You can read more details on the challenge here: F4A363~Make a Valentine 02/03/2017 by wannabcre8tive at Splitcoaststampers
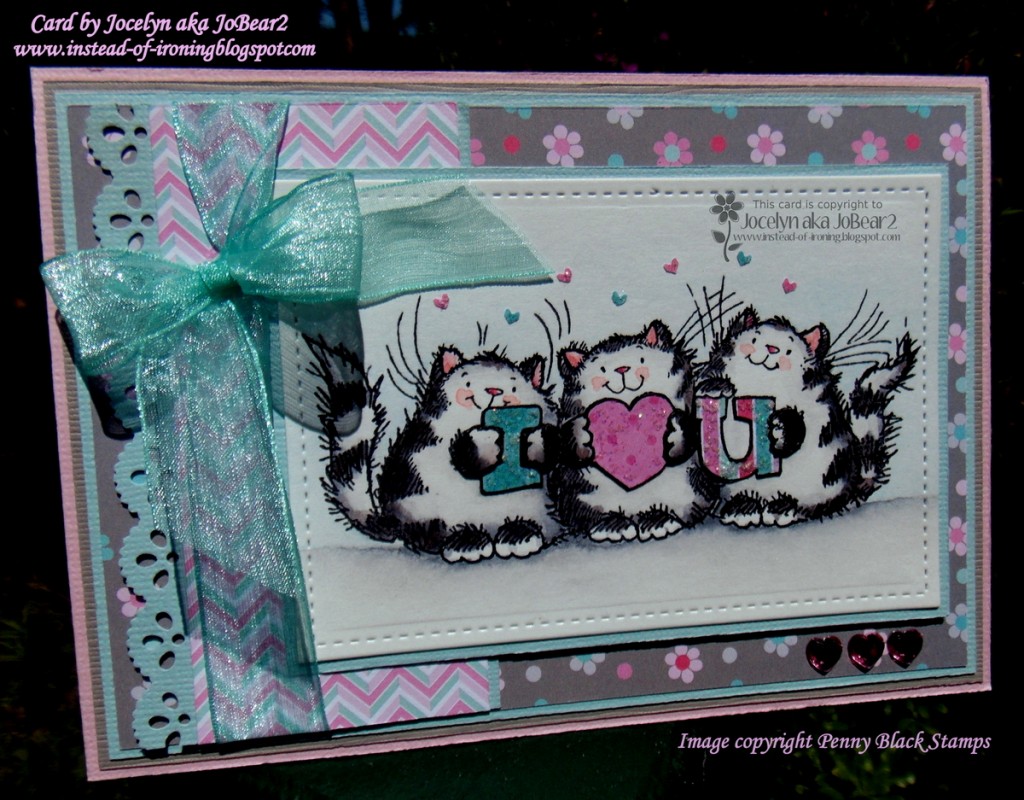
I stamped the image onto Bristol Smooth White cardstock with Ranger Archival Jet Black ink using my MISTI then coloured it with a mix of Faber-Castell Watercolour pencils and Tombow pens and my paintbrushes.
I started the card after dinner the day before Valentine's Day and had this bright idea late that night to paper-piece the I, HEART and U which I did - but then realised I would need to paper piece the cat paws as they were holding the sign and therefore should be on top of the I, HEART and U. So I reinked just the paws and coloured them and then cut them out which was very, very fiddly but worth the result I think :-) I went around all the cut pieces using a Copic black fineliner pen to hide the white parts where I trimmed. I even found the stray paw that I had already cut which had adhered itself to the sleeve of my top without needing to redo it ha ha! So, with all the extra fiddling around, I ended up not finishing the card in time for this morning (Valentine's Day) - oh well! But I do like how the paper-piecing ties it all in with the rest of the designer papers. I diecut the image with my Big Shot and a Lawn Fawn Stitched Rectangle die.
The 3 different cardstocks I used were from my stash - no names of the colours or the brand(s) as I stocked up on cardstock when my local Scrapbooking store closed a few years ago (sniff!).
I used my EK Success Arrows border punch to punch tiny hearts from some of the designer papers (the leftover punches from using the punch look like tiny hearts) and glued them on using Tombow Mono Aqua glue.
And of course, I had to add plenty of glitter and glitterized the I, HEART and U and all the tiny hearts plus the cheeks on the cats using Stampin' Up Dazzling Details glitter glue.
The side panel was punched using a Martha Stewart Pinking Scallop edge punch and all the cardstock layers were trimmed to 1/16" using my Perfect Layers Tools. The organza ribbon was added in 2 separate elements and the bow itself was made using my Bow Easy.
I added 3 pink self-adhesive rhinestone hearts to the bottom right-hand side. I wondered about adding a sentiment to the card but thought that the banner was enough. Lastly, I added my card front to a white cardstock base. I think you could use this image for a Wedding Anniversary or just to say 'I love you'.