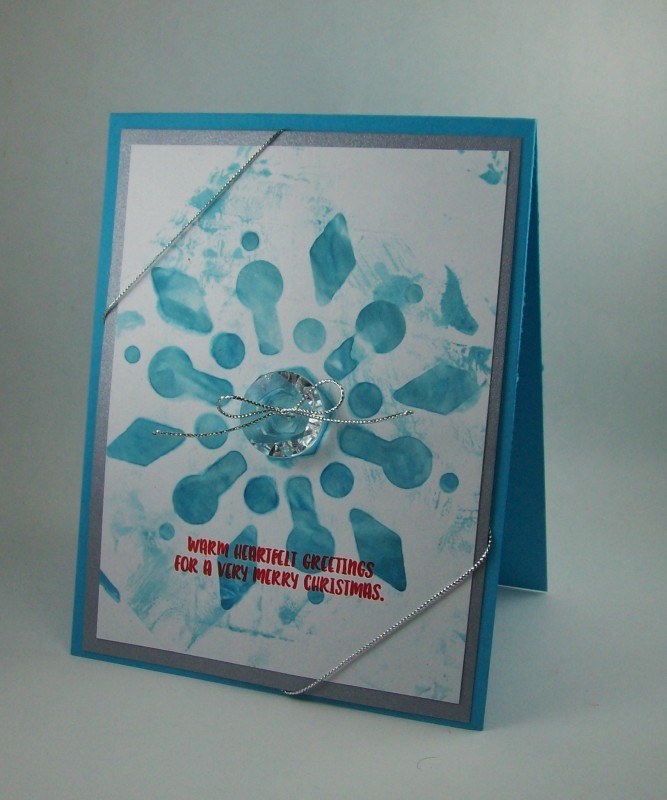
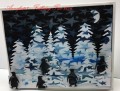
Lydia shared a fun tutorial with us for the Falliday Fest Tutorial Blitz. This one is a keeper for sure. My shaving cream was soupy instead of firm, but it still worked OK. I look forward to trying again with a fresh can but still ended up with a ton of pretty backgrounds. I used a paper party plate to put my shaving cream on. I dripped my reinkers onto this once I'd smoothed it out. Unfortunately, because of the thinness of the cream, lots of the color dropped down below the cream, but I still had some small dots on the surface. I used my toothpick to spread the color around in a marbled fashion. I then laid my stencil over the paper and scooped up some of the marble cream with my plastic card and smeared it across the stencil. You can see that some of my cream escaped the stencil but I kind of liked the extra color on the bg. Once it was dry I scraped off the extra cream.Try as I might, I couldn't get it to show up, but there's wink of stella clear glitter over all the snowflake. I used a silver frame around the image panel. I added some silver cord and put it onto a Turquoise base. I put the whole card into my mini MISTI because I was stamping over the blue areas and wanted to be sure it could be seen. I'm glad I did because it took 3 stampings to get to where you see it. I added silver cord to the button and used a glue dot to adhere it to the center of the snowflake.
Date: Thursday, October 20, 2016 GMT Views: 490
Favorited:2