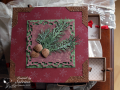
I used the Matchbox Dresser tutorial to make this as a gift.
I have the Sizzix thinlits matchbox dies which are a bit bigger, so I had to size things up a little but the construction principle remains the same. I think my chipboard base ended up at about 7 1/4" square, and the only problem was that this meant I couldn't use paper and cover it (my DP was a 6" pad) as I would have preferred to do.
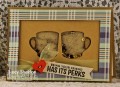
I made a little template for the front of a matchbox marking the centre where I wanted the ribbon to go, and with that as a guide, I used the Crop-a-Dile to punch holes. A knotted loop of ribbon was then pulled through to act as a handle on each drawer. I found some wooden numbers made by Artemio but they were too big for the drawer fronts, and I was afraid they would get damaged in use if I dangled them from the ribbon loops, so in the end I stamped and punched out numbers for each drawer.
Each drawer is lined with DP, and I used more on the sides of the dresser, decorating it with some die-cuts.
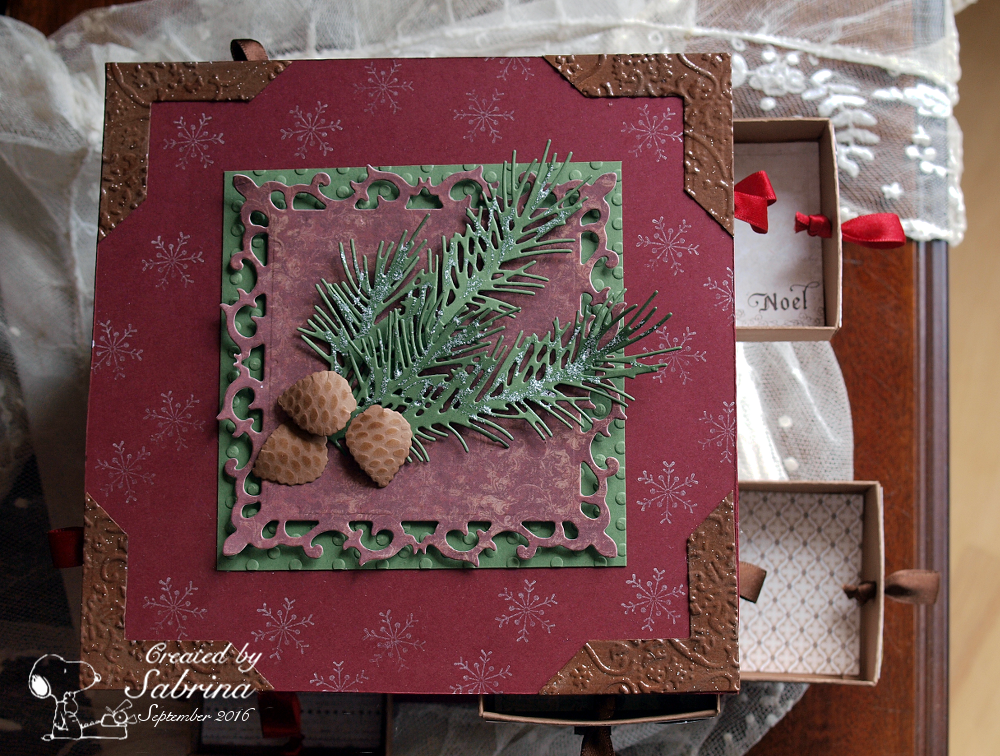
For the top, I used IO dies for the cones and greenery. The cones are shaped slightly, and added to a Spellbinders Fleur de Lis square cut from DP and popped over a larger square of green card embossed with Provocraft Polka Dots. The foliage has Frosted Lace Stickles on it.
I stamped snowflakes over it to cover up for a slight glue mark, and to give a little reinforcement to the corners, I used Spellbinders squares in nesting sizes to make photo-corner type finishing elements, embossing them with the Textile ef from Cuttlebug and coating with two layers of clear EP.
Date: Friday, September 23, 2016 GMT Views: 635
Favorited:2
Registered: March 29, 2011 Location: Covington, WA Posts: 32470
Sun, Oct 02, 2016 @ 4:58 PM
Sabrina, I am just seeing this and it is amazing! What a labour of love. I love the dies and textures, the corners look like vintage metal. This is so beautiful and will be treasured by the lucky recipient.
------------------------------ Carla ~ Proud Fan Club Member and Dirty Dozen Alumni.