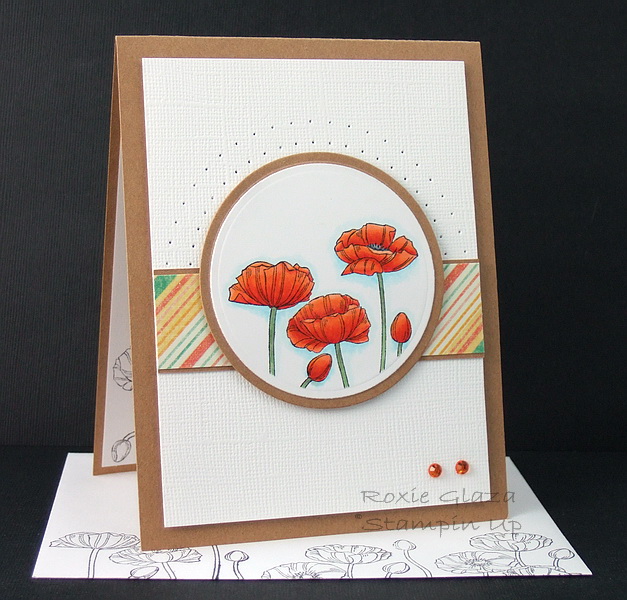
Spellbinder Nestabilities were used to cut the circles. I cut the white circle panel before stamping the image using the third size from largest in the set of small dies. Using the fourth from the largest of the large set I cut a circle out of large sticky note, discard the circle then mask off the border using the remainder of the sticky note. I use a stamp positioner (Stamp a ma jig) to line up the image. I really like the clean appearance of the border to sort of trick the eyes into thinking itÂ’s a third layer.
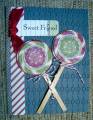
The poppies are colored with Copic markers: blooms – R46, YR09,07,04,02, center – C7,6,4, stems – G99,85,82, shading – B00,000,0000
The use of the red (R46) was to open the wide nib end, touch the YR09 to the red then color the image, this put a hint of red to darken and create shadows then I continued up the bloom in the order number listed. IÂ’m one of those people that puts down the darkest color first.
The 1/16” Perfect Layers tool from Perfect Paper Crafting was used to cut the horizontal borders. Use any brand craft knife or rotary cutter for cutting. A tutorial video can be found on the company site.
Once the horizontal layer is attached I used repositional tape to hold the circle panel in place, lined up the Bazzill piercing template and used a computer mouse pad as my cushion. TIP: use the repositional tape to secure the large white panel to the pad so it doesnÂ’t shift during the piercing process.
Once finished the image panel was permanently attached to the card with foam tape.
The gems from Me and My Big Ideas are self-sticking embellishments.
Next the large panel was attached using a smaller thickness of pop ups/dimensionals.
Image: Stampin Up – Pleasant Poppies
Paper: Bazzill white textured, Beckett Expressions for image, Die Cuts with a View striped, unknown Kraft.