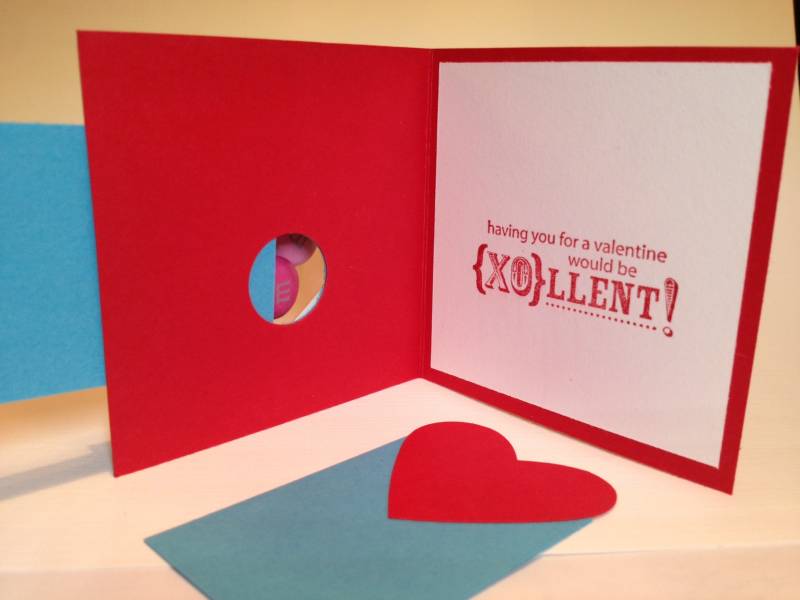
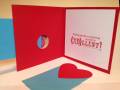
Valentine (candy window) Retired Stamps and Treat Cups in the Clearance as of 1-19-2013
Base: 3”X6” (score in half @ 3”)
Inside Layer: White 2 Âľ X 2 Âľ
Outside Layer: Contrast 2 Âľ X 2 Âľ
Top Layer: White 2 ½ X 2 ½ (you will punch this)
Heart Slide: Contrast Color 1 Âľ X 2 ÂĽ Long
Colored Post-it Note
Cut all pieces out ahead of making card especially if multiplying many. You can do 30 in about 25 minutes.
1. Stamp sentiment on inside white layer, set aside
2. Punch out a heart on the post-it making sure to get the adhesive part on top of the heart
3. Stamp your heart sentiment on the center of the outside white layer
4. Place the heart post-it note in the center of that and fold over the very tip of the Heart Point. Place this inside the heart stamp and grab onto the folded over part of the tip on the post-it note and guide the post-it note heart into the center of the Heart Punch and punch it out.
a. You are using the post-it heart as a guide to know where to punch out inside your heart to put your treat cup. ItÂ’s almost impossible to correctly punch without using this method.
5. Glue the outside contrast to the front of the card making sure to only glue 3 sides! Leave a side open for the “pull out”and using your ¾” circle punch, punch a hole directly in the center of the paper. This is for getting the candy out.
6. Place the Treat Cup in the heart hole and remove the adhesive.
7. Glue the white top “cut out” to the outside contrast layer with the treat cup inside.
8. Punch out another heart in the card base color and glue it onto the Heart Slide Base leaving some of the heart sticking out as shown.
9. Glue the inside sentiment inside. I do this last just in case I put the treat cup on sideways!
Date: Saturday, January 19, 2013 GMT Views: 1368
Favorited:7