I have been innudated with requests for the how to's on this little clipboard and so I thought I'd post directions here for all to see. Beate has done a fantastic tutorial at this link: Tutorials at Splitcoaststampers
Following are my directions:
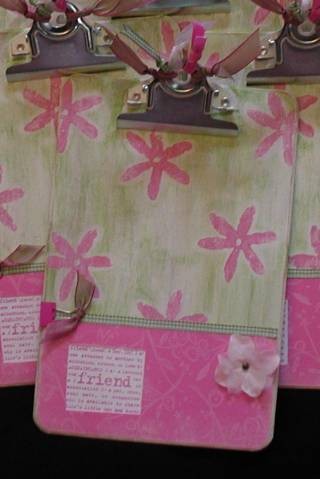
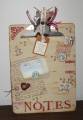
I painted the clipboard with white acrylic paint. Let it dry. I mixed a couple of drops of reinker with the white acrylic paint for each of the green and pink colors. The pink flowers were stamped and left to dry. I then used a black foam brush and layered a light coat of the green over the top. Taking a baby wipe remove the excess paint from the pink flowers. Let dry and then sand to give the distressed look. The bottom portion is just stamped and distressed cardstock. I cut a rectangle out of the pink and layered the white behind. Insert the flower and then using white glue spread over the entire back side adhere to bottom of clipboard. Use sticky strip to attach ribbon. Hopefully this will help those of you who want to replicate this look
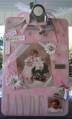
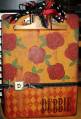
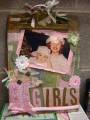
These are the first altered clipboards I've made - they are so stinkin' cute
Date: Monday, July 18, 2005 GMT Views: 6981
Favorited:106
Registered: January 13, 2004 Location: Issaquah, WA Posts: 2137
Mon, Jul 18, 2005 @ 6:47 PM
Do you really want me to post it with your head attached? I could you know - in fact I'd be honored, but I thought you might shoot me Iris!!! For those who are pm'ing me re: the mini clipboards - just go to www.viking.com - that is where I purchased these.
Registered: February 22, 2003 Location: OR Coast Posts: 13049
Mon, Jul 18, 2005 @ 7:09 PM
OMG... you are DA BOMB BABY!! These are THE COOLEST!! You are gonna have some lucky screamin' chicks when you hand over these babes!! YOU ROCK my friend!! Have a blast at convention!!!