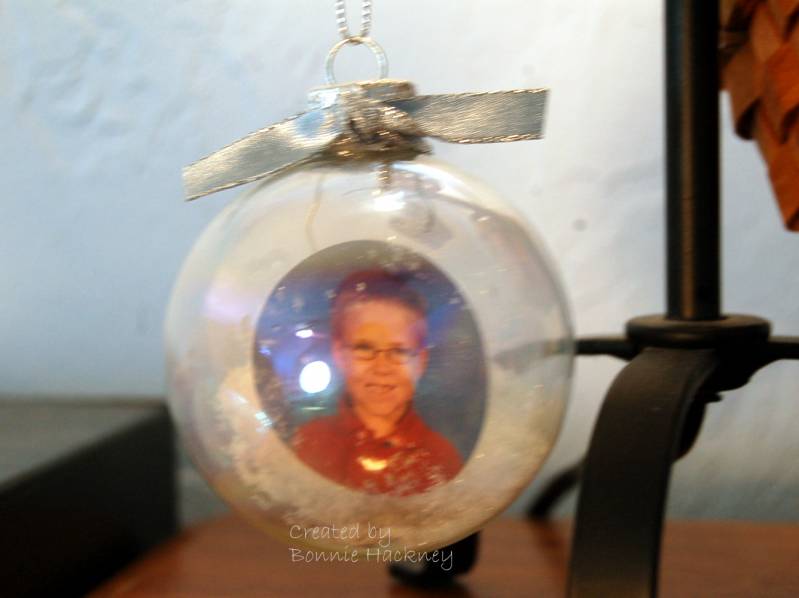
This picture ornament is for my son's 2nd grade teacher. My friend along time ago use to make these ornaments for her son since birth using a school picture and transparency paper. Come to find out there's a tutorial in the resources. I thought about going back to my kids birth pictures and making one for each year with their school pictures, so that way they can take them with them when they grow up and move out. The hardest part for me was to get the cording up through the top. I used the CM circle cutters for the circles, and my circle punch for the picture. I made a sandwich between the transparency paper and his actual picture. He signed the back of the picture and dated it. His teacher loved this and told him it was the best gift ever. TFL!
Here is the key to putting the photo with the transparency paper. I cut the original school photo with my circle punch. I cut out 2 bigger circles using the cm circle cutting system. I used double sided tape to secure the photo onto the clear paper. I added a tiny glue dot to secure the clear paper to the photo for the front piece. I pierced one hole using the tool and wiggling it around so the cording can go through. Tied a knot, so it is easier to stand up. I tried it with the mini hole punch, but it was too big. Once the clear piece of transparency paper was attached to the photo, I rolled it carefully to fit inside the ball. Using tweezers I carefully bent the photo back into shape. I pulled the cording through the top of the lid of the ornament and hot glued. Trimmed the cording. See below in the following video by Karen. http://www.papercraftplanet.com/vide...lass-christmas. Any questions, just PM and I will help you with making one.
Bonnie
Date: Friday, December 19, 2008 GMT Views: 2032
Favorited:9
hey, great thinking! Did you use the actual photo on photo paper or print it on the transparency? If it is photo paper, was it hard to get in the hole? curling, opening up again, etc. Please tell your secret!lol