Kirigami Christmas Tree
by Betty Traciak
Fold and cut a sheet of scrapbook paper into a lovely pine tree.

Supplies
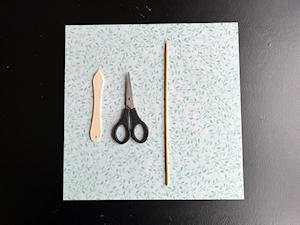
- 12" x 12" scrapbook paper(Stampin' Up!® Design a Daydream Designer Series Paper used here)
- Bone folder
- Scissors
- Wooden skewer(optional)
Step-by-Step
-
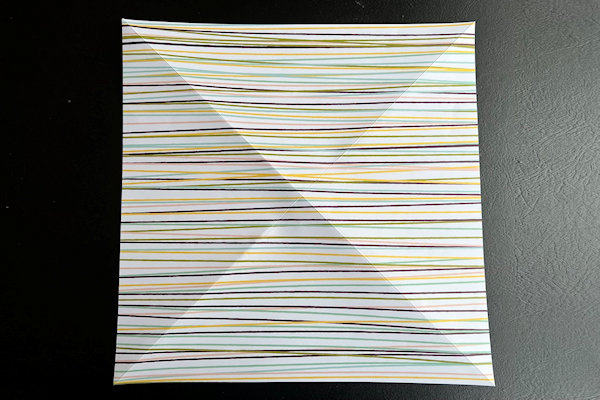
Step 1
Lay paper with chosen side up. Fold in half on diagonal.
-
Open and fold on the other diagonal.
-
Step 2
Open and flip over.
-
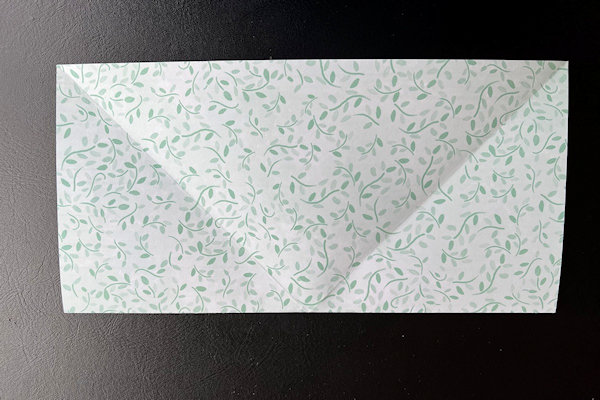
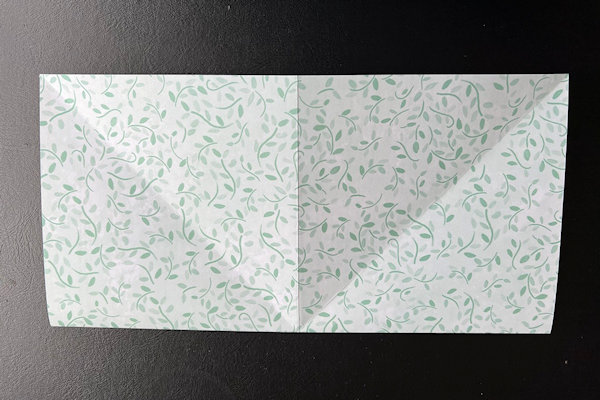
Step 3
Fold in half. Open.
-
Fold in half in the other direction. Open.
-
Step 4
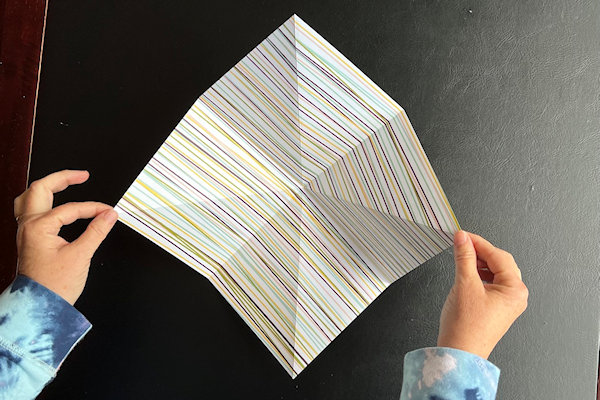
Hold paper on opposite points.
-
Bring to center and down so that all points meet at the bottom.
-
Step 5
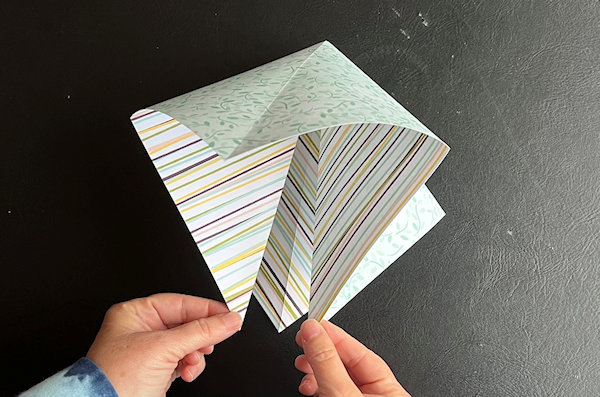
Fold right edge of top layer to the center line.
-
Step 6
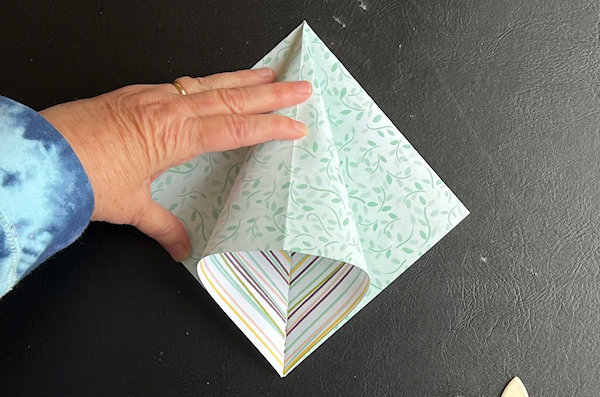
Lift flap, open and fold on crease. Flatten flap.
-
Repeat with each layer.
-
Step 7
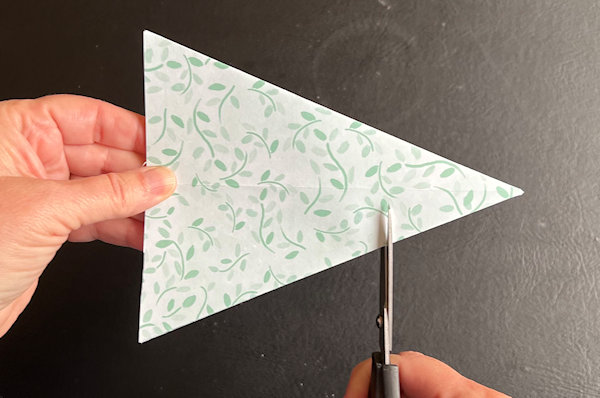
Cut along straight edge of paper as shown.
-
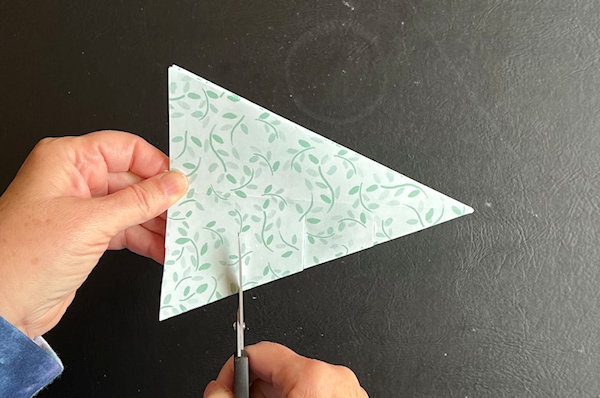
Step 8
Cut three evenly spaced parallel lines from the edge approximately 1/2 inch from the center line.
-
Repeat on the opposite side.
-
Step 9
Fold each cut section down to form a point. Repeat for each layer.
-
Step 10
Manipulate the layers so they are evenly spaced to form the tree.
-
Step 11
Complete the project.


Video!

Your Turn
You've seen the tutorial, now you try it! We've got a section of the gallery set aside for Kirigami Christmas Tree. Try this technique, then upload your artwork to the gallery. Show us your creations!
***Please note - Internet Explorer/Edge is not a supported browser, and will not allow you to see the videos. Please use Chrome, Firefox or Safari to view our tutorial videos.

Questions and Comments
We'd love to get your feedback or questions. Leave your comment below.
Page 1 of 1 pages