Z Box Fold
by Deb Valder
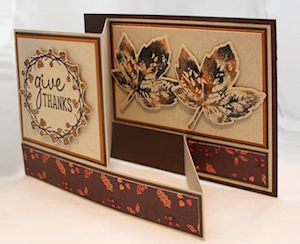
Make a fun Z fold card with a dimensional opening.
Supplies
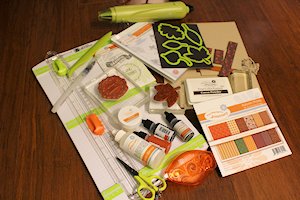
- Cardstock
- Paper trimmer
- Scoring tool
- Papers for layering
- Other supplies as needed to complete the project (Fun Stampers Journey products used in samples: Autumn Days, Grateful Heart, Thankgiving Traditions, and Tea Time stamps sets; Autumn Prints, Cocoa Powder, Pumpkin Bread, and Oatmeal Cookie cardstock; Cocoa Powder ink; Journey Blooms Paper Trimmer; Journey Heat Gun; Clear Embossing Powder; Crease Tool; Fusion Blender; Blending Brush; Re-Inkers; Easy Glide Adhesive; Detail Pro Shears; plastic plate and dry baby wipes)
Step-by-Step
-
Step 1
Cut the card base to 5 1/2" x 4 1/4".
The next layer will be 4" x 9 3/4".
Score at 5 1/4".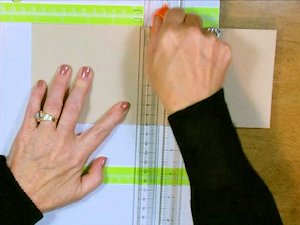
-
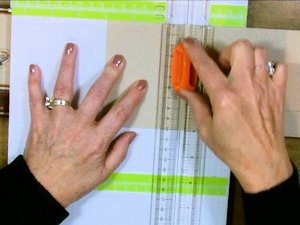
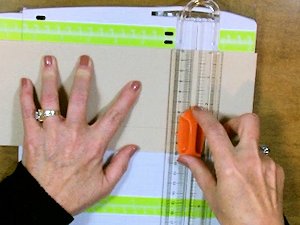
Step 2
With the short edge of the scored cardstock along the top and the long edge at the 1" mark, cut from the 3" mark to the 7 1/2" mark.
-
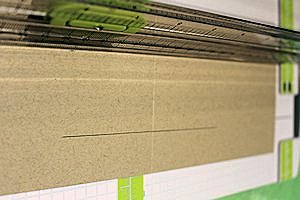
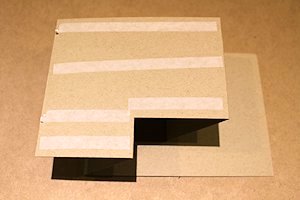
Step 3
Turn the card so the long side is at the top, and score at the 3” mark down to the cut line.
-
At the end of the cut line, make a 1” score line from the 7 1/2" mark down to the edge.
-
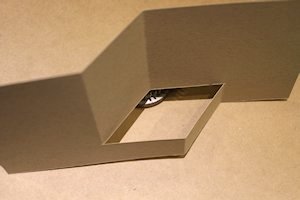
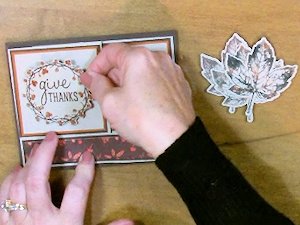
Step 4
Crease on the fold lines so there is a box in the middle of the card as shown. Fold the card flat.
-
Step 5
On the back of the folded layer, add adhesive only to the back piece. Center this to your card base.
-
Step 6
Add layers to the panels. For the sample, the following measurements were used:
Squares – Cocoa Powder 2 7/8" x 2 7/8", Pumpkin Bread 2 3/4" x 2 3/4", Oatmeal Cookie 2 5/8" x 2 5/8"
Rectangles – Cocoa Powder 2 7/8" x 4 3/8", Pumpkin Bread 2 3/4" x 4 1/4", Oatmeal Cookie 2 5/8" x 4 1/8"
Long Narrow Layers – Cocoa Powder 7/8" x 5 1/8", Designer Paper 3/4" x 5"
Inside Narrow Layers (cut 2): Cocoa Powder 7/8" x 2 1/8", Designer Paper 3/4" x 2"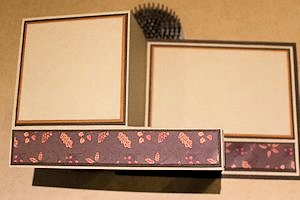
-
Step 7
Embellish the card as desired.
-
Step 8
Complete the project.
Video!
Your Turn
You've seen the tutorial, now you try it! We've got a section of the gallery set aside for Z Box Fold. Try this technique, then upload your artwork to the gallery. Show us your creations!
***Please note - Internet Explorer/Edge is not a supported browser, and will not allow you to see the videos. Please use Chrome, Firefox or Safari to view our tutorial videos.

Questions and Comments
We'd love to get your feedback or questions. Leave your comment below.
Can't wait to try this one!
evelyn
Page 1 of 1 pages