Wax Paper Cuttlebug Resist
by Godelieve Tijskens
Combine Cuttlebug embossing with wax paper resist to create beautiful backgrounds.
Supplies
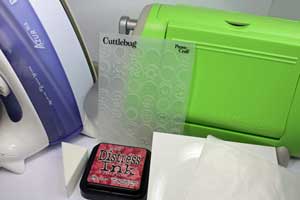
- Cuttlebug™
- Cuttlebug™ folder
- Glossy cardstock (twice the size of Cuttlebug embossing folder)
- Wax paper (size of Cuttlebug embossing folder)
- Dye ink (I used the Fired Brick - Distress Ink from Ranger)
- Make-up sponge
- Iron
- Paper towel or copy paper
Step-by-Step
-
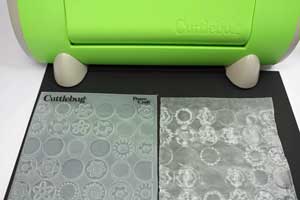
Step 1
Emboss the wax paper in the Cuttlebug™ with an Embossing folder of your choice.
-
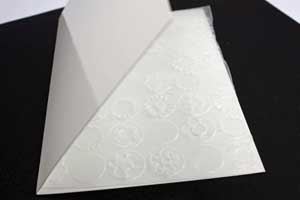
Step 2
Fold the glossy cardstock in half, and put the embossed wax paper inbetween.
-
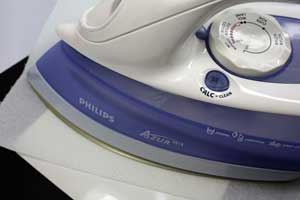
Step 3
Cover the glossy cardstock with copy paper or paper towel, to avoid wax on the iron. Select “cotton” setting on the iron, no steam! Iron the cardstock.
This will transfer the design from the wax paper on to the glossy cardstock.
-
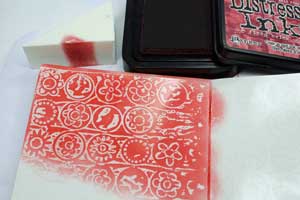
Step 4
Remove and discard the wax paper. Begin sponging the Distress Ink on, using a circular motion. Apply enough ink to get an even color.
-
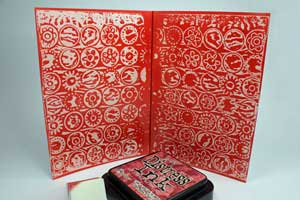
Step 5
Notice a positive and negative pattern, because both sides of the wax paper were used.
-
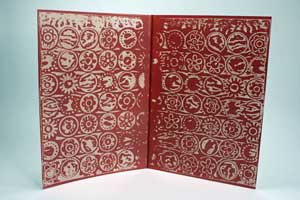
Color looks less vibrant after a while.
-
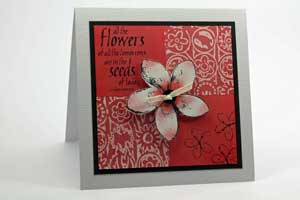
Step 6
Finish your card.
Your Turn
You've seen the tutorial, now you try it! We've got a section of the gallery set aside for Wax Paper Cuttlebug Resist. Try this technique, then upload your artwork to the gallery. Show us your creations!
***Please note - Internet Explorer/Edge is not a supported browser, and will not allow you to see the videos. Please use Chrome, Firefox or Safari to view our tutorial videos.

Questions and Comments
We'd love to get your feedback or questions. Leave your comment below.
L will be trying this one,
THANKS
Where can we view cuttlebug accessories?
reflections:0)
Page 1 of 3 pages 1 2 3 >